


A wobbly handrail isn’t just annoying. It’s a safety hazard waiting to happen. Every time someone grabs a loose railing for support on the stairs, they’re trusting it to hold them. If it gives way, the results can be serious, especially for kids or older family members. The good news is that most loose handrails come from simple problems you can fix yourself in under an hour. Stripped screws, worn brackets, and weak wall anchors are common culprits, and with the right approach, you can make your handrail solid again without calling a professional.
Diagnosing Your Loose Handrail Problem and DIY Feasibility
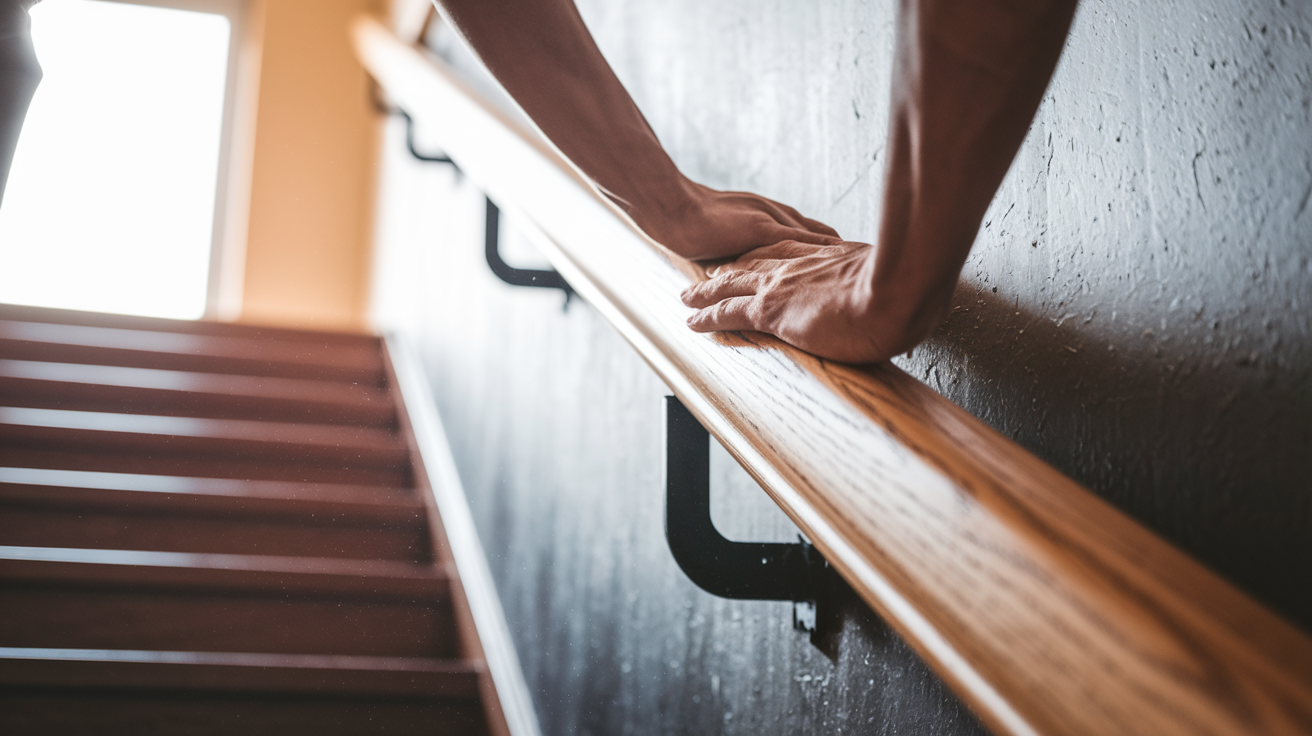
Start by testing your handrail stability. Push and pull at multiple points along the railing, applying the kind of pressure someone would actually use for support. Pay attention to where the movement happens. Does the wobble occur at specific brackets, where the rail meets the wall, or at posts? This simple test tells you whether you’re dealing with a single loose fastener or something more serious.
Proper diagnosis determines whether simple DIY fixes will work or you need professional help. A handrail that’s loose in one spot usually means a fastener issue. Movement throughout the entire railing system points to structural problems.
Work through these five diagnostic checks:
Test each bracket and connection point for movement by pushing firmly. Check for stripped screw holes or cracked wood around mounting points. Verify wall attachment stability by pressing the rail toward and away from the wall. Assess newel post wobbling by gripping the post and shaking it gently. Inspect for visible structural damage like splits, rot, or pulling away from surfaces.
DIY repairs work well for loose fasteners, minor bracket issues, and surface level wear. You can handle these problems with basic tools and a weekend afternoon. But some issues need professional intervention. If your newel post wobbles at the base, if railing attachments show cracks and pull away from mounting surfaces, if multiple connection points are failing at once, or if you’re uncertain about code compliance, that’s when to call someone with structural expertise. Repeated loosening after you’ve tightened everything properly usually means the wood is stripped, warped, or weakened in ways that surface fixes won’t solve.
Step by Step Repair Process for Common Handrail Looseness
Most loose handrail repairs follow a systematic inspection and repair approach. You’ll work through connection points methodically, addressing each source of movement you identified during diagnosis.
Identifying the specific cause of looseness determines the repair method. A stripped screw hole needs different treatment than a failed wall anchor or damaged bracket.
Follow these five sequential steps:
Inspect all connection points systematically, marking each loose area with tape or chalk. Tighten existing fasteners with appropriate tools (screwdriver for wood screws, wrench for bolts, drill for efficiency on multiple fasteners). Reinforce with wall anchors or brackets where tightening alone doesn’t eliminate movement. Replace damaged or stripped hardware, using slightly larger screws if original holes are worn. Test stability by applying firm pressure at each repair point and repeat any steps if movement persists.
Most handrail repairs take 15 to 45 minutes once you have tools and materials gathered. Simple tightening might take fifteen minutes. Installing new wall anchors and brackets could stretch to forty-five minutes or longer if you’re working carefully and verifying each connection. You may need to combine multiple techniques for complete stabilization. A handrail that’s loose at the wall might need both new anchors and replacement brackets to stay solid long term.
Why Handrails Become Loose and Safety Risks of Wobbling Railings
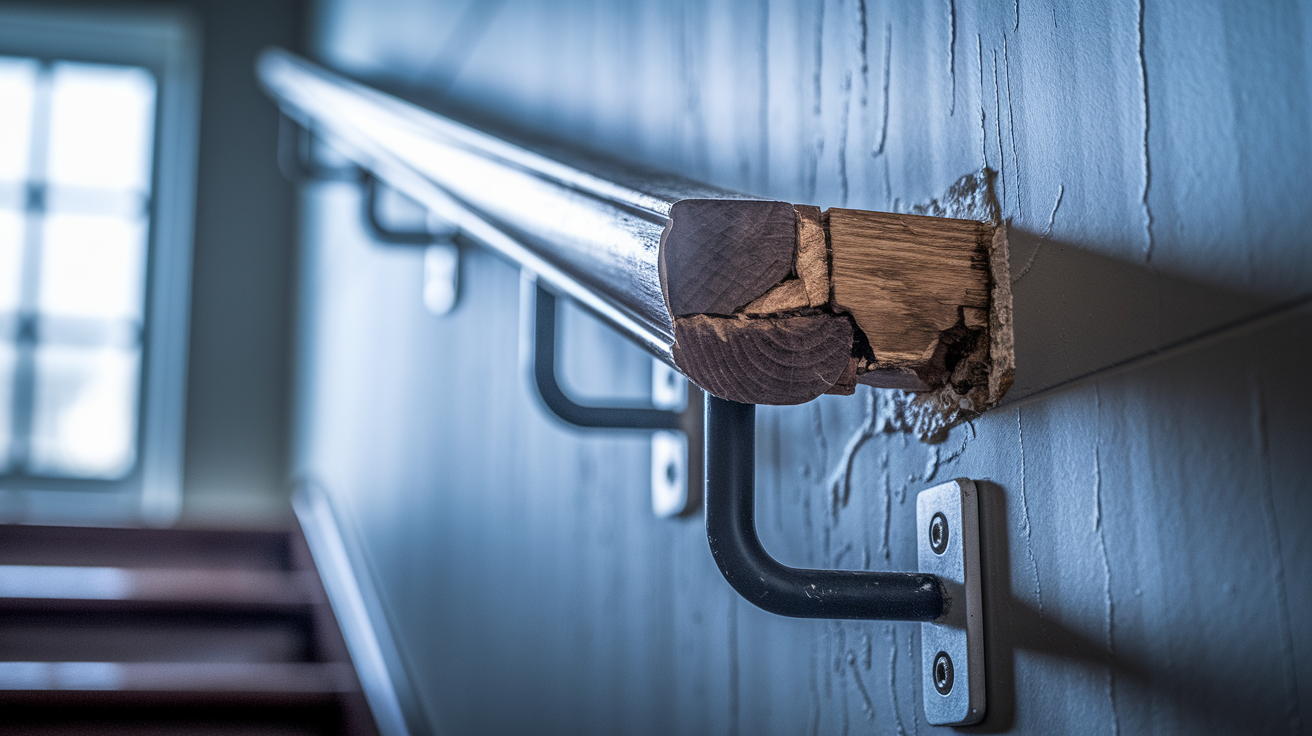
Loose stair railings develop gradually through everyday use, hardware failure, or structural issues. Every time someone grabs the handrail for support, they’re applying lateral force that works against the fasteners and brackets. Over years, this daily wear and environmental factors like moisture and temperature changes weaken connections. The problem happens slowly enough that many people don’t notice until the wobble becomes obvious.
Stairs are one of the most common fall locations, making even slight railing movement a serious safety issue, especially for young kids or older adults. When you reach for a handrail to catch yourself on stairs, you need it solid. A wobbly rail doesn’t provide the instant stability that prevents falls. Children and elderly residents rely on handrails more heavily than others, putting more force on already weakened connections.
Six common causes of loose handrails:
Worn fasteners that have lost their grip through repeated stress cycles. Stripped screw holes where wood fibers have compressed and no longer hold threads. Weakened wood joints where glue has failed or connections have loosened. Inadequate wall anchors, particularly in drywall only installations without stud backing. Moisture damage that rots wood or corrodes metal, especially in basements and exterior locations. Improper original installation using fasteners too short or brackets spaced too far apart.
Essential Tools and Materials for Handrail Repairs
Gathering tools beforehand ensures efficient, uninterrupted repairs. Nothing’s more frustrating than stopping mid project to search for a missing screwdriver or make a hardware store run.
| Tool/Material | Purpose | Optional or Required |
|---|---|---|
| Power drill | Faster fastener installation and pilot holes | Optional (manual screwdriver works) |
| Screwdriver set | Tightening and removing screws | Required |
| Stud finder | Locating wall studs for secure mounting | Highly recommended |
| Level | Verifying handrail alignment during repairs | Optional |
| Measuring tape | Measuring bracket spacing and screw depth | Required |
| Safety glasses | Eye protection when drilling | Required |
| Work gloves | Hand protection and better grip | Optional |
| Replacement screws | Replacing stripped or damaged fasteners | Required (various sizes) |
| Wall anchors | Securing to drywall where studs aren’t accessible | Required for drywall installations |
| Wood glue | Reinforcing wooden joints | Optional (wood railings only) |
| Brackets | Replacing damaged mounting hardware | As needed |
| Wood filler | Repairing stripped screw holes | Optional (damaged wood) |
Most homeowners already own basic tools like screwdrivers, measuring tape, and work gloves. Specialized items like stud finders, wall anchors, and replacement brackets typically cost ten to thirty dollars total.
Reinforcing and Securing Wall Connections
Reinforcement becomes necessary when existing holes are stripped, when you’re working with drywall installation, when you need added stability beyond basic tightening, or when loosening keeps happening even after you’ve tightened everything properly.
Locating and Securing to Wall Studs
Wall stud attachment provides superior strength compared to drywall only anchoring. Studs are the vertical wood framing members behind your finished walls, and they offer solid material that holds screws permanently. A stud finder helps you locate these supports behind finished walls. Wall studs typically run at sixteen inch intervals, though older homes sometimes use twenty four inch spacing.
Turn on the stud finder and slide it slowly along the wall near your handrail mounting area. When it signals a stud, mark both edges of the framing member with light pencil marks. The stud center sits between these marks. Position handrail brackets to align with studs whenever possible. This might mean adjusting bracket spacing slightly, but the holding strength makes it worthwhile.
Drill pilot holes into studs before installing screws. The pilot hole should be slightly narrower than the screw shaft. For wood screws, select a length that penetrates one and a half to two inches into the stud. This depth provides maximum holding power without breaking through the opposite side of the framing.
Installing Wall Anchors in Drywall
Wall anchors become necessary when studs don’t align with ideal bracket placement. Sometimes the best structural support position for a handrail falls between studs, and you can’t move the mounting point without messing up the railing design.
Toggle bolts and expansion anchors are the two main types worth considering. Toggle bolts offer the highest load capacity, holding two hundred pounds or more in half inch drywall when installed correctly. The wings fold up during insertion, then spring open behind the drywall, distributing load across a wide area. Expansion anchors work by compressing against the back of the drywall as you tighten the screw. They’re easier to install but hold less weight, typically fifty to seventy five pounds.
Drill pilot holes sized exactly to manufacturer specifications. Too small and you’ll crack the drywall forcing the anchor through. Too large and the anchor won’t grip properly. For toggle bolts, you’ll drill a larger hole to fit the folded wings, insert the bolt with wings compressed, then pull back until the wings catch. Wall anchors expand inside the wall for greater holding power compared to screws driven into drywall alone.
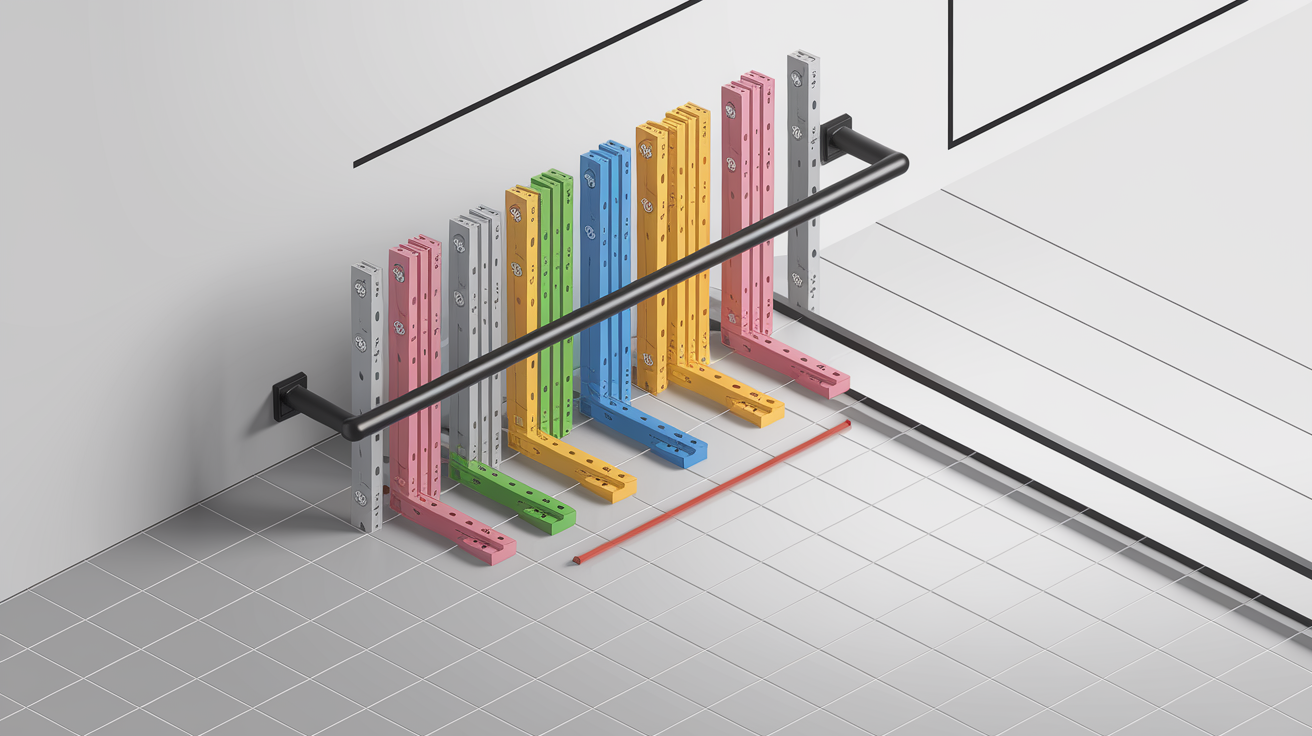
Adding or Replacing Support Brackets
Select brackets appropriate for your handrail configuration. L brackets work well for wall mounted rails, with one leg against the wall and one supporting the underside of the rail. Mounting plates offer broader surface contact when you need to distribute load across a larger area or connect to newel posts.
Position brackets for optimal support, typically at thirty six to forty eight inch intervals along the handrail length. Closer spacing provides more stability but requires more hardware. Fasten brackets to both the handrail and the wall or newel post, making sure the bracket profile doesn’t interfere with hand grip. The handrail should remain smooth and continuous from a user’s perspective.
Replace damaged metal or plastic brackets entirely with similar size and design to reuse existing screw holes. Trying to repair a cracked bracket usually fails under real world use. Match the bracket dimensions as closely as possible so mounting holes line up with existing wall anchors or studs.
Properly installed anchors and brackets secured to studs can exceed the strength of original installation. Many builders use minimal fastening to save time and cost. Your repair can actually make the handrail stronger than it was when new. Combining techniques provides maximum stability. Mount to studs wherever possible, use quality expansion anchors or toggle bolts for intermediate support points, and install brackets rated for the actual forces a handrail experiences.
Material Specific Repair Techniques
Different handrail materials require specialized repair approaches and techniques. The fastening method that works for wood won’t necessarily work for metal, vinyl, or composite materials.
Repairing Wood Joint Connections and Stripped Holes
Loose wood joints typically appear where balusters meet the handrail or where posts connect to the base. Push gently on individual balusters to check for movement at top and bottom connections. Wiggle newel posts to test base attachments.
Apply wood glue to loose joints where balusters meet the handrail or posts connect to the base. For baluster repairs, drip glue into the gap between the baluster and the rail. Work the baluster slightly to help glue penetrate the joint, then position it correctly. Use clamps to hold glued pieces firmly in place while drying. The clamp pressure should close any visible gaps but not crush the wood or squeeze out all the glue. Wipe away excess glue immediately with a damp cloth for a clean finish. Dried glue shows through stain and looks sloppy.
Allow wood glue to cure according to manufacturer instructions before testing the railing. Most wood glues reach handling strength in one to two hours but need twenty four hours for full cure. Don’t apply weight or stress during this period.
Wood glue works well for minor looseness but may not solve larger structural issues. If the joint moves more than an eighth of an inch or if wood has split around the connection, glue alone won’t hold.
For stripped screw holes, pack wood filler or epoxy into the damaged area. Remove the loose screw completely and clean out the hole. Mix two part epoxy per instructions or use pre mixed wood filler. Pack the filler firmly into the hole, slightly overfilling the surface. Allow it to harden completely, typically twelve to twenty four hours. Drill a new pilot hole through the hardened filler, slightly smaller than your screw diameter. Re install the screw. This creates fresh material for the threads to grip.
Metal and Composite Material Repairs
Metal railings like wrought iron and aluminum rely primarily on bracket and fastener integrity rather than wood joints. The rail itself doesn’t compress or strip like wood, so looseness almost always indicates bracket problems or failed wall connections.
Check each mounting bracket for cracks, bending, or pulling away from the rail. Metal fatigue can cause small cracks that grow over time. Replace any bracket showing damage or deformation. Tightening a damaged bracket just speeds up the failure.
Vinyl and composite handrails need special consideration. These materials expand and contract more than wood or metal with temperature changes. Over tightening can crack the material. When installing or tightening fasteners in synthetic materials, snug the screw until it’s firm but not crushing the surface. If you can see compression around the screw head, you’ve gone too far.
Use fastener types designed for synthetic materials when replacing hardware. These typically have wider heads or special washers that distribute pressure. In very cold weather, composite materials become more brittle. If possible, save repairs for moderate temperatures when the material has more give.
Replace stripped screws with new hardware or larger sizes appropriate for the material. For metal, the next larger diameter screw usually works. For composites, you may need to relocate the mounting point slightly rather than risk cracking by drilling a larger hole in the same spot.
Stabilizing Newel Posts and Primary Support Structures
Newel posts are primary structural supports and their stability is critical to the entire handrail system. The post anchors the handrail at critical points like the bottom of a staircase or transitions between levels.
Diagnose newel post looseness by checking the base attachment, floor connection, and direction of wobble. Grasp the post firmly near the top and push in different directions. Note whether it wobbles toward the stairs, away from them, or in a rotating motion. Each pattern indicates where the attachment is failing.
Four methods for stabilizing loose newel posts:
First, tighten base bolts or screws from beneath if accessible. Many newel posts bolt through the floor structure or attach to a mounting plate underneath. In basements or crawl spaces, you can access these fasteners from below and tighten them directly. This provides the strongest fix when possible.
Second, add shims and construction adhesive at base gaps. If the post has pulled slightly away from the floor or if there’s movement at the joint, cut thin wood shims to fit the gap. Apply construction adhesive to the shims and tap them into place. This stabilizes the post and transfers load to solid contact points.
Third, install additional support brackets connecting the post to adjacent structure. Angle brackets from the post to nearby wall framing or floor joists add reinforcement without requiring access beneath the floor.
Fourth, reinforce subfloor connection when accessible. If you can work from below, add blocking between floor joists directly under the newel post, then screw or bolt through the post base into this solid blocking.
Unstable or wobbling newel posts often require professional structural assessment. If the post continues moving after you’ve tightened all accessible fasteners and added reinforcement, the problem likely involves damaged floor structure, rotted wood, or improper original installation that needs more invasive repair. DIY is insufficient when newel posts remain wobbly after standard repairs.
Test all repairs thoroughly before considering the job complete. Apply the kind of real world force the handrail will experience. If movement persists or if you’ve found material damage like rot or structural cracks during repairs, those problems indicate deeper issues requiring professional intervention.
Building Code Requirements and Safety Standards for Handrail Installation

Handrail repairs must meet current building codes even when fixing older installations. Building officials base safety requirements on accumulated experience with falls and injuries. These aren’t arbitrary rules.
Code violations can create liability and affect home sales. If someone falls on stairs with non compliant handrails, property owners may face legal exposure. During home inspections, code violations become negotiating points that reduce sale prices or delay closings.
| Code Requirement | Specification |
|---|---|
| Handrail height | 34 to 38 inches measured from stair nosing |
| Graspable diameter | 1.25 to 2 inches for circular rails; equivalent grip for other shapes |
| Load resistance | 200 pounds applied in any direction without pulling loose or shifting |
| Bracket spacing maximum | Typically 4 feet, though specific codes vary by jurisdiction |
| Stair width requirements | One handrail required for stairs less than 44 inches wide; both sides for wider stairs |
| Continuous rail requirements | Handrail must be continuous for the full length of the stair run |
Repairs to older systems may trigger requirements to upgrade the entire railing to current code. This happens particularly during major renovations or when repair work requires a building permit. The International Residential Code requires handrails and guardrails to be firmly anchored and resist specific loads without pulling loose or shifting. If your existing handrail sits at thirty two inches rather than the current thirty four to thirty eight inch range, simply reinforcing the loose brackets might not satisfy code if an inspector gets involved. Professional help is needed when older railings may not meet current code for height, spacing, and strength. A contractor familiar with local building departments can assess whether your repair approach will satisfy both structural and code requirements.
Special Considerations for Indoor and Outdoor Locations
Installation location affects both loosening causes and appropriate repair approaches. Environmental factors vary dramatically between a climate controlled interior staircase and an exposed deck handrail.
Outdoor and Exposed Handrail Considerations
Outdoor exposure accelerates loosening through moisture, temperature cycles, and UV damage. Wood swells when wet and shrinks when dry. This constant movement works fasteners loose much faster than the stable conditions indoors. Metal corrodes. Finishes break down. Plastic and composite materials become brittle from UV exposure.
Inspect for wood rot, rust, and corrosion before attempting repairs. Poke questionable wood with a screwdriver. Solid wood resists. Rotted wood feels soft and the screwdriver sinks in easily. Surface rust on bracket bolts is cosmetic. Rust that has thinned metal or created flaking scales means the hardware needs replacement. These conditions require different approaches than simple tightening. You can’t repair rotted wood by installing a larger screw. The material itself has failed.
Essential weatherproofing steps after repairs include sealing screw holes with exterior caulk, applying exterior grade finishes to exposed wood, and protecting metal connections from moisture. After you’ve installed new fasteners, run a thin bead of paintable caulk around each screw head. Tool it smooth with a wet finger. This prevents water from wicking into the pilot hole and starting rot. Touch up any exposed wood with exterior stain or paint. Bare wood exposed during repairs will gray and deteriorate quickly outdoors.
Preventive maintenance schedule for outdoor handrails includes annual inspection and tightening, with resealing every two to three years. Check your exterior handrails each spring after winter weather. Tighten any fasteners that have worked slightly loose. Look for finish breakdown and areas where caulk has pulled away. Every few years, plan on removing old caulk, resealing all joints and fastener penetrations, and refreshing the protective finish. Moisture damage or deteriorating wood is particularly common in shore properties where seasonal movement causes wear.
Indoor Staircase and Below Grade Locations
Typical indoor handrail configurations include wall mounted rails, baluster supported systems, and combination approaches that use both methods. Wall mounted rails rely entirely on brackets and wall attachment. Baluster supported railings transfer most load down through the vertical spindles to the stair treads or a base rail. Combination systems use both for maximum stability.
Loose stair railings are among the most common issues, especially in older houses and split levels. The specific loosening patterns tell you where to focus repair effort.
Common failure points on interior stairs include mid span wall brackets where the rail has the most force against mounting hardware, top and bottom transitions where the handrail changes direction or meets a newel post, and baluster connections to treads or base rail where repeated lateral force works joints loose.
Basement stair considerations include limited access for repairs, concrete anchoring requirements different from wood framing, and moisture issues from foundation walls that can speed up loosening. Basement stairs often have one side against a foundation wall. Anchoring to concrete requires masonry screws or expansion anchors rather than wood screws. These fasteners need different pilot hole sizes and installation technique than wood applications. Basements commonly have higher humidity than upper floors, particularly in older homes without good foundation waterproofing. This moisture can cause wood to swell, rot, and lose its grip on fasteners over time.
Location specific factors should inform material selection and weatherproofing approach during repairs. Use exterior grade fasteners and weather resistant hardware for outdoor applications even if you’re reusing the original handrail. Consider galvanized or stainless steel screws rather than standard zinc plated ones in high moisture locations like basements near sump pumps or exterior railings in coastal areas.
Troubleshooting When Handrail Repairs Don’t Hold

Some looseness indicates deeper structural issues beyond surface fastener problems. You’ve tightened everything, maybe even replaced some hardware, but the wobble comes back within a week.
Five signs that repairs won’t hold:
Looseness returns within days of tightening. Wood is cracked or split at connection points. Wall material is crumbling around mounting holes. Multiple connection points failing at the same time throughout the railing system. Visible structural movement in the wall or floor when you stress the handrail.
DIY is insufficient when the problem returns after tightening hardware. This pattern means the materials holding the fasteners have deteriorated past the point where better installation technique will help.
Repeated tightening when wood is stripped, warped, or weakened can make the problem worse rather than better. Each time you drive a screw into damaged wood, you compress more fibers and enlarge the hole slightly. Eventually you’re just spinning the screw in dust. The problem rarely stays minor once this cycle starts.
Upgrade your repair approach by moving to larger fasteners, adding reinforcement plates, or relocating mounting points to solid material. If a number eight screw won’t hold, try a number ten or number twelve in the same hole. The larger diameter cuts fresh threads in wood that hasn’t been compressed. Add a backing plate or washer behind brackets to distribute load across more surface area. Move the bracket an inch up or down to fresh wood if possible. These steps sometimes solve problems that simple tightening can’t.
Know when to stop DIY attempts and seek professional structural assessment. If you’ve moved to larger fasteners, added reinforcement, relocated mounting points, and the looseness still returns, something structural is failing. The wall framing might be damaged. The floor structure under a newel post might be sagging. The staircase itself might have issues that affect the handrail. Continuing to modify and re repair at this point usually makes eventual professional repair more difficult and expensive.
When to Call a Professional for Handrail Repairs
Some handrail problems indicate larger structural or safety issues beyond DIY scope. Recognizing these situations early saves time, money, and potential injury.
Six situations requiring professional help:
Newel post requires subfloor access or floor framing modification. Multiple railings failing throughout the home suggesting installation problems. Code compliance uncertainty for repairs, especially before home sale or after receiving a violation notice. Structural wall or floor damage discovered during inspection. Complete railing system replacement needed rather than repairs. Recurring problems despite proper DIY repairs following good technique.
Professional stair contractors should be called when structural reinforcement is needed, code compliance is questionable, or lasting repairs are wanted rather than temporary fixes. These specialists understand the engineering behind safe stair railings. They know local code requirements and inspection standards.
Professional assessment typically includes structural evaluation of the entire railing system and supporting elements, code compliance review against current standards, and long term repair recommendations that address root causes rather than symptoms. A good contractor will explain what’s failing, why it’s failing, and what options you have from basic repair through complete replacement. They’ll note any code violations and discuss whether they need to be corrected for your situation.
Cost considerations and warranty backed professional repairs matter for critical safety components. Professional handrail repairs typically run two hundred to six hundred dollars for straightforward fixes, with complete railing replacement ranging from eight hundred to three thousand dollars depending on staircase size and material choices. Professional help is needed when structure requires reinforcement beneath finished floors or walls, when older railings may not meet current code for height, spacing, and strength, or when lasting fixes are wanted over temporary patches. That cost includes proper structural reinforcement, code compliant installation, and usually a warranty on workmanship. When you’re talking about a safety system that prevents falls down stairs, the value of professional expertise and accountability outweighs the higher cost for many homeowners, particularly those with young children or elderly residents. If someone needs assessment for water damage or structural issues discovered during railing repairs, professional restoration services can evaluate the full scope of work needed.
Cost Estimates and Time Requirements for Handrail Repairs

Repair costs vary significantly based on problem severity and whether you’re doing the work yourself or hiring a professional. Simple fixes cost almost nothing beyond materials already in most toolboxes.
Time investment ranges from quick fifteen minute tightening sessions to multi hour projects involving wood repairs, bracket replacement, and refinishing.
| Repair Type | DIY Cost | DIY Time | Professional Cost |
|---|---|---|---|
| Simple tightening | $0-5 | 15-30 minutes | $75-150 (minimum service call) |
| Screw replacement | $5-15 | 30-45 minutes | $100-200 |
| Wall anchor installation | $10-25 | 45-90 minutes | $150-250 |
| Bracket replacement | $20-50 | 1-2 hours | $200-350 |
| Wood glue repairs | $10-20 | 1 hour plus 24-hour cure | $150-300 |
| Newel post stabilization | $25-75 | 2-4 hours | $300-600 |
| Complete railing replacement | $400-1500 | 1-2 days | $800-3000 |
Preventive Maintenance to Keep Handrails Secure Long Term
Proactive maintenance prevents loosening before it becomes a safety issue. Catching slight movement early means a five minute tightening session instead of a two hour repair project.
Six step annual handrail maintenance routine:
Visual inspection of all connection points looking for gaps, cracks, rust, or pulled away brackets. Hand testing for movement by grasping the rail firmly and applying pressure in different directions. Tightening any slightly loose fasteners before they work completely free. Checking for wood deterioration or metal corrosion that needs attention before it causes structural failure. Cleaning and refinishing as needed to protect materials and maintain appearance. Documenting condition and repairs in a home maintenance log with dates and specifics.
Seasonal maintenance for outdoor railings follows a different schedule than interior systems. Pre winter inspection addresses any looseness or damage before freeze thaw cycles make problems worse. Check all fasteners and tighten them. Look for cracks in wood or failing finishes that will let moisture in during wet winter months. Spring damage assessment happens after harsh weather passes. Look for frost heaving that might have shifted posts, moisture damage from snow accumulation, and failed caulk or sealant that needs replacement. Summer refinishing takes advantage of warm, dry weather perfect for outdoor wood treatment. This is the time to sand, seal, and protect wood handrails before another winter cycle.
Keep spare fasteners and touch up materials on hand for quick preventive tightening. A small container with extra screws in the sizes your handrails use, wood glue, exterior caulk, and touch up stain or paint means you can handle small maintenance immediately instead of waiting for a hardware store trip. Most loose handrail repairs can be completed in fifteen to forty five minutes with basic tools and materials when you catch them early. Regular inspection and tightening, with resealing every two to three years for outdoor installations, extends handrail life and maintains safety.
Final Words
A wobbly handrail is more than an inconvenience. It’s a genuine safety risk, especially for kids, elderly family members, and anyone navigating stairs in a hurry.
Most loose handrails stem from worn fasteners, stripped screw holes, or inadequate wall anchoring. The good news is that many of these problems respond well to systematic DIY repair when you know how to repair loose handrails properly.
Tighten what’s loose, reinforce what’s stripped, and replace what’s damaged. Test thoroughly. Check again in a few weeks.
If the problem keeps coming back or the newel post wobbles no matter what you do, that’s your signal to bring in a pro.
FAQ
How can I strengthen a wobbly handrail?
You can strengthen a wobbly handrail by first identifying where the movement happens, then tightening all screws and bolts at connection points. If existing holes are stripped, replace with larger screws or add wall anchors that expand inside the wall for better holding power.
How much does it cost to repair a loose stair railing?
A loose stair railing repair costs between $10-30 for DIY fixes using basic hardware and wall anchors, or $150-400 for professional repairs depending on problem severity. Simple tightening takes 15-45 minutes, while complex structural repairs require professional assessment and more time.
How can I fix loose banister spindles myself?
You can fix loose banister spindles yourself by applying wood glue where the spindle meets the handrail and base, then clamping firmly while the glue dries for 24 hours. For stripped screw holes, pack with wood filler, let harden completely, then drill new pilot holes before reinstalling fasteners.
How do I fix a loose handrail in concrete?
You fix a loose handrail in concrete by drilling deeper holes if existing anchors have pulled out, then installing expansion anchors or toggle bolts rated for concrete applications. Ensure new anchors penetrate at least 2 inches into solid concrete, not just surface material or mortar.
When should I stop DIY repairs and call a professional?
You should stop DIY repairs and call a professional when the newel post wobbles, looseness returns within days after tightening, or you see cracked wood and crumbling wall material at connection points. Multiple failing brackets throughout the home indicate structural problems beyond simple fastener replacement.
What causes handrails to become loose over time?
Handrails become loose over time through daily use that gradually weakens connections, stripped screw holes from repeated stress, moisture damage that deteriorates wood, and inadequate wall anchors that pull away. This problem develops especially fast in older homes and shore properties where seasonal movement accelerates wear.
Do I need to meet building codes when repairing an old handrail?
You need to meet current building codes when repairing an old handrail if the repair work is significant enough to trigger code compliance review. Professional help ensures older railings meet current requirements for height (34-38 inches), load resistance (200 pounds), and proper bracket spacing.
How do outdoor handrails differ from indoor repairs?
Outdoor handrails require weather-resistant fasteners, exterior-grade sealants at screw holes, and protective finishes on exposed wood to prevent moisture damage. These railings need annual inspection and tightening, with resealing every 2-3 years, because temperature cycles and UV exposure accelerate loosening compared to indoor installations.
What tools do I need for basic handrail repairs?
You need basic handrail repair tools including a power drill or screwdriver set, stud finder for locating wall support, level for proper alignment, and safety glasses. Materials include replacement screws, wall anchors for drywall, and wood glue for loose joints, with most specialized items costing $10-30.
How can I prevent handrails from becoming loose again?
You can prevent handrails from becoming loose again by conducting annual inspections where you hand-test for movement and tighten any slightly loose fasteners before they worsen. Keep spare hardware on hand for quick preventive tightening, and check outdoor railings before winter and after spring thaws.