

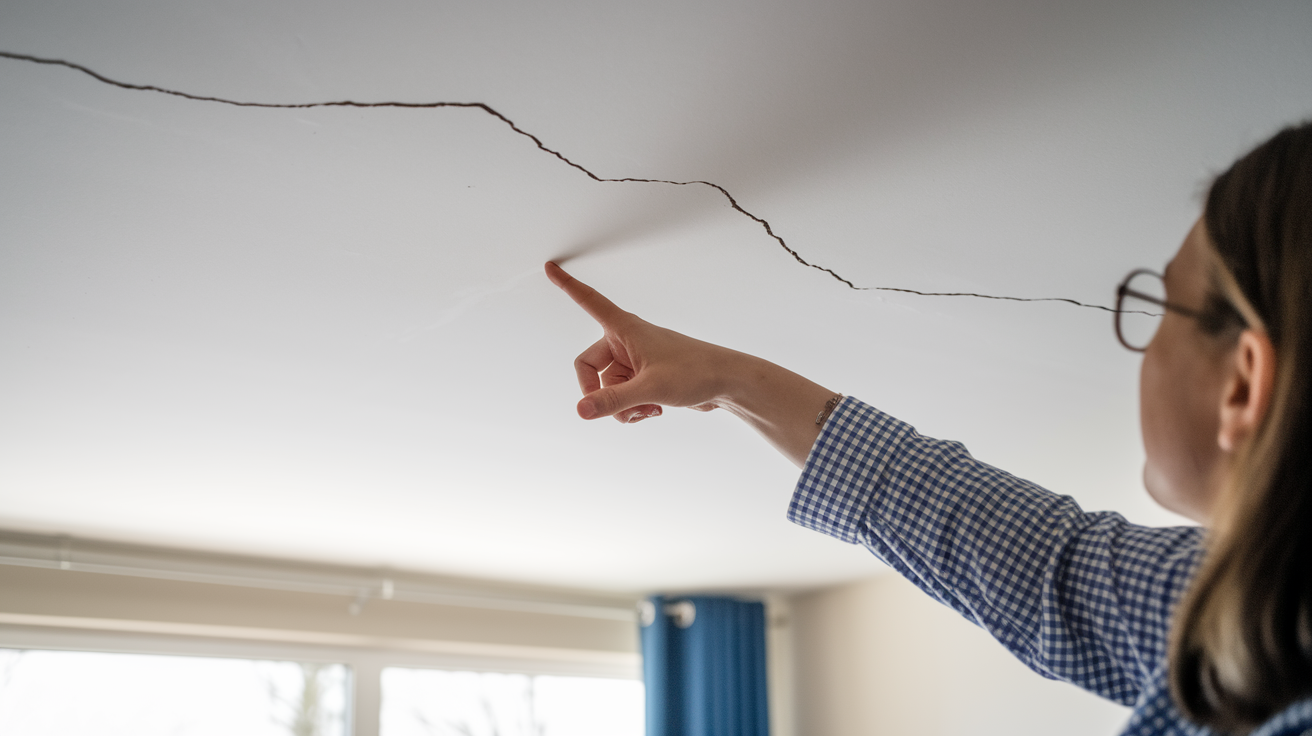

Ever notice how that thin crack on your ceiling somehow catches your eye every single time you walk into the room? Ceiling cracks happen in most homes, and they’re annoying to look at. The good news is that many of them are surface issues, not structural problems. This guide walks you through how to spot what kind of crack you’re dealing with, gather the right materials, and repair it so it stays fixed.
Diagnosing Different Types of Ceiling Cracks
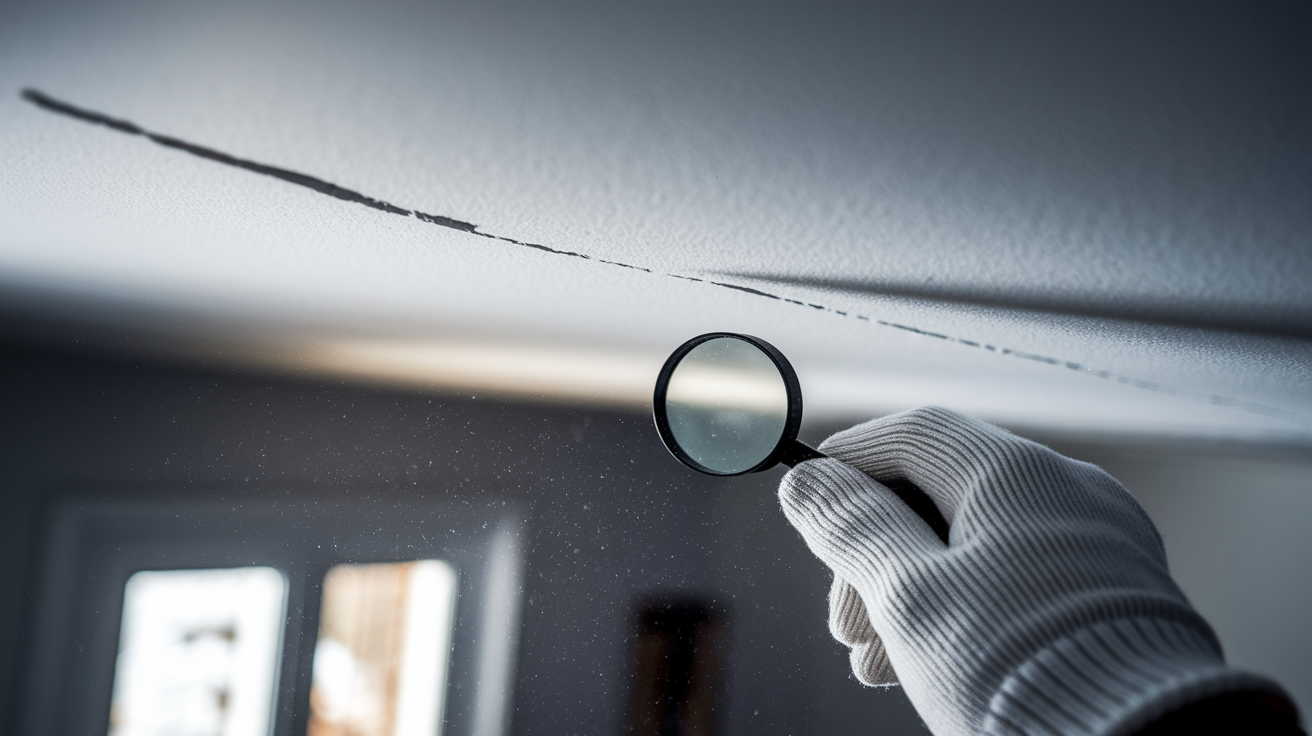
Before you grab any tools or materials, take time to look at what you’re dealing with. The pattern, width, and location of ceiling cracks tell you what caused them and how serious the problem might be.
Hairline and Minor Surface Cracks
These are the thin lines you’ll find most often. Hairline fissures run narrow and shallow, barely wider than a strand of thread. Small cracks along ceiling seams show up where drywall sheets meet. Stress fractures from normal settling appear as single lines, usually straight or slightly curved.
These cracks happen when your house shifts slightly on its foundation. Temperature changes make framing lumber expand and contract. Drywall panels push against each other at the seams. The material itself can’t flex much, so it cracks instead.
Most hairline and small cracks are cosmetic. They don’t threaten your home’s structure. They’re annoying to look at, but they’re fixable with basic repair methods.
Moderate Cracks and Spider Web Patterns
When cracks get wider than a credit card edge, you’re looking at moderate damage. Spider web patterns spread out from a central point in multiple directions. Corner cracks appear where walls meet the ceiling.
These patterns often mean something’s moving more than it should. Foundation settlement can pull the house frame in different directions. Water damage from roof leaks or plumbing problems weakens ceiling materials. Attic moisture issues cause repeated swelling and shrinking cycles.
Check the attic above these cracks if you can. Look for water stains, damaged insulation, or visible roof problems. Feel the ceiling material around the crack. Soft or spongy spots mean moisture damage that needs attention before you repair the surface.
Severe Structural Cracks
Large cracks run wider than a quarter inch. Sagging areas dip noticeably lower than the rest of the ceiling. Bowing surfaces curve up or down across a section.
These problems signal serious issues with the structure supporting your ceiling. Overloaded joists bend under too much weight. Broken framing members no longer hold the ceiling plane flat. Major foundation movement pulls the building frame apart.
When you see cracks this size, especially if they appeared suddenly or keep getting wider, the ceiling surface isn’t your main problem. The structure behind it is failing. No amount of joint compound will fix that.
Not every crack means your house is falling down. Small settling cracks are normal, especially in newer homes still adjusting to their foundation. But when cracks show patterns that suggest major movement, moisture damage, or structural failure, you need a professional to look at what’s happening before you patch the surface.
Essential Tools and Materials for Ceiling Crack Repair
Most ceiling crack repairs use the same basic materials, all available at any hardware store. Having everything ready before you start prevents mid-project trips for forgotten items.
Preparation Tools:
- Utility knife with fresh blade
- Drop cloths or plastic sheeting
- Vacuum with extension wand
- Sturdy step ladder tall enough to reach comfortably
- Damp cloths for final cleaning
Application Materials:
- Joint compound or spackle (ready mix all purpose compound for most repairs)
- Mesh fiberglass tape (self adhesive type speeds up the process)
- Putty knife (4 inch for small cracks, 6 inch for larger areas)
- Flexible acrylic caulk or elastomeric filler (for cracks that might move)
- Optional: drywall screws and drill if ceiling needs securing
Finishing Supplies:
- Medium grit sandpaper (120 grit)
- Fine grit sandpaper (220 grit)
- Sanding block or pole sander for flat, even pressure
- Primer suitable for patched drywall
- Ceiling paint matching your existing finish
- Paint roller with extension pole and small brush
Safety Equipment:
- Safety goggles (compound dust irritates eyes)
- Dust mask or respirator
- Work gloves
Joint compound comes in different formulations. Ready mix all purpose compound works for most ceiling cracks. It stays workable for hours, so you’re not racing the clock. It sands smooth with less effort than other types. The downside is longer drying time, usually overnight between coats.
Setting type compound (comes as powder you mix with water) hardens through chemical reaction, not just drying. It’s stronger than ready mix and less likely to crack or shrink. It sets in 20 to 90 minutes depending on the formula. Once it starts hardening, you can’t smooth it anymore. It also sands harder, which means more work but a more durable repair.
For cracks caused by ongoing movement (common where ceiling meets walls, or at truss uplift points), rigid joint compound will crack again. That’s when flexible sealants make more sense. Acrylic caulk stays slightly flexible after it dries. Elastomeric fillers handle even more movement. They won’t sand as smooth as compound, but they won’t crack again from minor settling.
Mesh tape and paper tape both reinforce repairs, but mesh tape works better for ceiling work. It’s self adhesive, so it sticks in place while you work overhead. Joint compound bonds directly through the mesh holes. Paper tape is stronger in theory, but it requires a base coat of compound first, which adds steps and makes overhead work harder. For typical ceiling cracks, mesh tape is the practical choice.
The standard materials handle most repairs well. But for a crack that keeps coming back, or for a ceiling in an older house still settling, spending a few extra dollars on specialized materials saves you from doing the job twice.
Preparing Your Ceiling Surface Before Repair
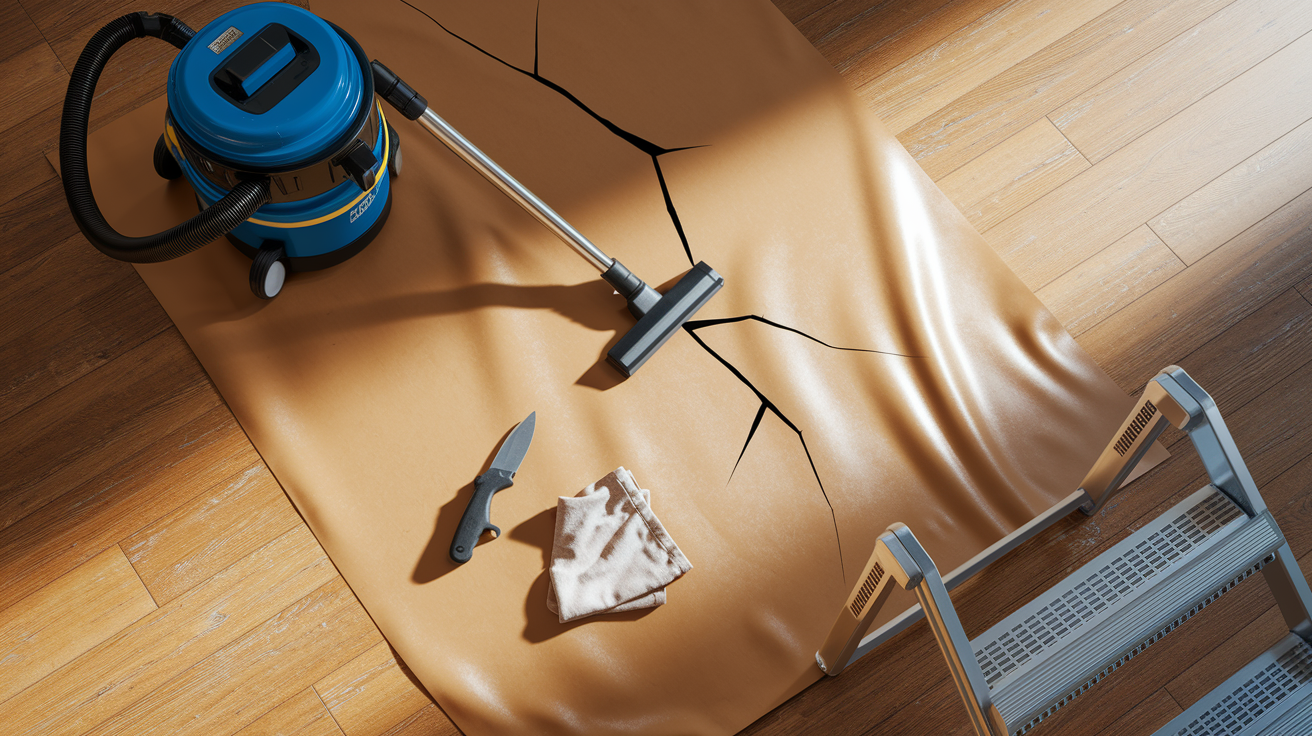
Spread drop cloths under your work area before you touch the ceiling. Compound dust and debris will fall. Protecting floors and furniture now saves cleanup time later.
Look closely at the crack. Run your finger along it gently. If you feel loose material or flaking edges, that needs to come off. Take your utility knife and score along both sides of the crack, cutting about an eighth inch deep. This removes any material that’s barely hanging on. Loose plaster or crumbling drywall paper under your repair will cause the new compound to fail later. The knife also creates a slightly wider valley for the tape and compound to grab into.
Brush away the debris you just created, then vacuum the crack itself and the surrounding area. Get the vacuum nozzle right up against the crack line. Dust prevents proper bonding. After vacuuming, wipe the area with a slightly damp cloth. Not wet, just barely damp. This picks up fine dust the vacuum missed. Let the surface dry completely before moving to the next step.
Check the ceiling surface around the crack. Press gently with your palm. If the drywall moves or feels springy, you’ll need to secure it with screws before you tape. Trying to repair over loose material wastes your time. The crack will reappear as soon as the loose section shifts again.
Detailed Step by Step Ceiling Crack Repair Process
Most ceiling cracks respond well to basic repair methods. The process takes patience more than skill. Each step builds on the one before it.
Step 1: Score and clean the crack. Use your utility knife to cut along both edges of the crack, removing any loose material. This creates clean edges for better adhesion. Vacuum thoroughly and wipe with a damp cloth.
Step 2: Secure loose areas. Press gently around the crack. If the ceiling moves, drive drywall screws through the ceiling into the joists above, about six inches back from each side of the crack. The screws pull loose material tight against the framing. Countersink screw heads slightly below the surface so they won’t interfere with your tape and compound.
Step 3: Apply mesh tape. Center the self adhesive mesh tape directly over the crack. Press it firmly with your putty knife, working from one end to the other. The tape creates a bridge across the crack and gives the compound something to grab onto. Mesh tape bonds better than paper for ceiling work because compound flows through the holes and locks the tape in place from both sides.
Step 4: First coat of joint compound. Load your putty knife with a small amount of compound. Hold the knife at about a 30 degree angle to the ceiling. Draw it across the tape, pressing firmly enough to fill the mesh completely and create a thin layer over the tape surface. The goal is coverage, not perfection. Don’t worry about trowel marks or small ridges. Feather the edges out about four inches on each side of the tape so you’re creating a gradual transition, not a raised lump. Let this coat dry completely, usually overnight for ready mix compound.
Step 5: Second and third coats. Sand the first coat lightly to knock off any high spots or ridges. Vacuum the dust. Apply your second coat wider than the first, feathering out six to eight inches from the crack. This builds up the depression and blends the repair into the surrounding ceiling. Use smooth, overlapping strokes. The compound should flow off your knife and lay flat. Most repairs need two or three coats total to create a smooth, level surface. Wait for complete drying between coats. Rushing this step causes the compound to crack, chip, or pull away from previous layers.
Step 6: Initial sanding. Once the final coat is completely dry (usually 24 hours), sand with 120 grit sandpaper on a sanding block or pole sander. Work in a circular motion, applying even pressure. You’re leveling the repair and blending the feathered edges. Overhead sanding is tiring. Take breaks. Check your work by holding a flashlight at an angle to the ceiling. Shadows reveal remaining imperfections.
Step 7: Fine sanding. Switch to 220 grit sandpaper. This creates the smooth finish you need for painting. Sand lightly. You’re polishing now, not removing material. Vacuum between sanding sessions so you can see what you’re doing. Wear your respirator mask. Compound dust is fine and stays airborne. Make sure you have good ventilation.
Step 8: Prime repaired area. Primer seals the compound and prevents the repair from showing through your paint. Unprimed compound soaks up paint differently than the surrounding ceiling, creating a visible patch called flashing. Brush or roll primer over the repair area and a few inches beyond. Let it dry per the label instructions.
Step 9: Paint finish. Match your existing ceiling paint sheen. Flat paint is most common for ceilings. Roll paint over the primed area, feathering beyond the repair zone. This blends the repair into the original surface. If your ceiling is older or you can’t match the paint exactly, you might need to paint the entire ceiling for a uniform appearance. Multiple thin coats work better than one thick coat.
| Coat Number | Purpose | Drying Time |
|---|---|---|
| First coat | Tape coverage and initial fill | 12 to 24 hours |
| Second coat | Build surface and begin feathering | 12 to 24 hours |
| Final coat | Smooth finish and blend edges | 24 hours before sanding |
Follow these steps in order and let each stage dry completely. The repair should disappear into your ceiling. You shouldn’t be able to feel it with your hand or see it from normal viewing angles.
Matching Ceiling Texture After Crack Repair
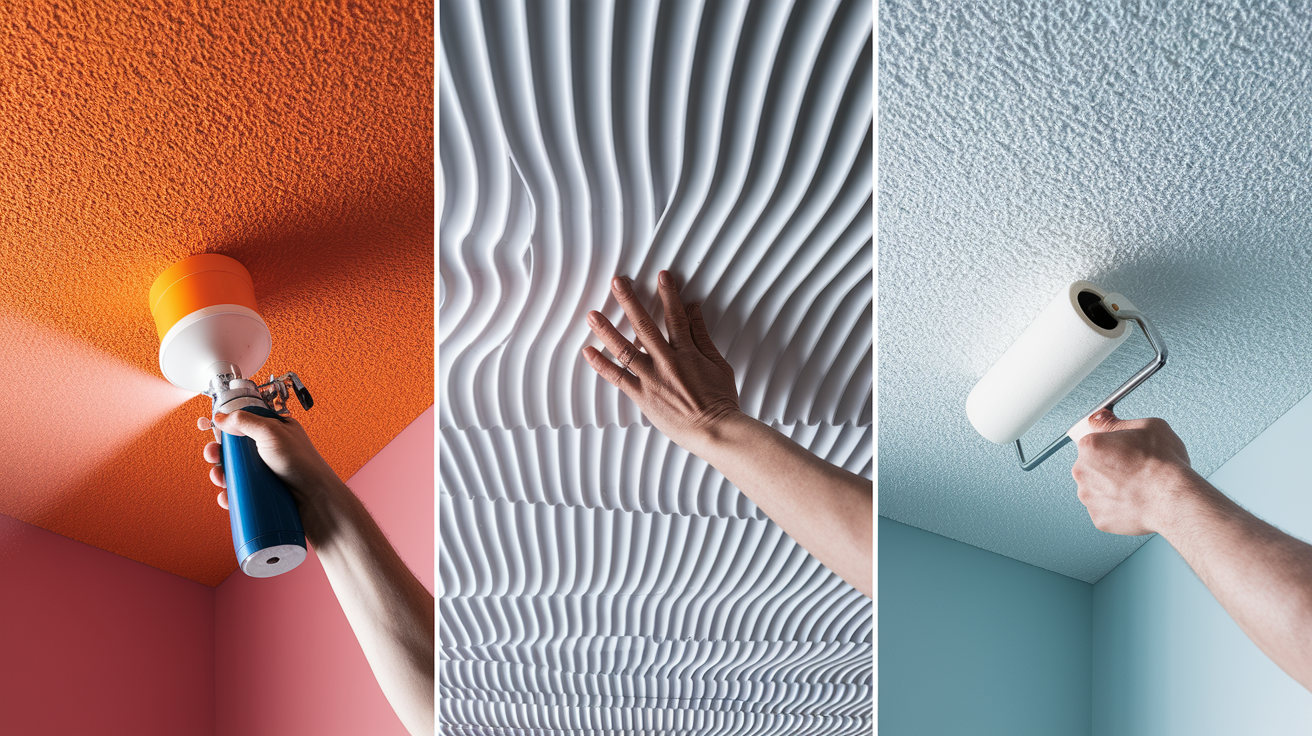
Smooth compound is only half the job. If your ceiling has texture, you need to recreate that pattern over your repair.
Smooth or flat ceilings: These are the easiest. A well sanded repair on a flat ceiling needs only primer and paint. No texture matching required.
Orange peel texture: This light, bumpy pattern looks like citrus skin. After your final compound coat dries, thin some compound with water until it’s about the consistency of thick paint. Load it into a texture gun or spray bottle. Practice your spray pattern on cardboard first. Light, random spurts create the orange peel look. Let it dry partially, then knock down any high points gently with a clean knife.
Knockdown texture: Start with orange peel spray but heavier. Wait about 10 to 15 minutes for it to stiffen slightly. Take a clean taping knife and lightly drag it across the peaks, flattening them into a random pattern. The timing matters. Too wet and you’ll smear everything. Too dry and you can’t flatten it.
Popcorn or acoustic texture: This bumpy, cottage cheese appearance was popular decades ago. Popcorn texture in a can or bag lets you recreate it. Mix per the instructions. Apply it with a brush, sponge, or texture roller, dabbing to create the bumpy surface. Feather the edges where it meets existing texture.
Skip trowel texture: Random arcing patterns created by dragging a knife through wet compound. Apply a thin layer of compound. Draw your knife through it in curving, overlapping arcs. Vary your pressure and direction for a natural look.
Swirl patterns: These decorative patterns were common in mid century homes. After applying compound, use a brush or specialized swirl tool to create circular or arc patterns. Keep the pattern consistent with your existing ceiling.
Practice on scrap cardboard or drywall before working on your ceiling. Texture matching takes a feel for the material. Work in small sections. It’s easier to add texture than remove it. Step back frequently and compare your work to the surrounding ceiling at different angles and lighting.
Common Causes of Ceiling Cracks and Prevention
Understanding why cracks form helps you prevent new ones from appearing. It also tells you whether a simple repair will last or if the crack will return.
Ceiling cracks are caused mostly by house settling and expansion and contraction during that settling process. Materials move at different rates when temperature and humidity change. Drywall, wood framing, and plaster all respond differently to environmental shifts.
Structural Movement and Settling
Foundation settling happens in every house, especially during the first few years after construction. As soil compacts and the structure finds its natural position, cracks often appear at stress points. This is usually normal and not concerning.
Building movement from seasonal changes affects the entire frame. Winter cold contracts framing lumber. Summer heat expands it. Ceiling materials move with the frame, but they can’t flex much. Small cracks appear where stress concentrates.
Truss uplift happens in homes with roof trusses. In winter, warm attic air or insulation heats the bottom chord of the truss while the top chord stays cold. This temperature difference makes the truss arch upward slightly, lifting interior ceiling sections away from partition walls. You’ll see cracks or gaps where walls meet the ceiling. When summer comes, the ceiling settles back down. This cycle repeats every year in some houses.
Load bearing walls carry weight from the roof and upper floors down to the foundation. Where these walls meet the ceiling, stress concentrates. Cracks often appear parallel to the wall. If the crack runs perpendicular to the wall and continues across the ceiling, that’s more concerning. It might indicate the wall is settling unevenly.
Moisture and Environmental Factors
Water leaks from the roof are a common cause of ceiling damage and cracking. Water weakens drywall and plaster. The material swells when wet, then shrinks and cracks as it dries. Look for stains near cracks. Yellow, brown, or darker spots indicate water has been there. For moisture related ceiling damage that’s extensive, professional water damage repair and remediation coordination helps address both the leak source and the resulting damage.
Humidity problems in the attic create ongoing expansion and contraction cycles. Poor attic ventilation traps moisture. Bathroom exhaust fans venting into the attic add water to the air. This moisture soaks into ceiling materials from above, then dries out, then gets wet again. The repeated cycles weaken the material and cause cracking.
Temperature fluctuations affect materials directly. A house that’s heated in winter and cooled in summer experiences constant expansion and contraction. Cracks appear at joints and seams where different materials meet.
Understanding the cause helps you prevent future cracks. Control indoor humidity levels, especially in bathrooms and kitchens. Make sure attic ventilation is adequate. Fix roof leaks promptly. Address plumbing problems before water damage spreads. Walk through your house seasonally and look at ceiling surfaces. Small cracks caught early are easier to repair than large ones ignored until they become major problems.
Warning Signs That Ceiling Cracks Need Professional Assessment

Some ceiling problems go beyond surface repair. Knowing when to call for help protects your home and your family.
Not every crack requires an expert. But certain patterns and characteristics signal deeper problems that DIY methods can’t fix.
- Cracks wider than a quarter inch and growing
- Cracks that continue to lengthen over weeks or months
- Sagging or bowing ceiling sections that feel soft when pressed
- Cracks accompanied by matching wall cracks directly below
- Water stains, discoloration, or dampness near cracks
- Cracks directly above or along load bearing walls
- Multiple cracks radiating in spider web patterns across large areas
- Ceiling material that feels soft, spongy, or crumbles when touched
- Visible separation where ceiling meets walls, creating a gap
- Cracks that appeared suddenly after storms, earthquakes, or plumbing incidents
Professional assessment provides value beyond repair estimates. A contractor or structural engineer can access your attic and examine joists, trusses, and framing members. They can identify roof damage, inadequate support, or load distribution problems. They understand how foundation issues translate into ceiling cracks. They know which cracks indicate normal settling and which ones mean something’s failing.
For serious structural concerns that show up as ceiling damage, RestoreSafeHome.com house repair services can evaluate the underlying causes and coordinate proper repairs that address root problems, not just surface symptoms.
Ignoring serious warning signs doesn’t make problems disappear. Structural issues worsen over time. A crack that starts small can widen until ceiling sections fail completely. Water damage spreads through ceiling materials and down into walls. The longer major problems go unaddressed, the more expensive repairs become.
Cost and Time Estimates for Ceiling Crack Repair
Budget and timeline vary based on crack severity, ceiling height, and whether you do the work yourself or hire someone.
DIY material costs for basic ceiling crack repair typically run $20 to $75. That covers joint compound, mesh tape, sandpaper, primer, and paint. You probably already own the basic tools like putty knives, drop cloths, and a ladder.
| Repair Type | DIY Cost | Professional Cost | Time Required |
|---|---|---|---|
| Small hairline crack | $20 to $35 | $150 to $250 | 2 to 3 hours over 2 to 3 days |
| Medium crack with texture | $35 to $60 | $250 to $400 | 4 to 6 hours over 3 to 4 days |
| Large structural crack | $60 to $100 | $400 to $700 | 6 to 10 hours over 4 to 5 days |
| Multiple cracks or full ceiling | $100 to $200 | $700 to $1500 | 10 to 20 hours over 1 to 2 weeks |
Time investment includes working time and drying time. A small crack takes about two hours of actual work, but you’ll spread that over two or three days while compound coats dry. Medium and large repairs require more compound coats and more careful feathering and sanding. Most of your time is waiting, not working.
Factor in the learning curve if this is your first ceiling repair. Your first attempt will take longer than subsequent repairs. You’ll make mistakes. You might apply compound too thick and have to sand more. You might not feather edges enough and need extra coats. That’s normal.
Professional work costs more but includes correct diagnosis of the underlying problem. A contractor knows immediately whether a crack indicates normal settling or structural failure. They bring professional tools like stilts or scaffolding that make overhead work faster and safer. They match texture patterns accurately. Most pros warranty their work for a year or more. If the crack returns because of ongoing structural movement, they’ll come back and address it. For complex repairs, multiple cracks, or situations where you’re not confident in the diagnosis, professional work delivers better long term value than repeated DIY attempts.
Troubleshooting Common Ceiling Crack Repair Problems
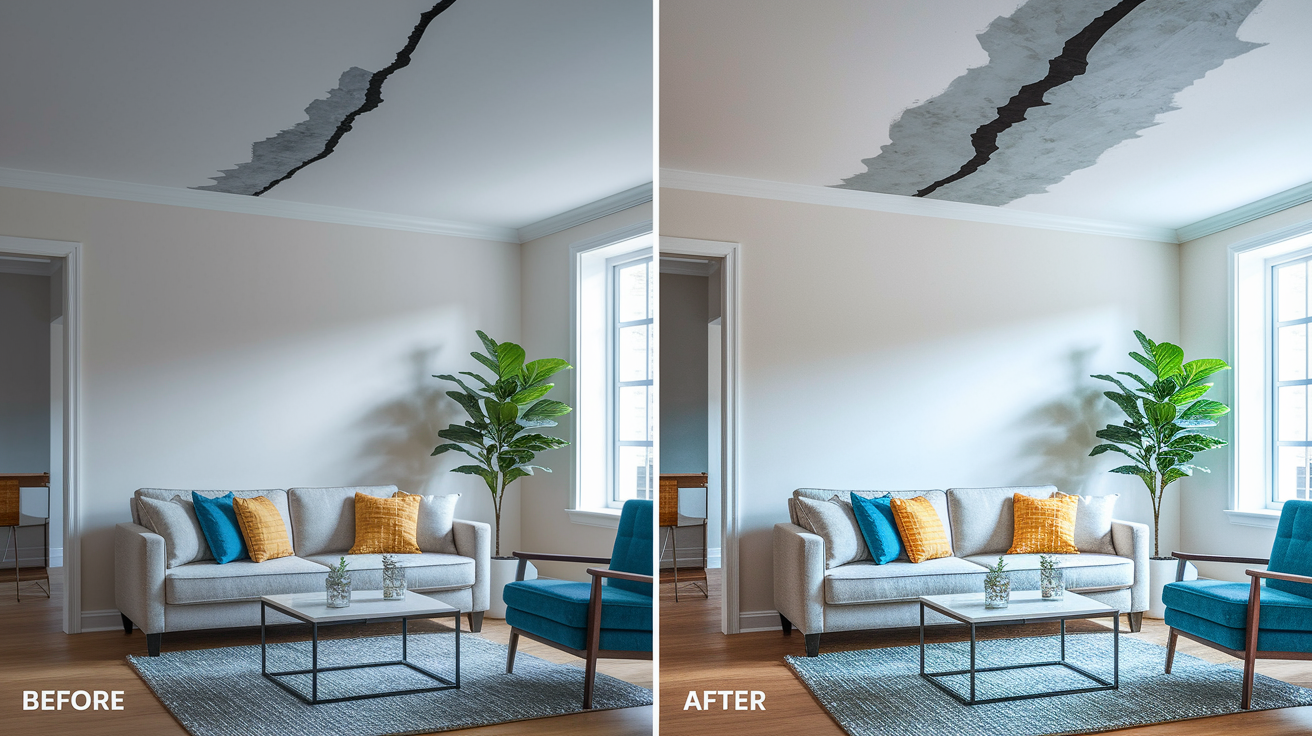
Even when you follow the steps carefully, repairs sometimes don’t go as planned. Here’s how to solve the most common issues.
If the crack reappears in the same spot days or weeks after your repair, the ceiling is still moving. Rigid joint compound can’t flex. It cracks again when the structure shifts. Remove your repair and start over with flexible acrylic caulk or elastomeric filler instead. These materials accommodate minor ongoing movement without cracking. They won’t sand as smooth as compound, so you might see a slight texture difference, but the crack won’t come back. For cracks caused by truss uplift or seasonal settling, flexible materials are the right solution.
When your repaired area stays visible after priming and painting, you’ve got a blending problem. Usually this means you didn’t feather the edges far enough, or you skipped the primer coat. The repaired area absorbs paint differently than the surrounding ceiling. Sand the area again, extending your feathering six to eight inches beyond where you stopped before. Apply a stain blocking primer specifically designed for patched areas. Let it dry completely. Then repaint, feathering your paint application well beyond the primer. If the repair still shows, you might need to paint the entire ceiling to achieve uniform appearance.
If your joint compound cracks while it’s drying, you applied it too thick. Thick layers dry on the outside while the interior stays wet. As the inside dries and shrinks, it pulls the surface apart. Scrape out the cracked compound and start that coat over. Apply thinner layers. It’s better to do three thin coats than one thick one. Each thin coat dries evenly through its entire depth.
Rough or uneven texture after you thought you were done sanding means you stopped too soon or used the wrong sandpaper grit. Go back and sand again with 220 grit fine sandpaper. Use a bright work light aimed at an angle across your repair. The shadows will show every remaining imperfection. Sand until the surface feels smooth when you run your hand across it with your eyes closed. You should not be able to detect where the repair starts and stops by touch.
If the mesh tape keeps showing through your compound no matter how many coats you apply, you’re not building enough thickness. Each coat should extend slightly beyond the previous one and add depth. Make sure you’re applying compound directly over the tape, not just at the edges. Press firmly with your putty knife so compound fills the mesh openings completely. Most tape show through problems get fixed with one or two additional thin coats feathered properly.
Most repair problems trace back to rushing the process or skipping steps. The repair doesn’t look right because compound wasn’t dry when you sanded it. The crack came back because you didn’t address the movement causing it. The paint flashes because you skipped primer. Patience produces professional results. Take your time at each step. Let materials dry completely. Sand until the surface is truly smooth. The extra time investment now prevents having to do the entire repair over again later.
Final Words
Most ceiling cracks are fixable with basic tools, proper technique, and patience.
The key is matching your repair method to the crack type. Hairline fissures need simple filling and sanding. Wider cracks require mesh tape and multiple coats of joint compound. Serious structural cracks need professional assessment before you start any work.
When you learn how to repair cracked ceiling surfaces correctly, you protect your home from further damage and avoid costly contractor bills.
Take your time with each step. Let the compound dry fully between coats. Sand carefully. Match the texture. The result should blend in so well that you forget the crack was ever there.
FAQ
What is the best filler for ceiling cracks?
The best filler for ceiling cracks depends on the crack type. For hairline and small cracks, all-purpose joint compound works well. For cracks that might move slightly due to settling, flexible sealants or elastomeric fillers accommodate movement better than rigid compounds. For moderate to large cracks, use mesh tape reinforcement with setting-type joint compound for stronger repairs that last longer.
Can you use crack filler on a ceiling?
You can use crack filler on a ceiling, but joint compound typically works better for most ceiling repairs. Standard joint compound bonds well to drywall and plaster, sands smooth, and accepts paint easily. Crack fillers and spackle work for very small surface cracks, but they don’t provide the strength or smooth finish needed for larger repairs or areas requiring texture matching.
When should I be worried about ceiling cracks?
You should be worried about ceiling cracks when they’re wider than a quarter inch, continue to grow, or appear with sagging or bowing sections. Cracks accompanied by water stains, cracks above load-bearing walls, spider web patterns, or soft spongy areas all indicate serious problems. These warning signs suggest structural issues or hidden water damage that need professional assessment rather than cosmetic repair.
How do you fix ceiling cracks along drywall seams?
To fix ceiling cracks along drywall seams, first remove loose material and secure both sides with drywall screws if needed. Apply mesh tape centered over the seam, then cover with joint compound using a putty knife. Apply two to three thin coats, feathering edges wider with each coat and allowing proper drying time between applications. Sand smooth starting with medium grit then fine grit sandpaper, prime the repair, and paint to match the existing ceiling.
What causes ceiling cracks to keep coming back?
Ceiling cracks keep coming back when the root cause isn’t addressed before repair. Ongoing foundation settling, truss uplift from temperature changes, unrepaired water leaks, or structural movement causes cracks to reopen. Using rigid joint compound on cracks that continue moving also causes failure. For cracks that return, use flexible sealants that accommodate slight movement, and investigate underlying moisture problems or structural issues before repairing again.
How many coats of joint compound do ceiling cracks need?
Ceiling cracks need two to three coats of joint compound for smooth, durable repairs. The first coat covers the mesh tape and fills the crack. The second coat builds the surface and begins feathering edges to blend with surrounding areas. The final coat creates a smooth finish ready for sanding. Allow four to twenty-four hours drying time between coats depending on compound type and thickness.
Can you repair ceiling cracks without removing popcorn texture?
You can repair ceiling cracks without removing popcorn texture by carefully cutting away damaged texture around the crack, then following standard repair steps with tape and joint compound. After sanding smooth, recreate the popcorn texture using spray texture or by dabbing on diluted joint compound with a sponge. Practice the texture technique on cardboard first since matching existing popcorn texture takes patience and experimentation.
What’s the difference between mesh tape and paper tape for ceiling repairs?
Mesh tape differs from paper tape by allowing joint compound to bond directly through the fiberglass weave to the ceiling surface, creating stronger adhesion. Mesh tape is self-adhesive and easier to apply on overhead ceiling work. Paper tape requires embedding in a base coat of compound and takes more skill, but some professionals prefer it for perfectly flat joints. For most DIY ceiling crack repairs, mesh tape provides better results with less experience.
How long does ceiling crack repair take to complete?
Ceiling crack repair takes two to four hours of actual work for simple hairline cracks, but the process spans several days due to drying time between coats. Each joint compound coat needs four to twenty-four hours to dry completely before applying the next coat or sanding. Complex repairs with multiple cracks or texture matching can take six to ten hours of work spread over three to five days for proper curing and finishing.
Should you prime ceiling repairs before painting?
You should prime ceiling repairs before painting to seal the joint compound and prevent paint flashing. Unpainted compound absorbs paint differently than existing ceiling surfaces, creating visible patches even with multiple paint coats. Primer creates uniform absorption across repaired and original surfaces. Use a stain-blocking primer if the crack was caused by water damage to prevent stains from bleeding through the new paint.
When should you hire a professional for ceiling crack repair?
You should hire a professional for ceiling crack repair when cracks exceed a quarter inch wide, continue growing, or appear with sagging or bowing sections. Professional assessment is necessary for cracks above load-bearing walls, cracks accompanied by wall damage, or areas with water stains and soft drywall. Structural issues, joist problems, and roof damage require expert diagnosis and repair methods beyond safe DIY capabilities.
How do you prevent ceiling cracks from forming?
You prevent ceiling cracks from forming by controlling indoor humidity levels, ensuring proper attic ventilation, and addressing water leaks promptly. Maintain consistent temperatures to reduce expansion and contraction of building materials. Fix roof damage quickly before water reaches ceilings. Regular inspections of attics and crawl spaces catch moisture problems and structural issues early, before they cause visible ceiling damage requiring expensive repairs.