


Ever notice how that one squeaky spot in your hallway announces every midnight trip to the bathroom? That creak isn’t just annoying. It’s usually the subfloor moving against joists, and it won’t stop until you fix what’s causing the movement. The good news is most subfloor squeaks come from simple gaps or loose connections you can repair yourself with basic tools and about a day’s work. We’ll show you how to diagnose the real cause from below, then fix it with shims, blocking, or screws depending on what you find.
Quick Diagnosis Guide
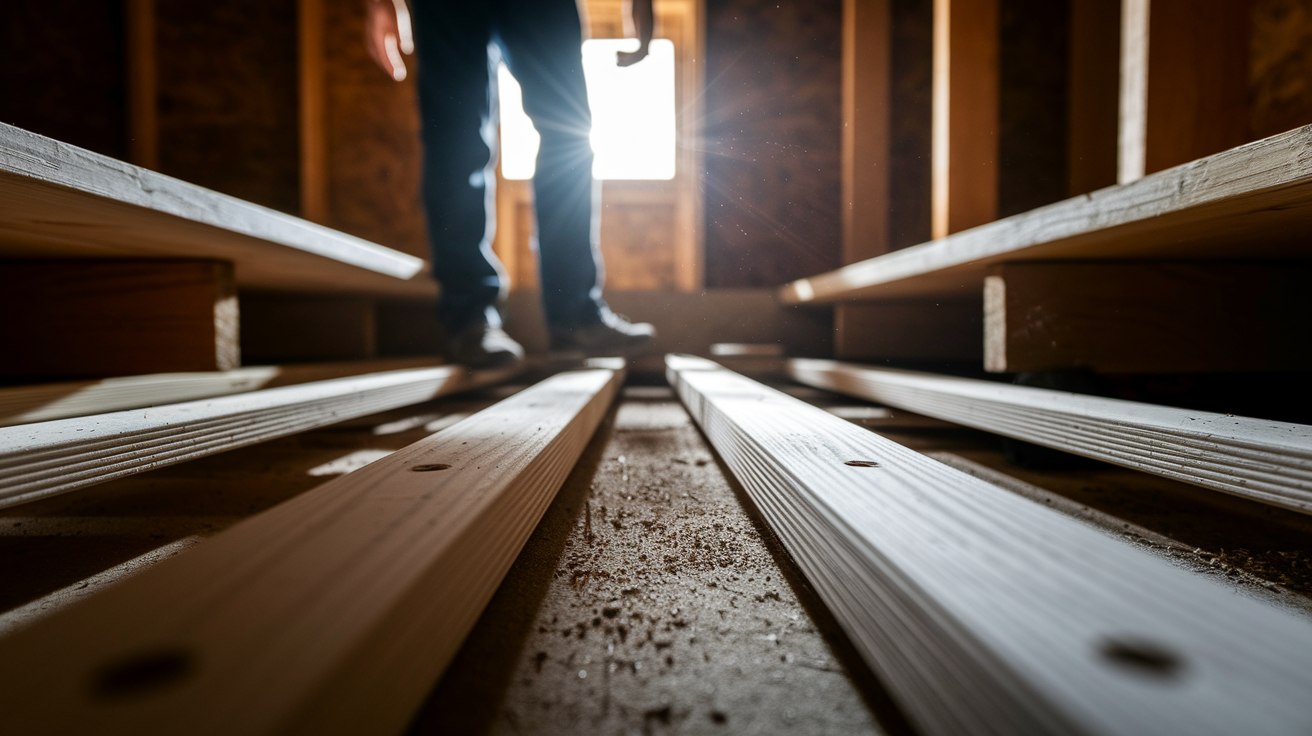
Get someone to walk slowly across the squeaky spot while you’re down in the basement or crawl space watching. You’re looking for visible gaps where the subfloor pulls away from joists, sagging sections that bounce under weight, or movement where plywood sheets meet. Working solo? Push an 8d finish nail up through the carpet from below, then head upstairs to find your marker.
Pay attention to what you see during inspection. Visible gaps between joists and subfloor mean shimming will probably solve it (see Fixing Squeaky Subfloors by Shimming Gaps). Sagging or bouncing joists need blocking for reinforcement (see Reinforcing Joists with Blocking to Eliminate Movement). Movement at seams where two subfloor boards meet requires blocking beneath joints (see Blocking Beneath Subfloor Joints to Stop Movement). No basement access because you’re on a concrete slab or you’ve got a finished basement ceiling? You’ll need to work from above (see Fixing Subfloor Squeaks from Above When No Basement Access Exists).
Finding the exact cause isn’t always simple. You may need to try several solutions before stopping it permanently. The floor acts like a giant soundboard that amplifies every small movement where wood rubs against nails, other wood, ductwork, or piping. Plan on a full day to complete the project. Basic repairs with shims and adhesive cost less than $20.
Essential Tools and Materials for Subfloor Repair
Gather your materials before starting so you’re not making multiple trips to the hardware store mid project.
| Tool/Material | Purpose | Notes |
|---|---|---|
| Cordless drill and drill bit set | Creating pilot holes and driving screws | Include 1/8″ and 3/16″ bits for different applications |
| Construction adhesive | Bonding wood surfaces permanently | One tube covers multiple shim locations |
| Deck screws (2-1/2″, 3″) | Securing blocking and pulling subfloor tight | Choose length based on specific application |
| Wood shims | Filling gaps between joists and subfloor | Use in pairs for even contact |
| Blocking lumber (2×4 and 2×8) | Reinforcing joists and supporting seams | Buy lengths based on measured gaps |
| Caulk gun | Applying construction adhesive | Standard size fits most adhesive tubes |
| Safety equipment | Eye and respiratory protection | Include half mask respirator with organic vapor cartridge |
| Utility knife and tape measure | Scoring shims and measuring cuts | Basic carpentry essentials |
Construction adhesive contains strong solvents that require proper ventilation and respiratory protection. In confined areas like crawl spaces or basements with limited airflow, wear a respirator with organic vapor cartridge. Not just a dust mask. Open windows and use fans to move air through the space. After applying adhesive, keep people off the floor for at least 4 hours while the bond sets. For full strength, wait a full day before heavy foot traffic.
Keep diagonal cutters handy for clipping protruding nails you discover during inspection. These old fasteners can poke through the subfloor and may require a strong grip and multiple attempts to work through the nail shaft.
Fixing Squeaky Subfloors by Shimming Gaps
This technique works best when you can see visible gaps between the floor joists and the plywood or OSB boards above them.
Locate the exact squeak from below while your helper walks on the floor above, watching where the subfloor moves away from the joist. Slide a pair of wood shims into the gap from opposite sides until they fit snugly. Don’t force them so hard that you widen the gap or lift the floor.
Remove the shims and apply construction adhesive to both angled faces of each shim. Reinsert the glued shims into the gap, pushing them to the same snug position as your test fit.
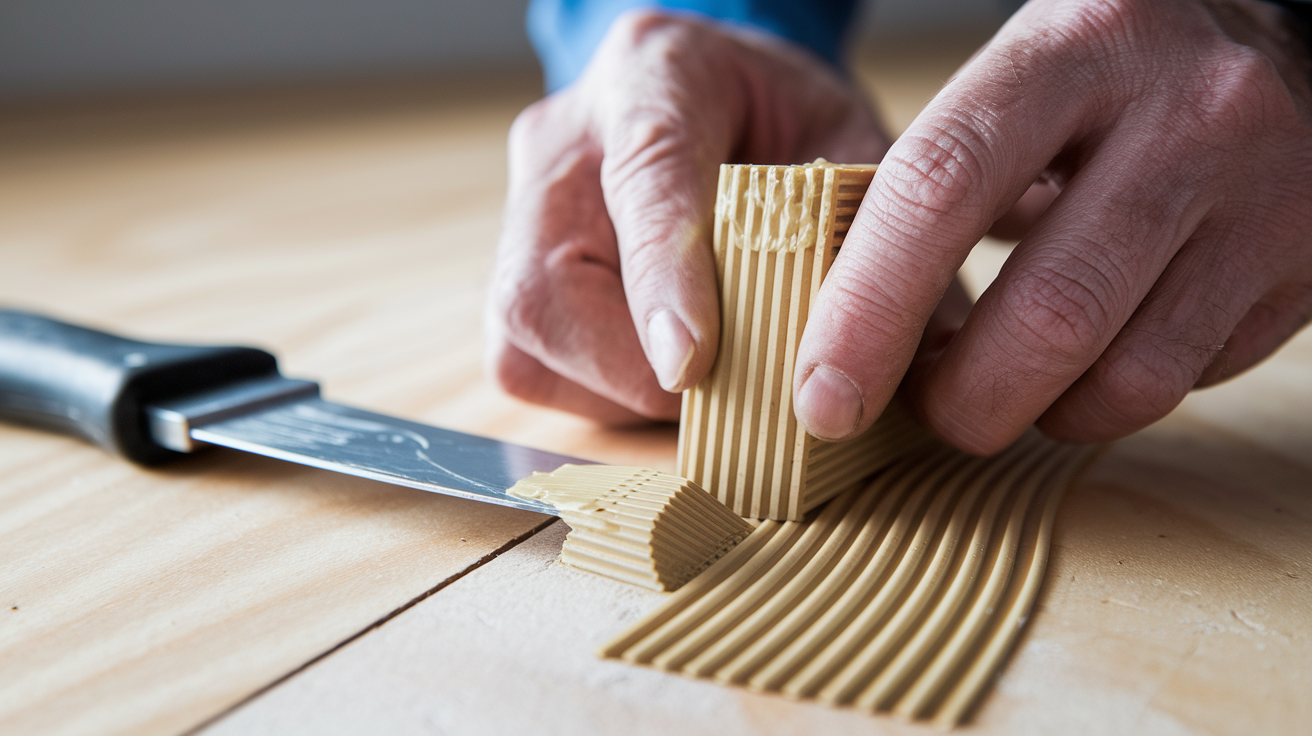
Score the protruding shim ends with a utility knife two or three times, pressing firmly, then snap off the excess. Score any protruding shims with a utility knife two or three times until they snap clean, leaving a flush surface that won’t interfere with anything you install later.
Stay off the repaired floor section for 4 hours while the adhesive hardens enough to create a permanent bond.
Before installing shims, check for old nails sticking through the subfloor. Clip them flush with diagonal cutters, which takes some hand strength but prevents punctures and improves the shim fit.
This provides a permanent solution for gap related squeaks because the hardened adhesive prevents any wood on wood movement that creates noise. The shims fill the space and the glue locks everything in place.
Reinforcing Joists with Blocking to Eliminate Movement
Use this approach when you see sagging floors, wide gaps that shims won’t bridge, or joists that deflect noticeably when someone walks above.
To sister a joist, cut a 2×4 that extends 1 foot beyond each end of the poorly supported area. That’s 2 feet longer total than the gap itself. Mark pilot hole locations every 12 inches along the 2×4. Drill 3/16 inch clearance holes at each mark, angling the bit slightly upward. Apply construction adhesive liberally to the side of the 2×4 that will contact the joist. While your helper pushes up on the floor from below to close the gap, position the glued 2×4 against the joist and drive 2-1/2 inch wood screws through your pre drilled holes into the joist. Work from one end to the other, maintaining upward pressure as you go.
For joists that twist or rotate causing movement across a wider area, install perpendicular blocking between the joists. Measure the space between two joists and cut a section of 2×8 blocking to fit snugly. It should require light tapping to seat it. Apply construction adhesive to the top edge of the blocking where it’ll contact the subfloor. Position the block where you want it, then drill angled pilot holes through the blocking face using a 1/8 inch bit. Drive 3 inch deck screws at an upward angle through these pilot holes to force the block tight against the subfloor seam above. Space your fasteners about 8 inches apart along the block length. After securing the block to the subfloor, drive additional screws or nails through the joists into each end of the blocking to lock it in place permanently.
Most building codes require blocking or bridging at mid span for joists longer than 8 feet. Proper spacing adds stiffness across the entire floor system and prevents the twisting movement that contributes to squeaks.
Screw and Glue Method for Subfloor from Below
This method works when you have accessible basement or crawl space below the squeaky area and want to secure the subfloor without disturbing the finished floor above.
First, determine your floor thickness. Remove a floor register and measure where the ductwork penetrates through the floor, or drill a small test hole in an out of the way corner like a closet. You need the total thickness from the basement ceiling (subfloor bottom) to the walking surface above, including any underlayment layers.
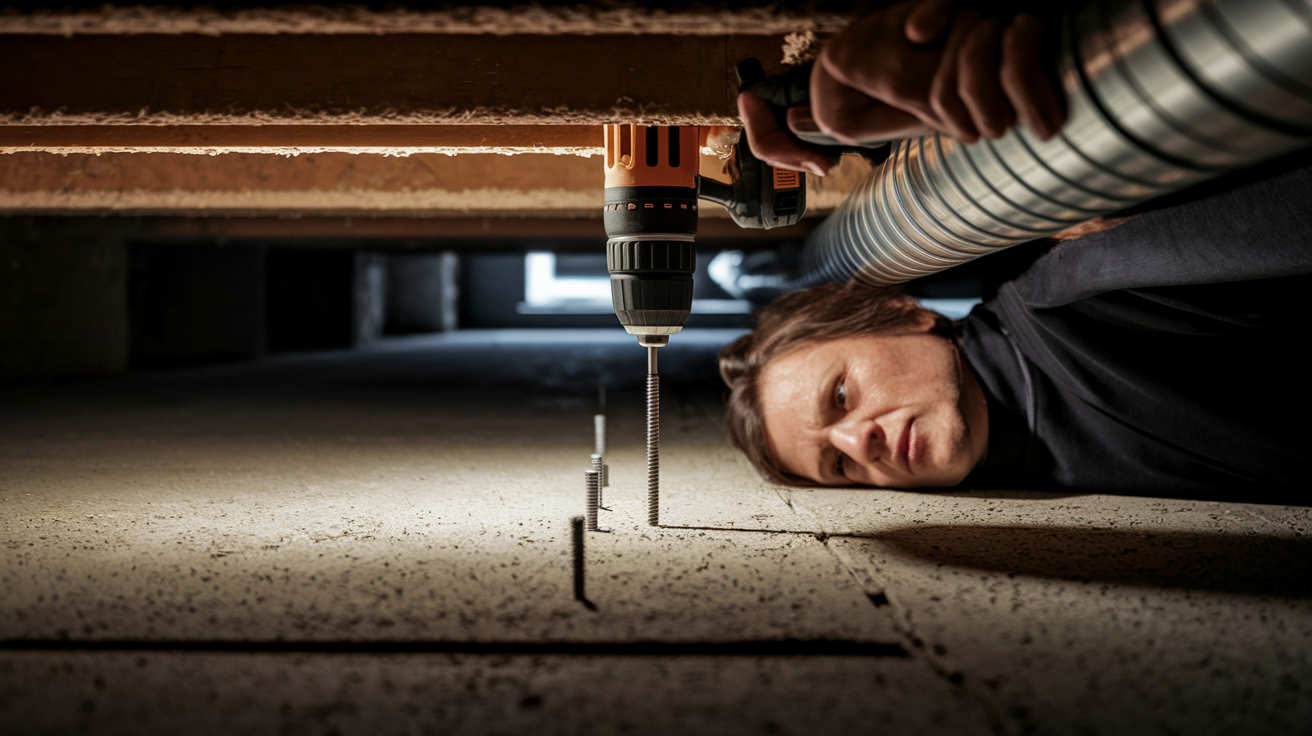
Mark your drill bit with masking tape at a depth 1/2 inch less than the total floor thickness. Have your helper stand directly on the squeaky spot above while you work below. Drill pilot holes with a 1/8 inch bit at the taped depth, spacing them every 6 inches across the squeaky area. The tape prevents you from drilling too deep. Purchase number 8 wood screws that are 1/4 inch shorter than your total floor thickness measurement. This prevents screw points from breaking through to the finished surface. Drive the screws through your pilot holes while your helper maintains pressure from above, pulling the subfloor tight to the joist. The helper’s weight ensures good contact while the fasteners draw everything together.
Set screw heads flush with the subfloor bottom rather than sinking them deeper. Counter sinking too far could cause screw points to penetrate through the finished floor surface, creating visible damage or a safety hazard.
This technique works equally well whether you’re securing plywood subfloor to joists or tightening hardwood flooring that’s separated from the subfloor beneath it. The pilot holes prevent splitting and the careful depth control protects your finished floor.
Fixing Subfloor Squeaks from Above When No Basement Access Exists
You’ll need this approach when you’re dealing with a concrete slab foundation, a second floor with no access below, or a finished basement ceiling you can’t remove.
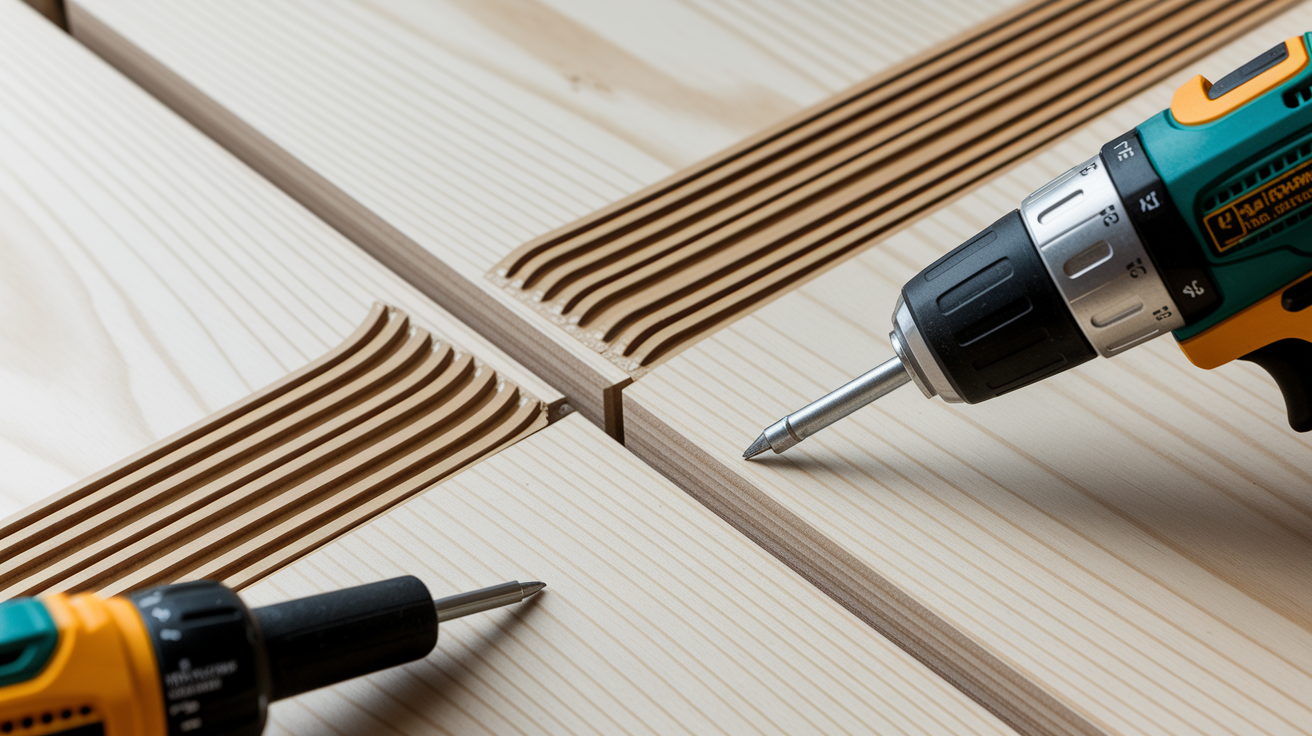
The angled screw technique pulls the subfloor tight against the floor joists without requiring access from below. First, locate the joists using a stud finder, marking their positions with painter’s tape. At each squeaky location, drive two deck screws at opposing 45 degree angles through the subfloor into the joist. Drive two deck screws at opposing 45 degree angles, one leaning left and one leaning right, so they cross paths inside the joist and lock the subfloor down from both directions. Space these paired screws every 8 to 12 inches along the joist where you hear squeaking.
The floor covering type affects your approach. For hardwood flooring, predrill to prevent splitting, then counter sink the screws and fill the holes with color matched wood filler. The repair will be visible but small. Under carpet, you can lift the carpet edge, pull back the padding, and drive screws through the subfloor without disturbing the carpet itself. Just replace the padding and stretch the carpet back. Laminate flooring and vinyl flooring may need removal in problem areas because you can’t effectively hide fastener heads in these materials. That’s a bigger project but sometimes it’s the only option.
Choose screw lengths that penetrate completely through your subfloor and at least 1 inch into the joist beneath. Too short and they won’t hold. Too long and they might hit plumbing or electrical below, which is why access from underneath is generally safer if you have it.
The trade off with working from above is visible fastener locations, but it provides a permanent solution without tearing out ceilings or dealing with inaccessible crawl spaces.
Blocking Beneath Subfloor Joints to Stop Movement
Squeaks at subfloor seams happen where plywood or OSB boards meet, especially when the joint doesn’t fall directly over a joist. The tongue and groove edges move against each other under foot traffic, and inadequate fastening at the seams allows deflection that creates noise.
Measure the space between the two joists on either side of the squeaky seam and cut a section of 2×8 blocking to fit snugly between them. You want it tight enough to require light tapping with a hammer.
Apply a generous bead of construction adhesive along the top surface of the blocking where it’ll contact the subfloor seam. Position the block directly beneath the seam, adhesive side up.
Drill angled pilot holes through the face of the blocking using a 1/8 inch bit, spacing them about 8 inches apart along the length. Drive 3 inch deck screws upward through these angled pilot holes to force the block tight against the subfloor seam above. The screws pull the joint closed and the adhesive creates a permanent bond.
After the blocking is tight against the seam, secure the block ends by driving fasteners through the joists into each end of the blocking. This prevents the block from working loose over time, which would create new squeaks. Use either screws or 16d nails for this step.
This method works for both plywood and OSB boards in standard subfloor installation. If you notice extensive movement or soft spots around seams, that may indicate moisture problems from water damage requiring professional assessment. Minor deflection is normal, but significant sagging or spongy areas suggest structural damage beyond simple squeak repair.
Quick Temporary Fixes for Subfloor Squeaks
Sometimes you need a short term solution while you plan permanent repairs, or you’re dealing with a rental property where major work isn’t practical.
Talcum powder and graphite powder reduce friction between hardwood flooring boards that rub together during seasonal changes. Sprinkle the powder generously into the cracks and gaps where you hear squeaking, then work it into the joints by walking over the area. The powder coats the board edges and reduces the friction that creates noise. This works best for hardwood flooring movement during winter months when lower humidity levels cause wood to shrink, opening small gaps. In summer, higher humidity makes the boards swell and the gaps close up again, sometimes resolving the squeak on their own.
These lubricant solutions have real limitations. The powder washes away during regular floor cleaning, so you’ll need to reapply it every few weeks. Humidity levels continue causing wood movement regardless of the powder, so the underlying problem remains. You’re treating the symptom, not the cause.
Seasonal squeaks that appear in winter and disappear in summer often don’t need permanent repair. But if you hear squeaking year round, or if it’s getting worse over time, powder won’t help much. Proper subfloor attachment is needed for lasting results. The boards need to be secured to the joists so they can’t move and rub against each other in the first place.
Think of temporary fixes as a way to buy time, not as a permanent solution. They’re useful for getting through a season or delaying major work until you can schedule it properly.
Preventing Future Subfloor Squeaking Issues
Prevention during construction or remodeling is easier and cheaper than fixing squeaks later.
Proper subfloor installation starts with construction adhesive on all joist tops before laying the plywood sheets. Run a continuous bead of adhesive along each joist, then immediately lay the plywood and secure it. Use deck screws instead of nails for proper attachment. Screws don’t back out over time like nails do, which is the main cause of squeaks as fasteners loosen and allow boards to rub together. Space fasteners every 6 to 8 inches along each joist, and place them about 6 inches apart along the panel edges where two sheets meet. Drive screws until heads are flush but not countersunk, which can dimple the plywood and create weak spots.
Structural considerations matter as much as fastening technique. Floor joists must be spaced according to building codes, typically 16 inches on center for residential floors, though this varies by span and load requirements. Install bridging or blocking between joists at mid span for any joist run longer than 8 feet. The blocking adds stiffness across the entire floor system and prevents individual joists from twisting or rotating under load. Choose underlayment appropriate for your floor covering type. Some materials require specific substrates to prevent squeaking and maintain warranty coverage.
Control moisture problems and humidity levels to minimize wood expansion during seasonal changes. Wood movement is natural, but extreme swings from very dry to very humid conditions put stress on fasteners and joints. Maintain consistent indoor humidity between 30 and 50 percent year round. In crawl spaces, install vapor barriers over dirt floors and ensure adequate ventilation to prevent moisture buildup that leads to wood rot and structural damage.
Properly gluing and screwing subfloor costs more in materials and labor up front, but it prevents future squeaks and saves time and money long term compared to repairs later.
Understanding When Professional Help Is Needed
Some situations go beyond what’s practical or safe for DIY repair.
Red flags include sagging floors that indicate problems with support beams or load bearing walls beneath, not just loose subfloor. Extensive structural damage from moisture problems, rot, or insect damage requires assessment by someone who can determine if joists need replacement or if foundation work is necessary. Major subfloor replacement often requires building permits and code compliance inspections, especially if you’re removing more than a small section. Situations requiring floor leveling with self leveling cement before installing finished flooring need experience with that material’s mixing and application. It’s easy to mess up and expensive to fix.
Compare your time and material costs against professional installation. If you’re looking at a weekend project with $50 in materials, DIY makes sense. If you’re staring at multiple days of work, $300 in materials, tool rentals, and uncertainty about whether your approach will actually solve the problem, a contractor’s quote might be competitive. Professionals also provide warranty coverage. If the squeak comes back in six months, they’ll return to fix it.
What professionals can address that most homeowners can’t: foundation issues requiring helical piles screwed 14 feet into the earth to relieve weight from upper floors and allow leveling, sister joists for major reinforcement across long spans, complete subfloor installation that meets current building codes, and working with building inspectors for permit requirements. They have access to specialized equipment like laser levels for checking floor plane, concrete demolition tools if slab work is needed, and lift equipment for handling full sheets of plywood in tight spaces.
Complex situations requiring contractor expertise include structural repairs that affect home safety, any work involving load bearing modifications, and extensive water damage that’s compromised floor framing. Get multiple quotes and ask specifically about their approach to diagnosis, what they’ll do to prevent future problems, and what’s covered under warranty.
Final Words
A squeaky subfloor isn’t something you need to live with.
Most squeaks come down to gaps between joists and plywood, loose connections, or subfloor seams that move underfoot. Whether you shim from below, drive screws through the surface, or add blocking for extra support, these repairs stop the noise and tighten up the structure.
Start with a walk test to pinpoint the problem. Then pick the method that fits your access and floor type.
Most repairs cost under $20 and take a day or less. The floor feels more solid when you’re done, and that squeak stays gone.
If you run into sagging joists or serious structural movement, that’s when it’s time to call someone in.
FAQ
How can I stop a subfloor from squeaking?
You can stop a subfloor from squeaking by first locating the source of the noise from below while a helper walks above, then addressing the specific cause. Common fixes include sliding wood shims coated with construction adhesive into gaps between joists and subfloor, driving screws up through the subfloor into the finished floor from below, or installing blocking between joists to eliminate movement and deflection.
How do I stop my floors from creaking when walking?
You can stop floors from creaking when walking by identifying whether you have access below the floor, then choosing the right repair method. From below, apply construction adhesive and shims to gaps, or drive screws up into the subfloor while someone stands above. From above without basement access, drive pairs of screws at opposing 45-degree angles through the finished floor into the joists to pull everything tight together.
Can a squeaky wood floor be fixed?
A squeaky wood floor can be fixed with several permanent methods depending on your access and the squeak cause. With basement or crawl space access, you can shim gaps, add blocking between joists, or screw up through the subfloor from below. Without access below, you can drive screws down through the finished floor at angles, though this requires countersinking and filling holes for a clean appearance.
Does WD-40 work on squeaky floors?
WD-40 does not provide a lasting fix for squeaky floors because it only temporarily lubricates wood rubbing against fasteners or other wood surfaces. The lubricant washes away during cleaning and does not address the root cause of movement between the subfloor and floor joists. Permanent repairs require mechanical fastening with screws, construction adhesive, shims, or blocking to eliminate the movement causing the squeak.