

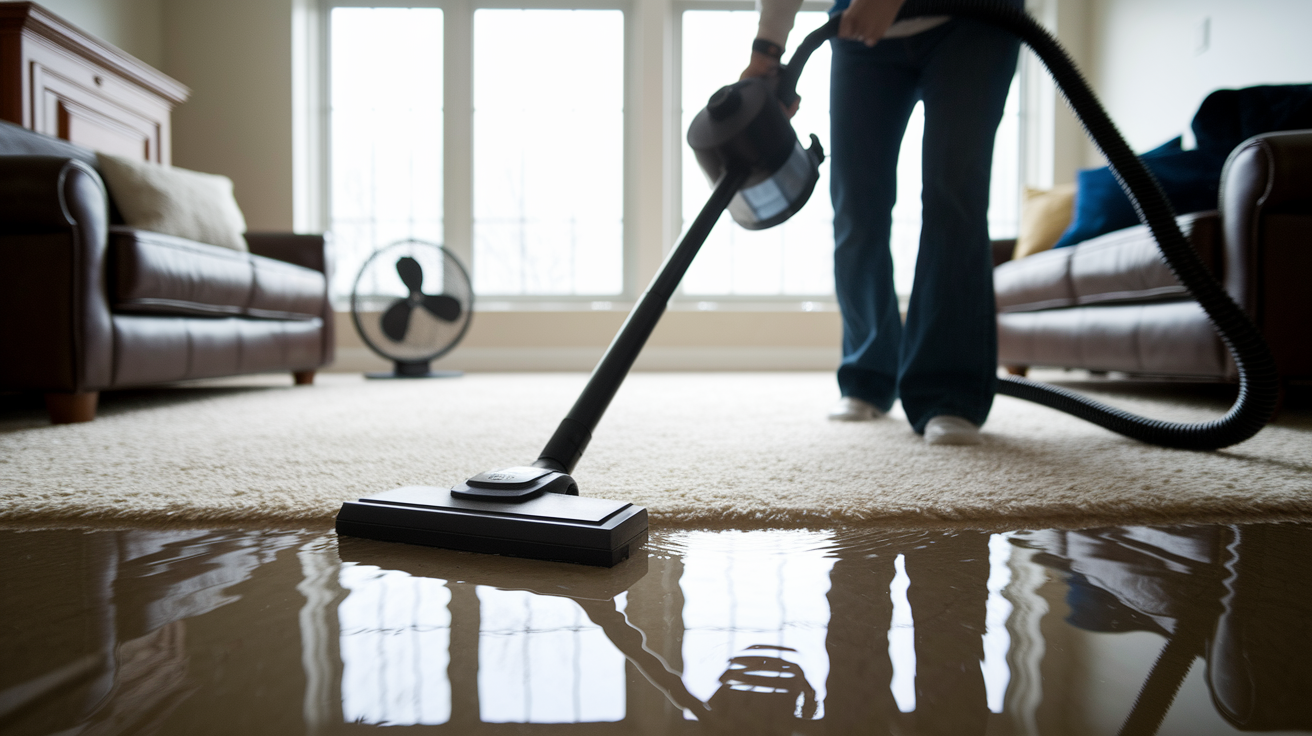

You’ve got 24 to 48 hours before mold starts growing on wet surfaces in your home. Miss that window, and you’re looking at a much bigger problem. Water damage doesn’t fix itself, and mold doesn’t wait around for you to get organized. The good news is that you can stop mold before it starts if you move fast and focus on the right steps. We’re going to walk you through exactly what to do in those first two days to keep mold from taking hold in your walls, floors, and anywhere else water reached.
Critical Steps to Stop Mold Growth After Water Damage
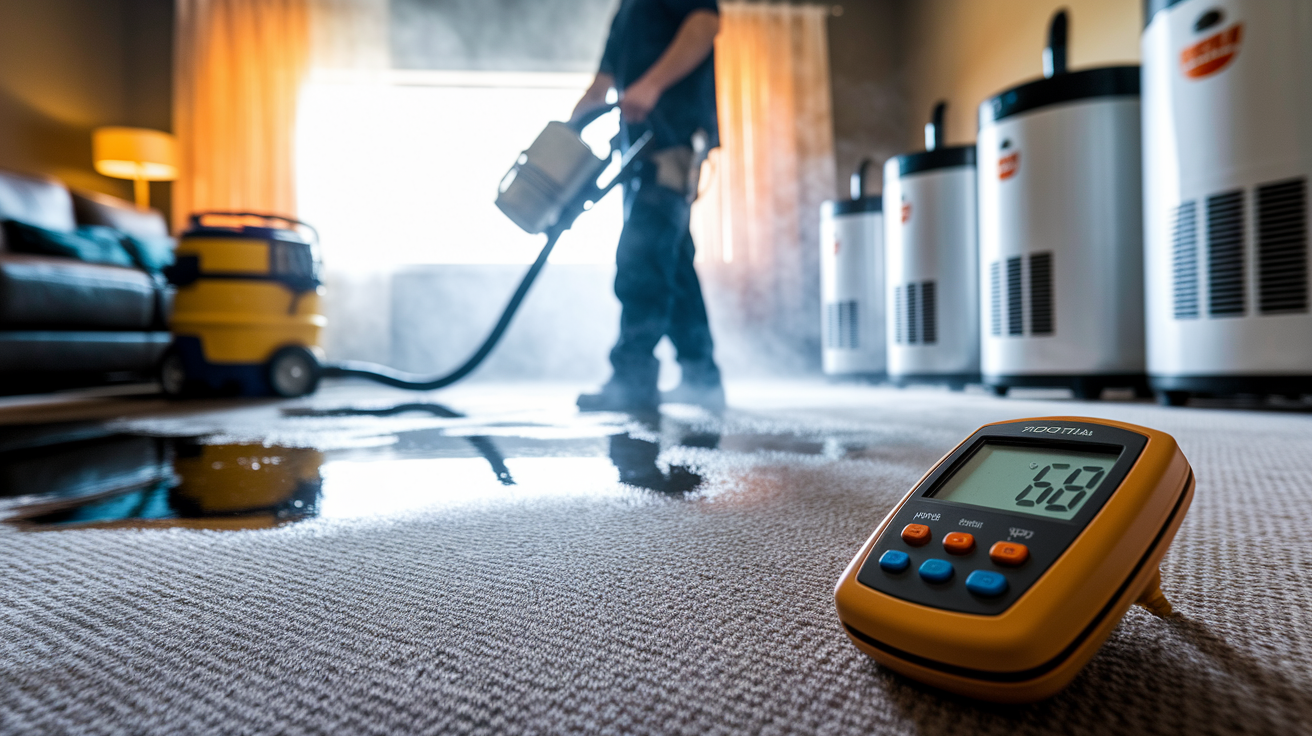
You’ve got 24 to 48 hours before mold spores start setting up shop on wet surfaces. That’s your window. Once mold gets going, it doesn’t stop until you kill the moisture source and properly remediate the area.
Standing water comes first. Grab a wet/dry vac or shop vac and start pulling water off floors, carpets, anywhere it’s pooling. If you’re dealing with deeper flooding, a submersible pump moves things faster than a vacuum can manage. Work from where the water’s deepest toward the edges. Small amounts? A mop and bucket do the job. The point is getting bulk water out fast so drying equipment can actually work.
Get furniture, rugs, and anything wet out of the space right now. Leaving furniture sitting on wet carpet traps moisture underneath and blocks airflow. Wet stuff keeps absorbing water the longer it sits there. Clear everything so you can see what you’re dealing with and reach every wet surface. Stash the removed items somewhere dry where you can figure out later what’s salvageable.
After standing water’s gone, start drying surfaces manually. Towels and old rags pull water off walls, baseboards, furniture. Wring them out constantly and keep working until you’re barely getting moisture. A floor mop works on hard surfaces. This step removes surface water that would otherwise just evaporate slowly into the air, making mechanical drying way more effective.
Figure out if this is something you can handle or if you need pros. A burst pipe that flooded one bathroom? Probably manageable if you move fast. Flooded basement, sewage backup, water spreading through walls? That needs professional extraction and drying gear. If you’re not sure about the scope, get a water damage restoration company to assess it before that 48 hour window closes.
Safety Precautions Before Starting Water Damage Cleanup
Cut power to any rooms with standing water before you walk in. Water conducts electricity. Walking through a flooded room with live outlets creates serious electrocution risk. Find your main electrical panel and shut off breakers to affected areas. If the panel’s in the flooded space, call an electrician or your utility company to disconnect power first.
Not all water carries the same risks. The restoration industry breaks water into three categories based on contamination. Category 1 is clean water from supply lines, like a broken pipe or water heater leak. Relatively safe with basic precautions. Category 2 is gray water with some contamination, think washing machine overflow, dishwasher leak, toilet bowl water without feces. It’s got bacteria and needs careful handling. Category 3 is black water with serious contamination from sewage backups, river flooding, or water that’s been sitting stagnant for days. Black water carries harmful bacteria, viruses, other pathogens.
What you need for water damage cleanup:
- N95 respirator to keep mold spores out of your lungs
- Safety goggles against contaminated water splash
- Waterproof gloves, nitrile or rubber extending past your wrist
- Rubber boots with good tread so you don’t slip on wet surfaces
- Long sleeves and pants to minimize skin contact
- Waterproof apron for extended work
Don’t try cleanup yourself if you’re dealing with sewage backup, extensive flooding through multiple rooms, or any Category 3 black water situation. These need professional remediation companies with specialized equipment and hazmat training. The health risks from contaminated water exposure and the mold that follows aren’t worth any money you’d save doing it yourself.
Drying Wet Surfaces and Establishing Proper Air Circulation
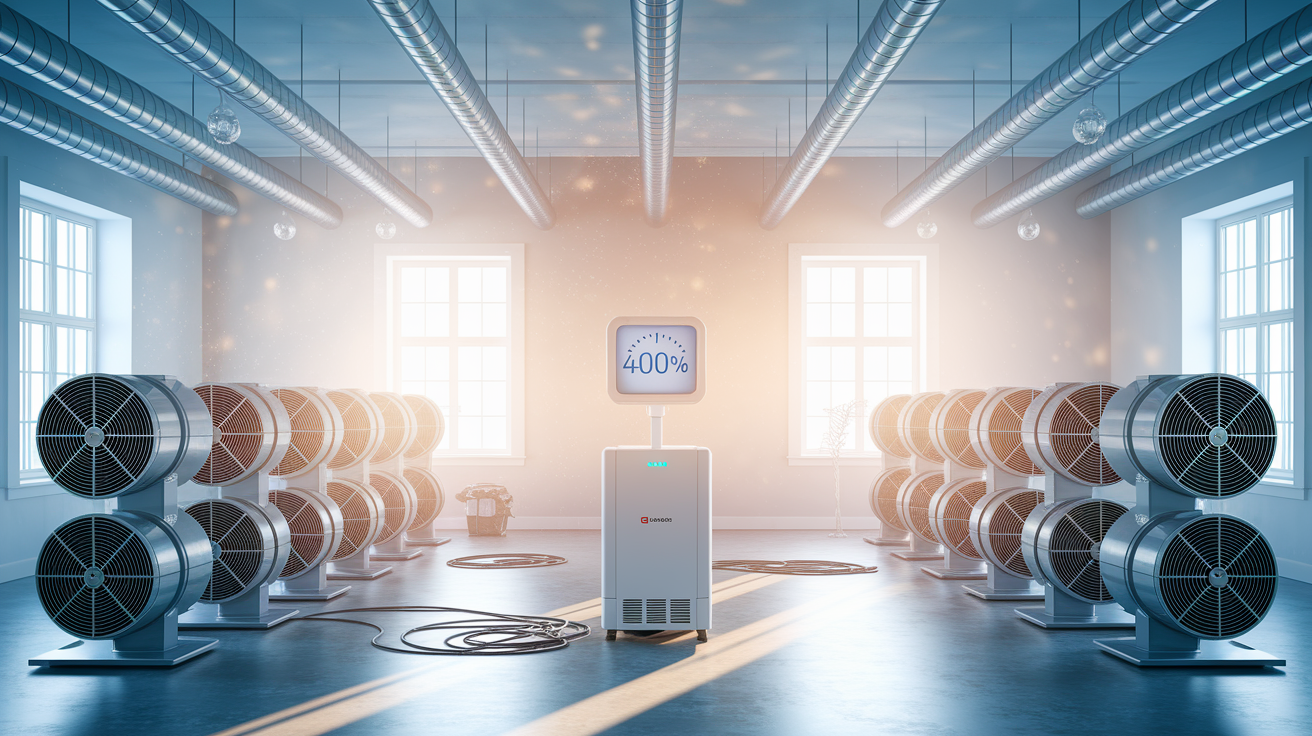
Effective recovery needs both air movement and humidity control working together. Fans push moisture off wet surfaces and keep air circulating so humidity doesn’t settle into hidden spaces. Dehumidifiers pull that moisture out of the air. One without the other leaves you with either damp surfaces in dry air or dry surfaces in humid air that’ll just reabsorb moisture.
Set up multiple fans throughout the affected area to create overlapping airflow. Position them at different angles so air moves across floors, up walls, around obstacles instead of just blowing one direction. Box fans work for small areas. Larger spaces need high velocity air movers designed for water damage work. Open windows and doors for cross ventilation when outdoor humidity’s lower than indoors. Check the weather though. If it’s humid or raining outside, keep windows closed and rely entirely on mechanical drying or you’re just bringing more moisture inside.
Keep indoor relative humidity below 60 percent throughout drying. Ideal range is 30 to 40 percent. Above 60 percent, mold spores germinate and start colonizing surfaces. Below 50 percent, growth slows significantly. A dehumidifier pulls moisture from the air continuously, condensing it into a collection bucket or drain line. Empty the bucket often or connect it to a drain if you can. Place the dehumidifier in the center of the affected area, away from walls, so air can circulate through the intake and exhaust vents freely.
Drying time depends on how much water got in and what materials got wet. A small water heater leak might dry in two to three days with fans and a household dehumidifier. A flooded basement can take two weeks or more with commercial equipment running constantly. Use a moisture meter to track progress in walls, subfloors, other hidden areas. The meter gives you a reading that drops as materials dry. Keep equipment running until readings return to normal baseline levels for each material type. Guessing based on how surfaces feel gets you incomplete drying and mold growth in areas still holding moisture.
Refrigerant dehumidifiers work well in moderate temps but lose efficiency below 65 degrees. Desiccant dehumidifiers work in any temperature and pull moisture more aggressively, which is why pros prefer them for water damage work. A household dehumidifier rated for 30 or 50 pints per day might keep up with a small area, but it won’t match the extraction capacity of a commercial unit rated for 150 to 200 pints daily. The faster you remove moisture from the air, the faster materials dry and the smaller your mold risk becomes.
| Material Type | Typical Drying Timeframe |
|---|---|
| Carpet | 24 to 72 hours with padding removed |
| Drywall | 3 to 5 days for surface, up to 2 weeks for full thickness |
| Wood Flooring | 7 to 14 days depending on water exposure duration |
| Concrete | Several weeks for complete subsurface drying |
| Insulation | Rarely salvageable, removal typically required |
Identifying and Addressing Hidden Moisture in Structural Areas
Water spreads through paths you can’t see. It travels through wall cavities, soaks into insulation, seeps under flooring, pools in ceiling voids above damaged rooms. A small visible water stain on a ceiling often means gallons of water trapped in the space above it. These hidden pockets are where mold grows fastest because air circulation can’t reach them.
Check for hidden moisture by pressing firmly on walls near the damaged area. Drywall that feels soft or spongy holds water. Pull back carpet edges and check the padding underneath. Wet padding feels cold and heavy. Look at baseboards closely. Water wicks up from floors and discolors or warps the bottom edge. A moisture meter takes the guesswork out. The device uses pins or sensors to measure moisture content inside materials without removing them. Professional restoration companies use thermal imaging cameras that show temperature differences caused by moisture. Wet areas appear as cool spots on the screen because evaporation lowers surface temperature.
Common locations where hidden moisture accumulates:
- Wall cavities between studs where water runs down from above
- Crawl spaces beneath floors where drainage collects
- Subflooring under carpet and padding
- Insulation in walls, ceilings, attics
- Ceiling voids and spaces above drop ceilings
- Behind baseboards and trim where water wicks upward
- Inside wood framing members that absorb water slowly
Drywall and insulation must be removed if they’re saturated. Cutting out wet drywall exposes the wall cavity so air can circulate through studs and dry the framing. Insulation acts like a sponge. Once it’s soaked, it stays wet, compresses, loses its insulating value while creating an ideal mold growth environment. Carpet and padding follow the same rule. Padding rarely dries adequately and should be removed. The carpet itself can sometimes be saved if dried within 48 hours, but that decision depends on water category and padding condition.
Removing and Salvaging Water Damaged Materials
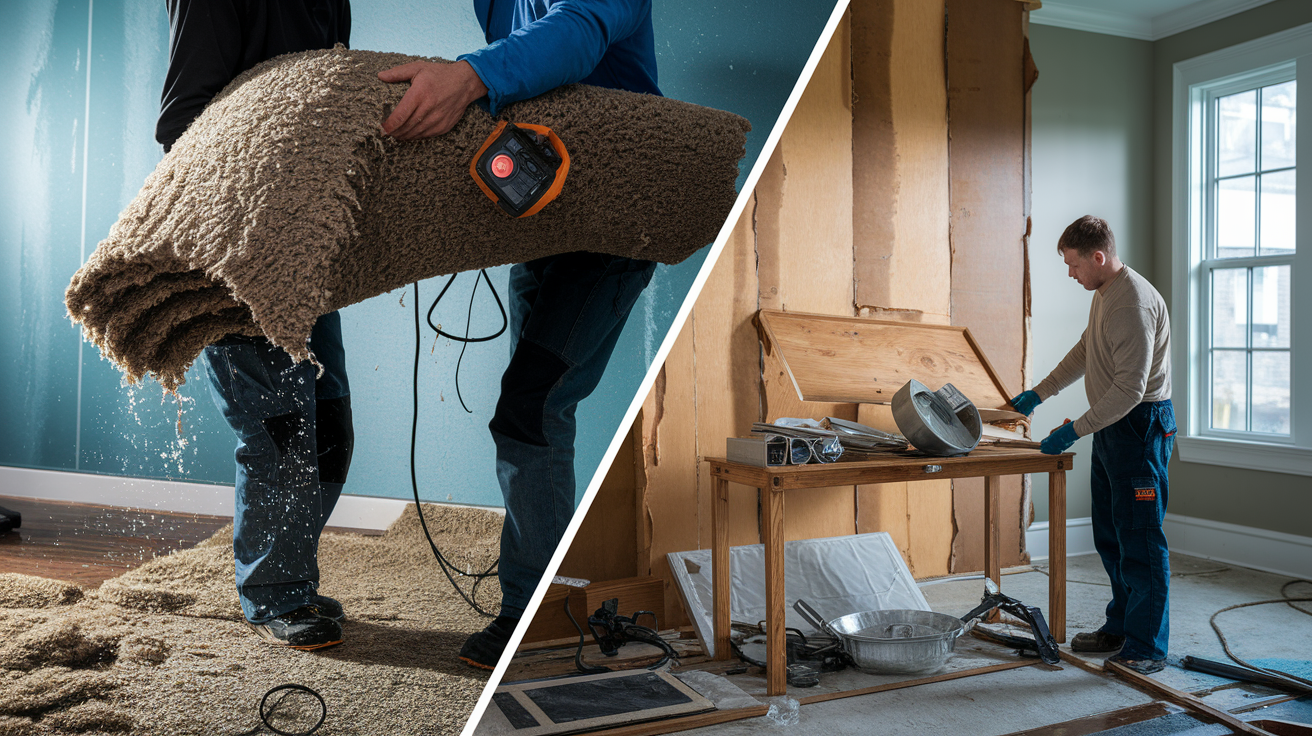
Porous materials trap water in spaces air can’t reach. Non-porous materials like metal, glass, solid plastic have surfaces you can dry with a towel. Porous materials have internal structure that absorbs and holds moisture. Drywall is compressed gypsum with a paper face. Carpet padding is foam or fiber designed to compress under foot traffic. Insulation traps air, which means it also traps moisture. These materials either dry completely within 48 hours or they don’t dry adequately at all.
Carpet padding can’t be salvaged after water damage in most cases. The material stays damp long after the carpet above it feels dry. Remove it, check the subfloor beneath for moisture, replace it with new padding after everything dries. Upholstered furniture with fabric cushions falls into the same category. The foam inside holds water and takes too long to dry. Pillows, dog beds, throw rugs, fabric window treatments usually cost less to replace than the effort required to dry and sanitize them. Drywall that’s been wet for more than 48 hours should be cut out at least 12 inches above the visible water line. Wood paneling warps and delaminates. Ceiling tiles disintegrate. These are disposal items, not salvage.
Take photos and video of everything before you move or discard it. Insurance claims require documentation of what was damaged, how severely, what you did in response. Walk through each affected room with your phone and record wide shots of the space, then close ups of individual damaged items. Photograph water stains, buckled flooring, soaked carpets, anything you plan to throw away. If a claims adjuster hasn’t inspected your property yet, keep damaged items until they do. Stack them in a garage or outside under a tarp if necessary. If waiting isn’t practical because of health risks or space constraints, document thoroughly before disposal.
Don’t throw anything away until you’ve reported the loss to your insurance company. Even if your policy doesn’t cover flooding from outside sources, it likely covers sudden internal water damage from burst pipes or appliance failures. The company needs to assess the damage and determine what’s covered. Disposing of items before the adjuster arrives can result in claim denials or reduced payouts because the company couldn’t verify the loss.
Sanitizing and Disinfecting Water Damaged Surfaces
Drying removes moisture, but it doesn’t kill mold spores already present on wet surfaces. Spores become inactive without moisture, but they don’t die. They sit dormant until the next time humidity rises or a leak occurs. Sanitizing eliminates those spores so they can’t restart the growth cycle when conditions improve.
The CDC recommends a solution of one cup household chlorine bleach per gallon of water for killing mold on hard surfaces. Mix the solution in a bucket. Wear gloves and eye protection because bleach irritates skin and eyes. Apply the solution to floors, walls, baseboards, any other hard surface that was wet. Let it sit for ten minutes so the bleach has time to kill spores, then wipe or rinse the surface. Bleach works on non-porous materials like tile, vinyl, painted drywall, sealed wood. It doesn’t penetrate porous materials effectively, which is another reason those materials usually need replacement rather than cleaning.
Complete sanitization process:
- Remove all standing water and loose debris from the area
- Wash surfaces with soap and warm water to remove dirt and organic material
- Mix bleach solution (1 cup bleach per gallon of water) in a clean bucket
- Apply bleach solution to all affected surfaces using a mop, sponge, or spray bottle
- Allow solution to remain on surfaces for 10 minutes before rinsing or wiping dry
Antimicrobial treatments offer additional protection in areas that have been water damaged before or are prone to humidity problems. These are spray on or fog applied products that leave a residual coating on surfaces. The coating inhibits mold growth for months after application. Professionals often apply them as a final step in water damage restoration. For basements, crawl spaces, or bathrooms with recurring moisture issues, the treatment provides extra insurance against future mold problems.
When to Call Professional Water Damage Restoration Services
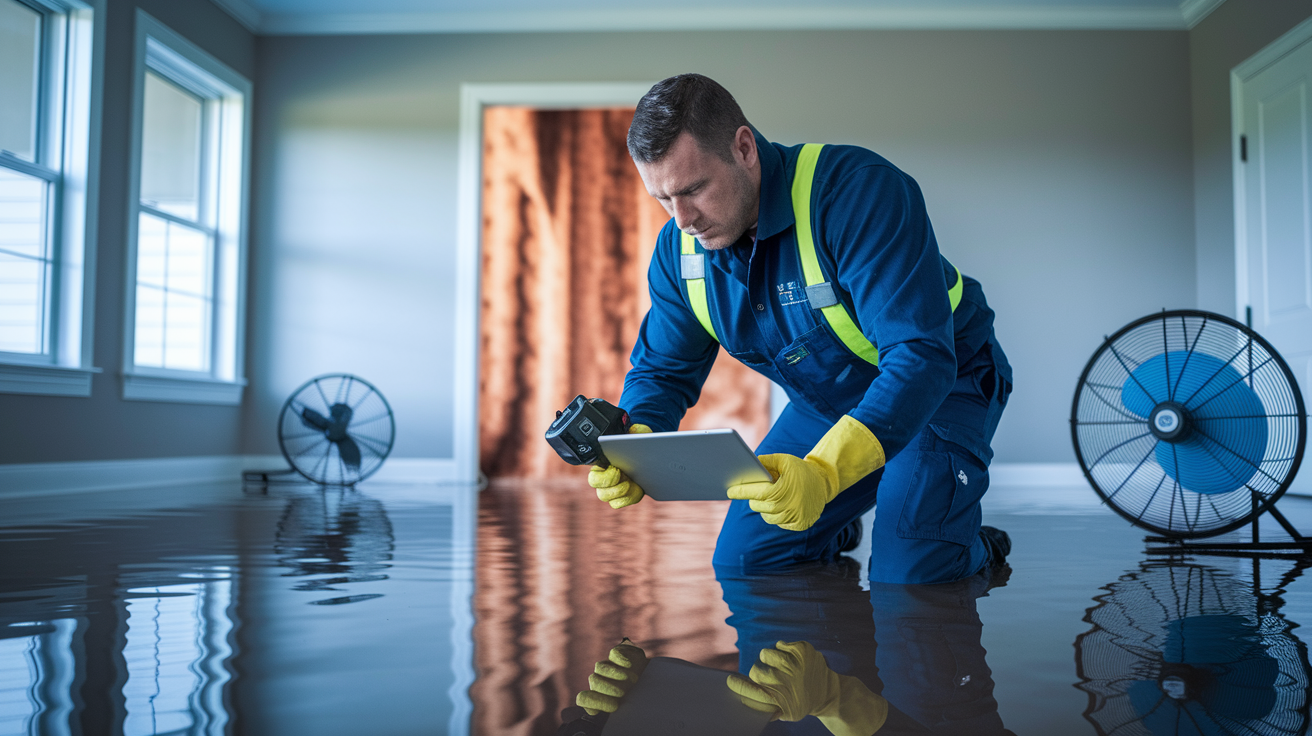
The EPA guideline is straightforward. Homeowners can handle mold cleanup themselves if the affected area is less than ten square feet. That’s roughly a three foot by three foot section. Beyond that size, the amount of mold present and the difficulty of thorough remediation increases enough that professional services become necessary. The guideline assumes you caught the problem early and the water source is Category 1 clean water.
| Scenario | DIY Appropriate | Professional Required |
|---|---|---|
| Affected Area Size | Less than 10 square feet | 10 square feet or larger |
| Water Category | Category 1 clean water only | Category 2 gray water or Category 3 black water |
| HVAC System Involvement | No water in ductwork or HVAC components | Water damage to HVAC system spreading spores |
| Hidden Moisture Extent | Minimal moisture in concealed spaces | Extensive moisture in walls, ceilings, or subflooring |
| Timeline Since Water Damage | Within 24 to 48 hours, prompt action | More than 48 hours, visible mold growth present |
| Structural Concerns | Surface damage only, no structural impact | Compromised framing, sagging ceilings, or floor stability issues |
Professional restoration companies bring equipment that outperforms anything available at home improvement stores. Industrial dehumidifiers extract 150 to 200 pints of moisture per day compared to 30 to 50 pints for household units. Commercial air movers move ten times the air volume of box fans and include attachable ducting that directs airflow into wall cavities and tight spaces. Professionals use moisture meters that log readings continuously and thermal imaging cameras that map moisture through walls without cutting them open. They track drying progress in real time and adjust equipment placement as conditions change. Water Damage Repair and Remediation Services include assessment of the full damage scope, not just the visible wet areas.
Even if you complete initial cleanup yourself, consider hiring professionals for an assessment before you close up walls or replace flooring. Water damage extends beyond what you can see. A restoration technician checks moisture levels in framing, subflooring, wall cavities to confirm everything is actually dry. They look for signs of ongoing leaks you might have missed. Emergency Restoration Services respond quickly because the 24 to 48 hour window matters as much for professional intervention as it does for DIY work. The assessment typically costs less than repairing mold damage that develops later because hidden moisture was overlooked.
Long Term Mold Prevention After Water Damage Recovery
Water damage recovery doesn’t end when surfaces are dry and repairs are complete. The conditions that allowed water in the first place often remain unless you address them. A home that flooded once will flood again if drainage, grading, or leak sources haven’t been fixed.
Monitor indoor humidity levels year round with a simple hygrometer. Mount one in the basement and one on the main floor. Check readings weekly. If humidity climbs above 50 percent consistently, identify the source. Run exhaust fans in bathrooms during showers and for 20 minutes afterward. Use exhaust fans in the kitchen when cooking. Consider adding ventilation in the basement if moisture builds up during humid months. A basement dehumidifier running continuously in summer prevents the damp conditions that lead to musty smells and eventual mold growth. Improved ventilation in high moisture areas prevents humidity from accumulating to levels where mold can start.
Walk the exterior of your home and look at how water moves during rain. Water should flow away from the foundation, not toward it or pool next to it. Grading that slopes toward the house directs runoff into the basement or crawl space. Fix it by adding soil to create a slope that runs at least six feet out from the foundation. Extend downspouts so they discharge water eight to ten feet from the house rather than dumping it directly at the foundation. If grading can’t be fixed or water still pools, a French drain system intercepts runoff and carries it away underground. Gutters need cleaning twice a year so they don’t overflow and send water down the side of the house during storms.
Establish a routine for checking areas where leaks develop most often. Look under sinks for supply line corrosion or drips from drain connections. Check the water heater for rust or moisture on the floor around its base. Inspect washing machine hoses for cracks or bulges that signal impending failure. Look at toilet bases for water stains or soft flooring that indicates a wax ring leak. Check windows and doors for condensation or water stains that show air leaks letting humid air inside. Catch these problems early and you fix a small leak before it becomes water damage that requires restoration work.
Special Considerations for Drying Different Flooring Types After Water Damage
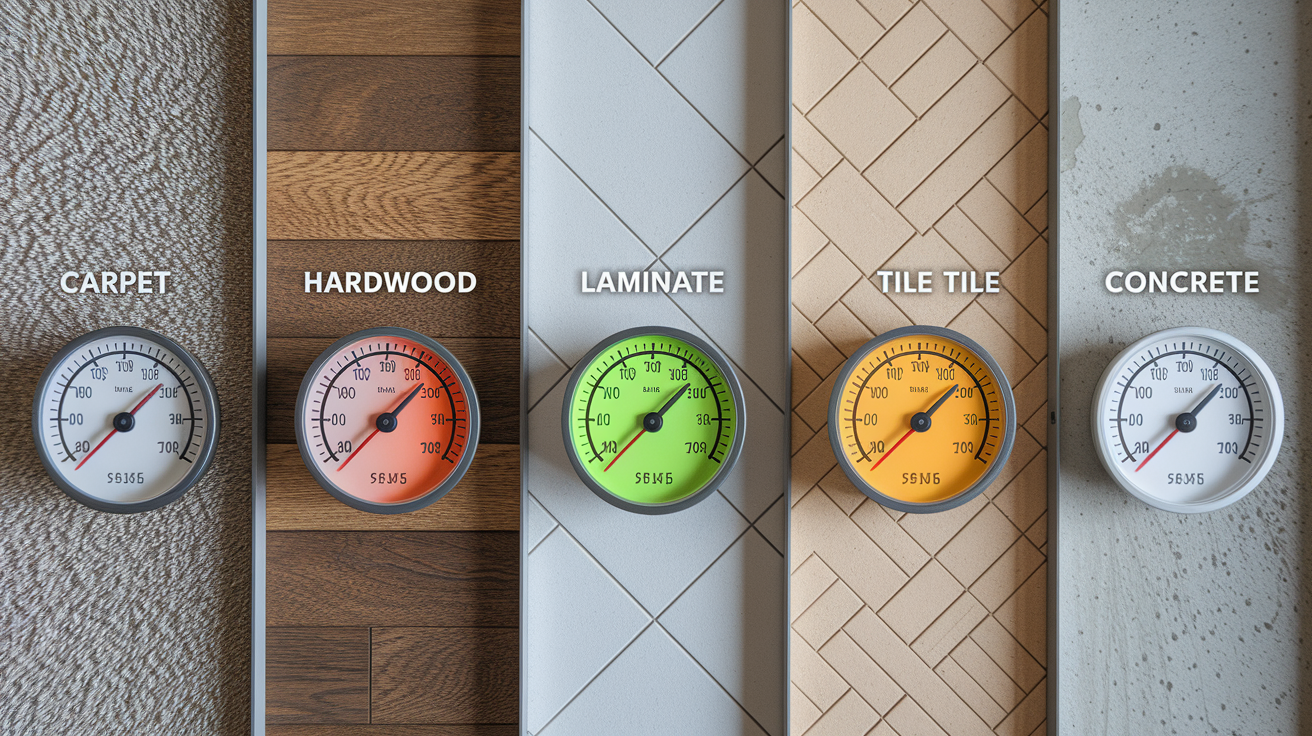
The material underfoot determines how you approach drying and whether the floor can be saved. Some flooring dries in place. Some materials must be removed even if they look intact on the surface.
Carpet and Carpet Padding
Lift the carpet away from tack strips along walls to access the padding beneath. Wet padding should be removed completely and discarded. It rarely dries adequately and holds moisture against the subfloor. With padding removed, extract remaining water from the carpet using a wet/dry vacuum. Work in overlapping passes, moving slowly so the vacuum pulls as much water as possible. Position fans directly on the carpet and run them for at least 24 hours. Check the subfloor beneath with a moisture meter. If readings are elevated, continue drying before reinstalling padding. Once the carpet’s dry, steam clean it to remove any dirt or contaminants that came in with the water. Carpet itself can be saved if dried within 48 hours, but if it was exposed to Category 2 or 3 water, replacement is safer than trying to sanitize it.
Hardwood and Engineered Wood Floors
Wood floors need gradual drying to prevent cupping and buckling. Rapid drying with high heat causes the surface to dry faster than the interior, creating internal stress that warps boards. Use dehumidifiers and air movers, but avoid direct heat sources like space heaters. Check for cupping by running your hand across boards. If edges are higher than centers, the boards are still releasing moisture. Monitor with a moisture meter over several days. Floors that cup slightly may flatten as they finish drying. Severe cupping or buckling means the floor has absorbed too much water and needs replacement. Engineered wood handles water slightly better than solid hardwood because the layered construction is more stable, but prolonged exposure still causes delamination of the veneer from the core.
Laminate and Vinyl Flooring
Laminate flooring disintegrates when water seeps between planks and reaches the fiberboard core. The material swells and loses its structural integrity. Even if the surface looks intact, the core damage means the floor will feel soft or spongy underfoot. Laminate can’t be salvaged after significant water exposure. Vinyl plank flooring is more water resistant, but if water reaches the subfloor beneath it, the planks must be pulled up so the subfloor can dry. Sheet vinyl tolerates surface water well, but water underneath causes the adhesive to fail and creates pockets where mold can grow unseen.
Tile and Concrete Floors
Tile surfaces dry easily because they’re non-porous. Wipe them down, run fans and dehumidifiers, and the surface is dry within hours. The challenge is moisture beneath the tile. Water seeps through grout lines into the mortar bed and subfloor below. Use a moisture meter on the grout and at tile edges to check for subsurface moisture. If readings are elevated, drying can take a week or more even though the surface looks and feels dry. Concrete floors present a similar issue. The surface dries while moisture remains trapped deeper in the slab. Concrete can hold moisture for weeks depending on thickness and porosity. Covering it with new flooring before it’s completely dry traps moisture and creates mold growth beneath the new surface.
Final Words
You’ve got a 24-48 hour window to prevent mold after water damage, and every hour matters.
Get standing water out fast, dry everything you can reach, and remember that hidden moisture behind walls and under floors is often the real problem. Safety comes first. Know when the situation is bigger than a DIY fix.
If you’re dealing with sewage backup, extensive flooding, or contaminated water, call a professional right away.
Even if you handle the initial cleanup yourself, don’t skip the sanitizing step or the long-term monitoring. Mold prevention doesn’t stop when things look dry.
Stay on top of humidity levels, fix those small leaks before they turn into big ones, and your home will stay safe and dry for the long run.
FAQ
How to prevent mold growth after water damage?
Mold growth after water damage is prevented by removing standing water immediately and drying all affected surfaces within 24 to 48 hours. Use wet/dry vacuums or pumps to extract water, remove wet materials from the area, and run fans and dehumidifiers to keep humidity below 60 percent while surfaces dry completely.
What are the 10 warning signs of mold toxicity?
The 10 warning signs of mold toxicity include increased allergy symptoms, breathing problems, persistent coughing, respiratory issues, headaches, fatigue, skin irritation, eye irritation, throat irritation, and worsening asthma. If you notice these health symptoms alongside visible mold or musty odors after water damage, professional mold remediation may be necessary.
What kills water damage mold?
Water damage mold is killed by a solution of one cup bleach per gallon of water, following CDC guidelines. Clean the affected surface first with soap and water, then apply the bleach solution and let it sit before wiping clean. This sanitization step should only happen after surfaces are fully dried.
How long does mold set in after water damage?
Mold sets in after water damage within 24 to 48 hours of water exposure and continues growing until the moisture source is removed. This critical timeframe means homeowners must start water extraction, material removal, and drying processes immediately to prevent mold spores from colonizing wet surfaces and porous materials.
When should I call a professional for water damage cleanup?
You should call a professional for water damage cleanup when the affected area exceeds 10 square feet, when sewage or contaminated water is involved, or when water has penetrated wall cavities and structural areas. Professional services have industrial dehumidifiers, moisture meters, and thermal imaging to detect and dry hidden moisture homeowners typically miss.
Can carpet be saved after water damage?
Carpet can sometimes be saved after water damage if it is clean water, you act within 24 to 48 hours, and you dry it thoroughly with fans and dehumidifiers. However, carpet padding underneath almost always needs to be removed and replaced because it traps moisture and cannot be adequately dried, creating mold risk.
How long should I run a dehumidifier after water damage?
You should run a dehumidifier after water damage for anywhere from two days to several weeks depending on the flood severity and size of the affected area. Keep the dehumidifier running until a moisture meter shows readings return to normal levels in walls, floors, and other affected materials.
What water-damaged materials cannot be saved?
Water-damaged materials that cannot be saved include carpet padding, drywall that stayed wet for over 48 hours, insulation that absorbed water, upholstered furniture exposed to contaminated water, and porous items like pillows and mattresses. Document all damaged items with photos before disposal for insurance claim purposes.
Do I need to remove baseboards after water damage?
You need to remove baseboards after water damage when water has soaked into wall cavities behind them or when drywall near the floor is wet. Removing baseboards allows you to check for hidden moisture, provides airflow behind walls, and lets you assess whether the bottom section of drywall needs cutting out and replacement.
What humidity level prevents mold growth?
The humidity level that prevents mold growth is below 60 percent relative humidity, with the ideal range between 30 and 40 percent. Indoor humidity must stay below 50 percent to inhibit mold spore germination. Use dehumidifiers and monitor humidity levels continuously after water damage to maintain this range.