

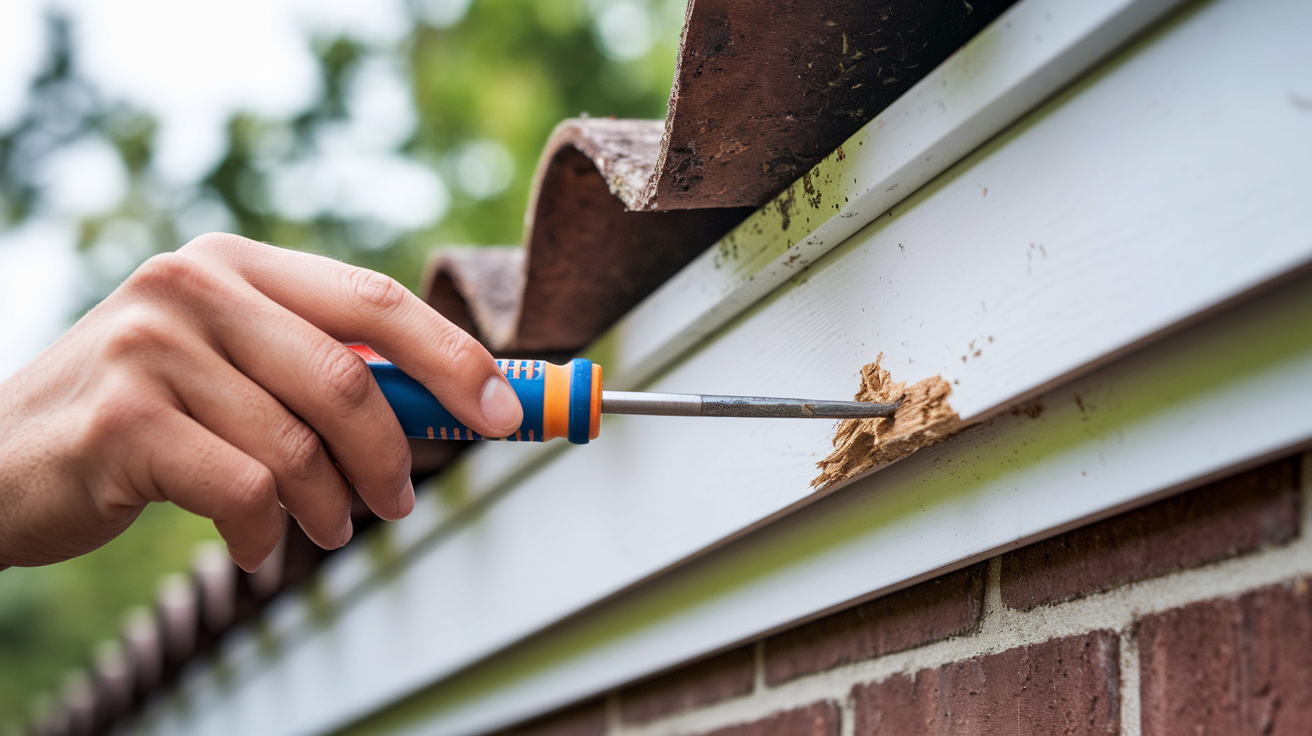

Ever notice how gutter problems seem to appear right after you ignore that small dark spot on your fascia board for a few months? That stain isn’t just cosmetic. It’s rot working its way through the wood, and patching over it without fixing what caused the water damage means you’ll be back on that ladder replacing the same board next year. This guide walks you through checking how bad the damage really is, stopping the water at its source, and making repairs that actually hold up.
Quick Assessment: Repair vs. Replace Decision
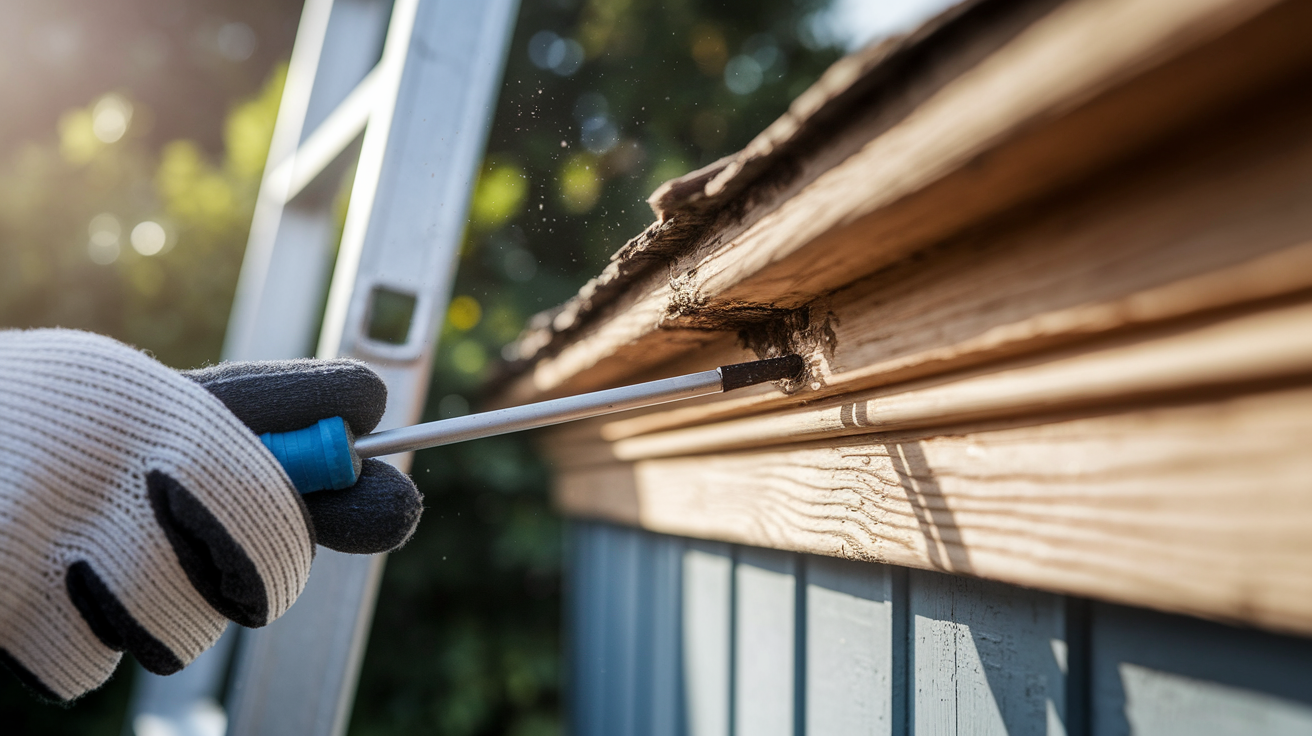
Getting the diagnosis right saves you from wasting time and money on fixes that don’t hold. Five minutes with a screwdriver now beats tearing out a “repaired” fascia board six months later when the rot comes back.
| What You See | What It Means | Action Required |
|---|---|---|
| Discoloration only, no soft spots | Cosmetic staining from gutter spillover | Clean and repaint |
| Isolated soft spot under 3 feet | Localized rot | Partial repair possible |
| Multiple soft sections or dark cavities | Extensive rot | Full board replacement |
| Mushy texture when probed | Advanced decay | Immediate replacement |
| Visible mold or fungal growth | Active moisture problem | Replace and fix source |
| Bowing or cracking along length | Structural failure | Complete replacement |
The screwdriver probe test tells you everything. Push a standard flathead into the fascia with moderate pressure. Healthy wood resists and stays firm. Rotted wood feels soft, punches through easy, or shows dark cavities when you pull the screwdriver back out. Check every few feet along the board, not just the spots that look bad. Rot hides sometimes behind a thin layer that looks okay on the surface.
Any replacement section needs to span at least two rafters. That’s not optional. Gutters mount to fascia boards, and fascia boards attach to rafters. A patch reaching only one rafter won’t support gutter weight. It’ll sag within months. Mark your rafter locations before you start cutting so replacement pieces land on solid attachment points.
Once you’ve figured out your damage scope using the table and confirmed rafter spacing, move ahead with the repair steps below.
Diagnosing Wood Rot and Water Damage on Fascia Boards
Getting the diagnosis right matters because fascia repairs fail fast when you patch surface damage while rot keeps eating away inside. What looks like a small stain might be hiding a cavity the size of your fist.
Simple discoloration from gutter drips doesn’t always mean rot. The wood stays hard and solid. Actual rot feels different. The wood turns soft and pulpy. It loses what made it strong in the first place.
Run through these tests in order:
- Visual inspection for discoloration, peeling paint, dark streaks, or obvious soft spots
- Screwdriver probe test pushing into suspicious areas with moderate pressure to check for soft, spongy texture
- Looking for dark cavities or holes when you pull the screwdriver back
- Checking for fungal growth, green algae, or white mold on the surface
- Examining nail holes and board edges for carpenter ant activity or termite damage
How bad things are determines your repair scope. Localized damage under three feet with firm wood on both sides? That qualifies for partial repair. Multiple soft sections, widespread cavities, or mushy texture throughout? That means complete replacement. Boards showing structural failure like bowing, twisting, or pulling away from rafters need immediate replacement no matter how much “good” wood remains.
Document every damage location before you start. Take photos. Measure distances from corners or downspouts. You’ll need these measurements when cutting replacement sections and explaining the project scope if you decide to call in pros.
Identifying and Fixing the Water Source Behind Fascia Board Rot
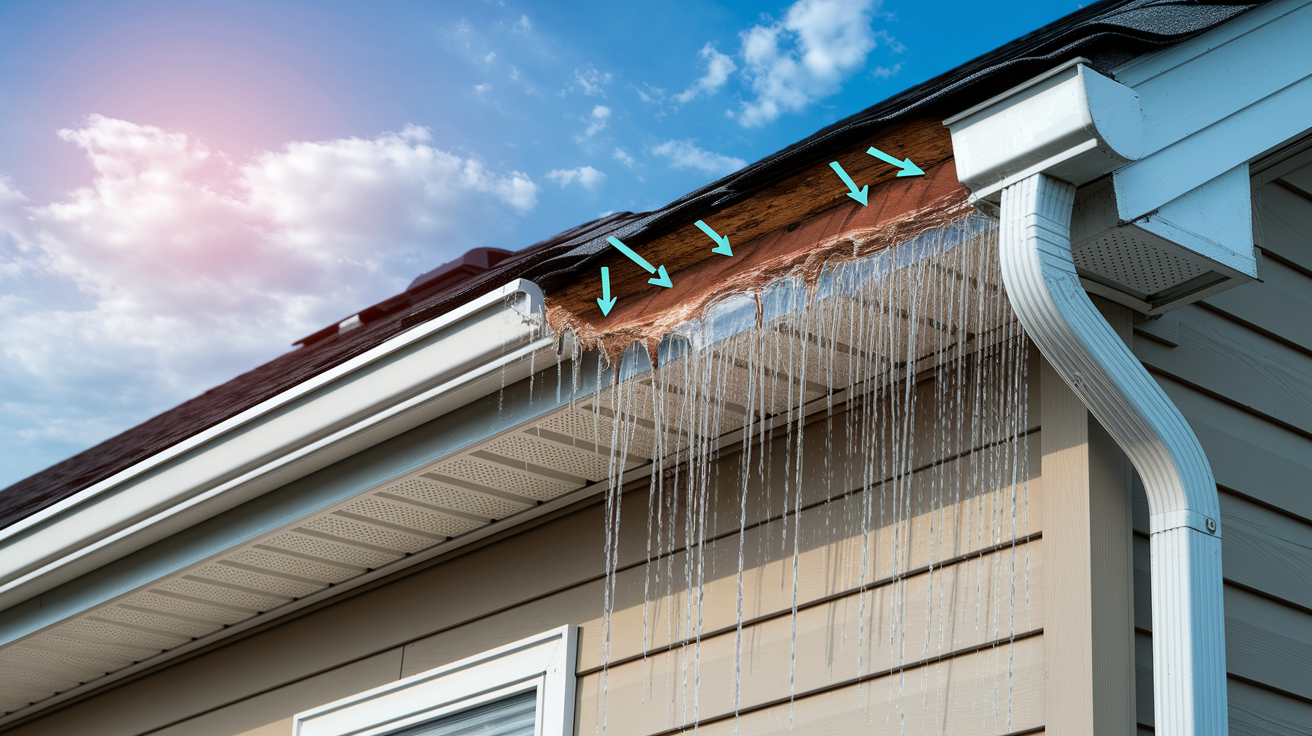
Repairing rotted fascia without fixing the water source just means you’ll be back up that ladder next year replacing the same board.
Common water sources causing fascia rot:
- Clogged gutters overflowing water backward toward the house
- Missing or damaged drip edge letting water run behind gutters
- Damaged or missing shingles right above the fascia
- Improper gutter slope causing water to pool instead of flow to downspouts
- Not enough downspouts for the gutter length creating overflow at far ends
- Ice dam formation in winter pushing water under shingles and onto fascia
- Failed roof flashing at valleys or where roof meets wall
Check each potential source systematically starting at the gutters. Scoop out all debris and check for proper slope toward downspouts. Look for the drip edge. It’s a thin metal strip tucked under the bottom shingle row that directs water into gutters. If it’s missing, bent, or corroded, water dribbles down the back of the gutter right onto your fascia board. Check shingles for cracks, curling edges, or missing pieces within three feet of the damaged fascia. Walk inside your attic during the next rain and watch for active leaks or water stains on rafters near the problem area.
Long-Term Prevention Strategies
Follow these six steps to prevent future fascia rot:
- Clean gutters twice yearly minimum in spring and fall, more often if you’ve got overhanging trees
- Inspect fascia after major storms for new soft spots or damage from flying debris
- Check and maintain drip edge annually, replacing bent or corroded sections right away
- Trim tree branches back at least six feet from roof edge to cut down leaf buildup and shade that traps moisture
- Make sure you’ve got proper attic ventilation with ridge vents or soffit vents allowing air circulation that keeps fascia dry from the back side
- Add downspouts to gutter runs over 35 feet to prevent water volume from overwhelming single downspouts
Create a seasonal maintenance schedule marking specific months for each task. Set phone reminders. Gutter cleaning in April and November works for most climates. Add a third cleaning in June if you’ve got oak trees dropping tassels.
How often you recoat depends on material type. Sealed and painted wood fascia needs fresh primer and paint every three to five years. Cedar left naturally finished requires oil treatment every two years. PVC and vinyl need nothing but occasional cleaning.
Water source repairs and prevention habits have to happen before you install new fascia or your repair fails the same way the original board did.
Complete Materials and Tools Guide for Fascia Repair
Get everything before you start. Mid-project hardware store runs waste hours and leave materials exposed to weather while you’re gone.
| Tool/Material | Purpose | Notes |
|---|---|---|
| Circular saw | Cutting boards to length | Use fine-tooth blade to prevent splintering |
| Pry bar and hammer | Removing old fascia | Flat pry bar works better than crowbar |
| Drill with bits | Pilot holes and fastening | Need bits for wood and metal |
| Measuring tape | Board dimensions | 25-foot tape minimum for full boards |
| Level | Checking alignment | 4-foot level shows slope clearly |
| Safety harness and stable ladder | Working at height safely | Required for work above 6 feet |
| Replacement board material | New fascia structure | Match existing thickness and width |
| Galvanized nails or screws | Securing board to rafters | 2-inch spiral shank exterior grade |
| Exterior wood preservative | Moisture protection | Apply to all cut ends before installation |
| Primer and exterior paint | Weatherproofing finish | Two coats primer, two coats paint |
| Silicone caulk | Sealing joints and seams | Exterior grade, paintable formula |
| Cat’s paw tool | Exposing buried nail heads | Removes nails without damaging board |
Material Selection: Wood vs. Synthetic Options
| Material Type | Lifespan | Cost per Linear Foot | Maintenance Level | Best For |
|---|---|---|---|---|
| Pressure-treated pine | 15-20 years | $1-2 | High, paint every 3-5 years | Budget projects in moderate climates |
| Cedar or redwood | 20-25 years | $2-3 | Medium, oil treatment every 2 years | Moderate climates, natural finish preference |
| Clear pine | 10-15 years | $1-2 | High, paint every 3-4 years | Dry climates only, temporary repairs |
| PVC or vinyl | 20-30 years | $5-8 | Low, occasional cleaning only | Consistently wet areas, long-term value |
| Composite | 25-30 years | $6-10 | Low, minimal maintenance | All climates, best durability |
| Aluminum | 30-40 years | $8-12 | Very low, no painting needed | Coastal areas, harsh weather exposure |
Climate drives material selection more than budget. Consistently wet areas with year-round humidity destroy wood fascia fast. Florida, Pacific Northwest, and Gulf Coast homes see wood rot in 10 to 15 years even with maintenance. Dry climates like Arizona or Nevada stretch wood lifespan to 20 years or more. Cold climates with freeze and thaw cycles crack painted wood and pull joints apart.
Compare upfront costs versus long-term replacement cycles for true cost of ownership. Pressure-treated pine at $1.50 per foot costs $150 for 100 linear feet. Add $100 for fasteners, primer, and paint. That’s $250 total. Paint it again in four years for $75. Replace it completely in 15 years for another $250. Total 20-year cost is $575. PVC at $6 per foot costs $600 for 100 linear feet plus $100 for fasteners. That’s $700 total with zero maintenance costs over 20 years. The PVC actually costs less over time and saves you multiple weekends on a ladder.
For more information on addressing moisture damage that may affect surrounding areas, visit our water damage repair services page. PVC or composite materials work best for consistently wet climates and high moisture areas. If you choose wood, use clear pine without finger joints. Finger joints are those zigzag connections joining short pieces into longer boards. They fail first because glue doesn’t hold up in wet conditions.
Step-by-Step Fascia Board Removal Process
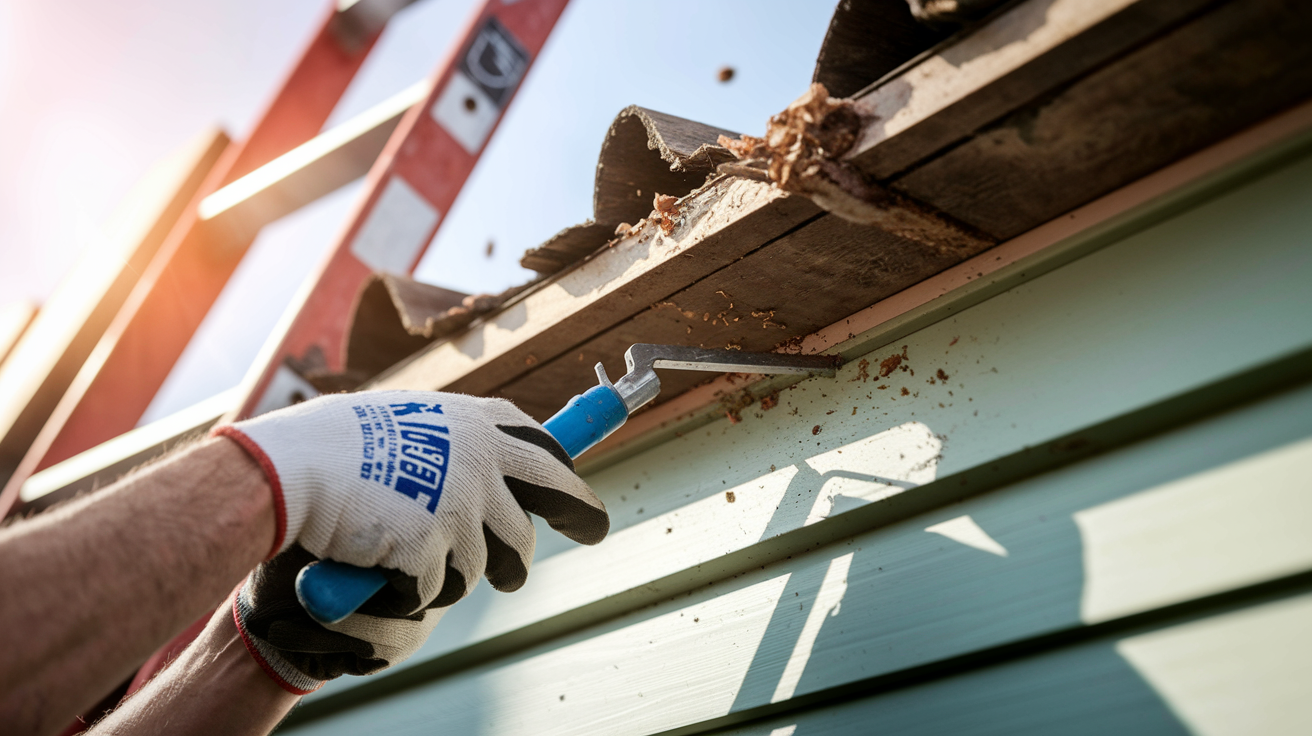
Get the work area ready by clearing the ground below and setting up stable ladder access. Move plants, patio furniture, and anything else you don’t want covered in wood debris and old paint chips.
Remove gutters if they’re blocking your work. Small repair sections sometimes let you work around gutters. Full board replacement means taking them down. Follow these steps:
- Score all caulk lines and paint seams with a sharp utility knife to prevent tearing paint from adjacent boards or pulling soffit panels loose
- Remove gutter hangers by backing out screws or pulling nails, then carefully lower gutter sections to the ground without bending them
- Expose buried nail heads using a cat’s paw tool that hooks under nail heads and levers them up without splintering the board
- Pry the fascia board away from rafter tails working from one end toward the other, using steady pressure rather than sudden yanks that crack boards or damage rafters
- Make controlled cuts with an oscillating multi-tool when replacing only a portion of the fascia, cutting exactly at rafter centerlines so new and old boards both attach to solid wood
- Clean all remaining nails and fasteners from rafter tails by driving exposed nail heads down flush or backing out bent ones with a nail puller
Partial replacement requires cutting at rafter centers. Measure from a visible rafter tail to find the next one, typically 16 or 24 inches depending on your home’s framing. Cut exactly at the center of that rafter so your new board section attaches to half the rafter width while the remaining old board attaches to the other half.
Dispose of rotted material in heavy contractor bags. Don’t leave it piled in your yard. Inspect exposed rafter tails and sub-fascia boards for soft spots, dark staining, or insect damage before installing new fascia.
Inspecting and Repairing Sub-Fascia and Rafter Tails
Removing fascia often shows rot in the underlying structure that needs fixing before new boards go up. The fascia board you saw was just the surface. The real problem might be hiding behind it.
Check these structural parts thoroughly:
- Probe rafter tail ends with a screwdriver to find soft spots showing internal rot that weakened the wood
- Look for dark staining or water lines on rafter sides showing prolonged moisture exposure
- Examine closely for insect damage including small holes from carpenter ants or powder post beetles
- Figure out whether rafter tails need reinforcement with sistered blocking or complete replacement if badly rotted
- Check sub-fascia boards, the horizontal framing running behind the fascia, for similar rot and soft spots
Repair techniques depend on how bad the damage is. Isolated soft spots on rafter tail ends get cut back to solid wood, then reinforced with scab blocks. Cut the rotted section off square using a reciprocating saw. Measure and cut a 2×4 or 2×6 block matching your rafter size and at least 16 inches long. Apply construction adhesive to one face and clamp or screw it alongside the shortened rafter tail, creating a new solid surface for fascia attachment. Badly rotted rafters need professional structural assessment.
Finish structural repairs before installing new fascia boards. Fascia nails driven into rotted wood pull out within months. The board sags. Gutters follow. Water pools. The whole system fails. Extensive structural rot affecting multiple rafters or requiring work on load-bearing parts should trigger a call to professionals who understand framing and building codes.
Measuring and Cutting Replacement Fascia Boards
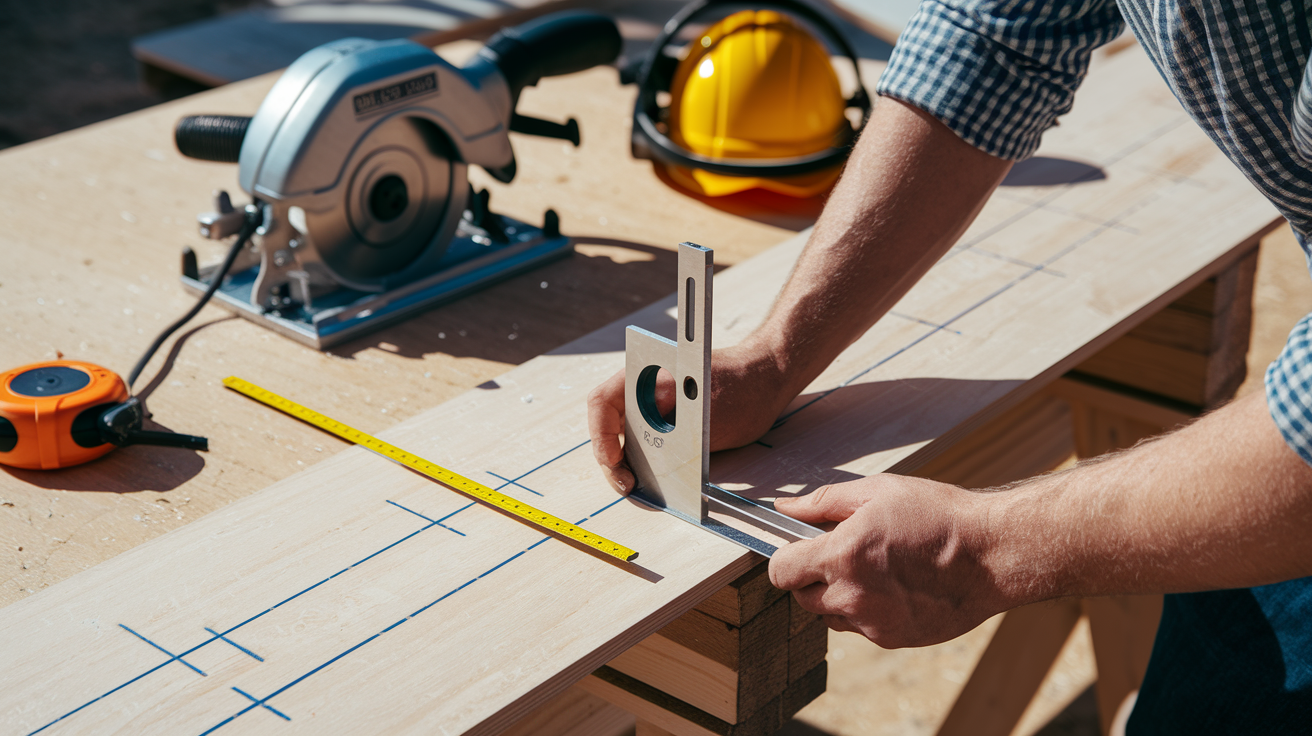
Measure existing fascia dimensions before buying replacement material. Thickness is probably three-quarter inch. Width varies from 4 inches to 12 inches depending on your home’s design. Bring a small sample piece to the lumber yard if you’re not sure.
Mark rafter locations on your new board before cutting. Measure the spacing on your house, then transfer those marks to the replacement board using a carpenter’s square. You’ll need these marks later for nail placement.
Follow these cutting steps for clean, accurate boards:
- Measure board length accounting for end joints or corner miters, adding one-eighth inch for small gaps that get caulked later
- Mark cutting lines clearly using a carpenter’s square to get straight lines perpendicular to board edges
- Set up proper saw support with sawhorses or a stable work surface that won’t shift during cutting
- Make straight cuts using a fine-tooth blade that prevents splintering and leaves smooth edges needing less sanding
- Cut 45-degree miters for outside corner joints by setting your circular saw base plate to 45 degrees or using a miter saw if you’ve got one
Complex angles show up where fascia follows roofline changes or turns corners. Outside corner miters require careful measurement. Pull your tape measure from the inside corner where boards meet to the farthest point of the outside corner. That’s your long point measurement. Mark it on your board and cut a 45-degree angle running from that mark toward the back edge.
Test-fit boards before final installation. Hold the replacement piece in position against the rafter tails. Check that ends land at rafter centers for partial repairs. Verify that corner miters meet tightly without gaps. Make small adjustments with a hand plane or sander if needed.
Replacement sections have to span at least 2 rafters for structural support. A short patch connecting to only one rafter creates a weak mounting point that won’t support gutter weight and fails within one season.
Installing and Securing New Fascia Boards
Position the new board against rafter tails and step back to check alignment before driving any fasteners. A board installed slightly crooked shows forever and makes gutter installation difficult.
Use a four-foot level held along the bottom edge to check the board runs straight and matches the roofline angle. Check at several points along the length. Small adjustments now prevent big problems later.
Install following these steps:
- Position the board against rafter tails with bottom edge aligned to match adjacent existing fascia
- Check for level and proper alignment at multiple points using a long level
- Drill pilot holes slightly smaller than your fastener diameter to prevent wood splitting, especially near board ends
- Drive two-inch spiral shank galvanized nails or exterior screws at each rafter location
- Use a high, low nail pattern with one fastener near the top edge and one near the bottom edge, spaced every two feet at rafter positions
- Countersink fastener heads slightly below the surface using a hammer and nail set, creating small divots you’ll fill with caulk later
Proper fastener selection matters for long-term hold. Two-inch spiral shank galvanized nails grip better than smooth shank and resist pulling out. They need to go through the three-quarter inch fascia board and at least one inch into the rafter tail for solid attachment. Stainless steel screws cost more but never rust and hold tighter in high wind areas.
Fastener spacing every two feet at rafter locations gives you adequate support without over-driving nails that weaken the board. Too many fasteners create unnecessary holes that need sealing. Too few allow the board to twist or pull away from rafters.
Check final alignment after fastening. Stand back and sight along the bottom edge. It should run straight with no waves, dips, or high spots. Make any needed adjustments now before moving to sealing and finishing.
Sealing Joints and Weatherproofing Fascia Boards
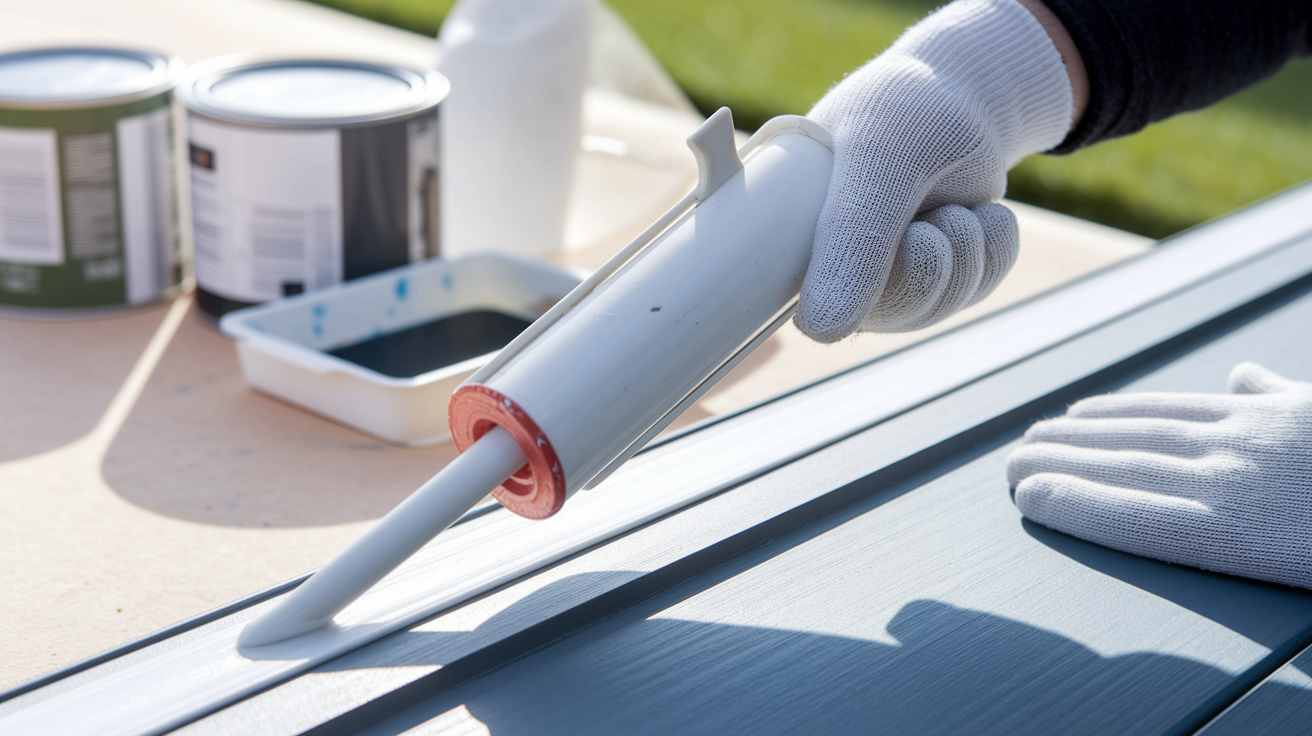
Finish sealing before any water exposure reaches your new fascia board. One rain on bare wood undoes half your protection effort.
Follow these sealing and weatherproofing steps:
- Fill all nail holes and countersunk fasteners with exterior-grade silicone caulk, smoothing it flush with the board surface
- Seal seams and joints where board sections meet using a continuous bead of caulk, especially at corner miters and end-to-end joints
- Apply proper caulk beads by cutting the tube tip at a 45-degree angle to create an opening about one-eighth inch wide, then holding the gun at 45 degrees and pulling it along the joint while maintaining steady pressure
- Coat all cut ends and exposed edges with wood preservative before installation to prevent moisture absorption through end grain
- Install or reinstall drip edge tucking it under the bottom shingle row so water flows into gutters instead of behind them
- Prime all wood surfaces with two coats of exterior-grade primer, letting the first coat dry completely before applying the second
- Apply final paint in two coats matching your gutter color or existing trim, waiting for full dry time between coats
Caulk selection and how you apply it determine how well joints stay sealed. Use siliconized latex caulk for exterior applications. It stays flexible through temperature changes and you can paint it. Pure silicone caulk seals better but won’t accept paint. Cut the tube tip to allow about one-eighth inch flow. Larger beads waste material and look sloppy. Smaller beads don’t fill gaps right.
Small gaps of one-eighth inch at seams between board sections are actually okay and helpful. They allow better water seal when caulked than tight joints that can’t accept enough caulk. Don’t stress over perfect tight fits. Caulk fills small gaps and creates waterproof bonds.
Allow proper drying time between coats and before gutter reinstallation. Primer needs 24 hours minimum in good weather. Paint requires another 24 hours. Rushing installation traps moisture under new gutters and causes immediate paint failure.
Reinstalling Gutters and Final Finishing Details
Let paint and sealant dry adequately before hanging gutters. At least 48 hours in dry weather makes sure coatings cure properly. Mounting gutters on fresh paint causes scraping and marring that exposes bare wood.
Reinstall gutters following these steps:
- Position gutter sections at proper slope running downward toward downspouts at a rate of one-quarter inch per 10 feet of run
- Mark new hanger locations on the fresh fascia every 24 inches, lining up marks with rafter positions for solid attachment
- Install gutter hangers through fascia into rafter tails using screws long enough to go at least one inch into solid wood
- Check slope with a level as you work along the gutter length, adjusting hanger heights to maintain consistent downward angle
- Test water flow by running a hose at the high end and watching water drain completely toward downspouts without pooling
Match paint colors carefully if you’re touching up small areas rather than painting the entire board. Bring a paint chip or small sample to the paint store for computer color matching. Colors that look close in the store appear mismatched on the house under natural sunlight.
Touch up any installation marks, screw heads, or areas where ladder contact damaged fresh paint. Use a small artist’s brush for precision on nail holes and seams. Feather the edges by brushing outward from the repair spot to blend new paint with surrounding areas.
Final inspection checks all joints, fasteners, and alignment before calling the job complete. Look for any caulk gaps needing additional sealing. Verify that all fastener heads sit below the surface and are filled with caulk. Check that gutters hang level without sagging sections showing weak attachment points.
Complete Cost Analysis: DIY vs. Professional Fascia Repair
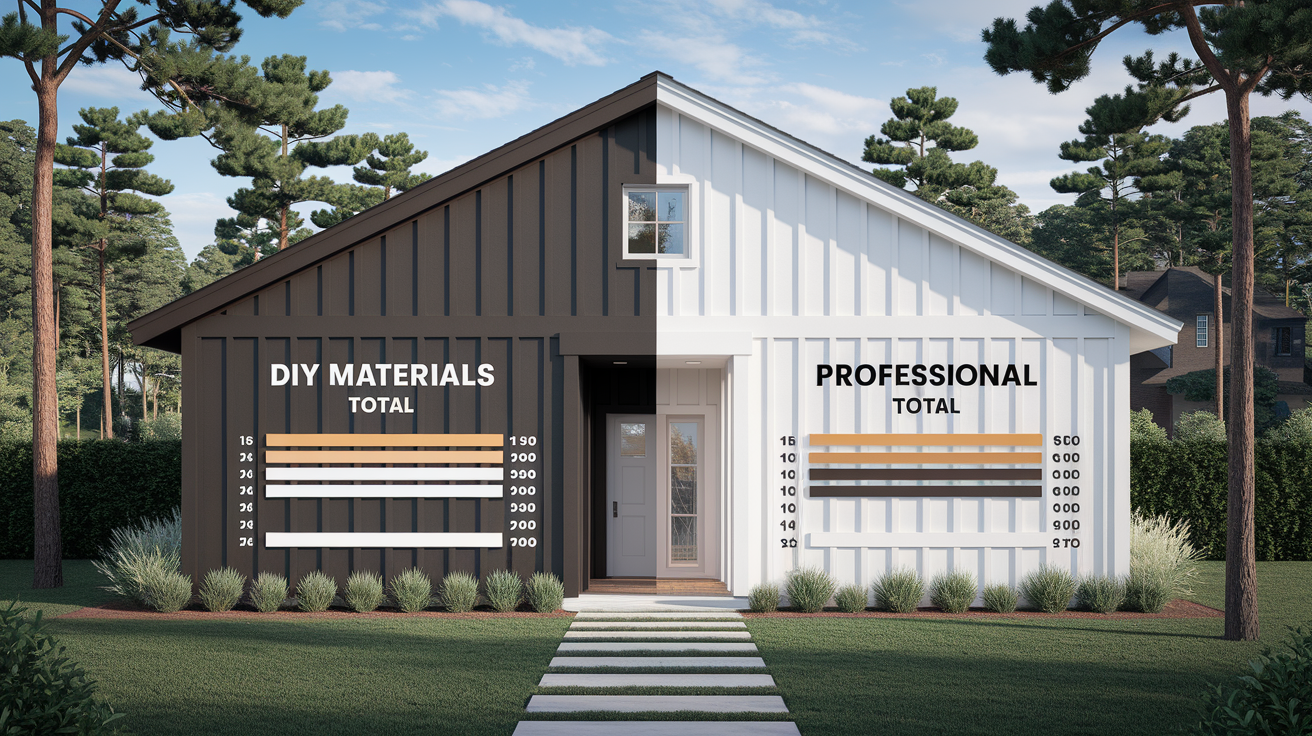
Total project cost depends on damage extent, material choice, home height, and regional labor rates. A simple 10-foot repair on a single-story home costs way less than complete fascia replacement on a two-story house with complex rooflines.
| Project Scope | DIY Material Cost | DIY Tool/Equipment Cost | Professional Total Cost | Timeline |
|---|---|---|---|---|
| Small section repair under 10 feet | $75-150 | $50-100 if tools needed | $600-1,200 | 3-5 hours DIY, 2-3 hours professional |
| Partial board replacement 10-25 feet | $150-300 | $50-100 if tools needed | $1,200-2,500 | 6-8 hours DIY, 4-6 hours professional |
| Full single-side replacement | $300-600 | $100-200 if tools needed | $2,000-3,500 | 1-2 days DIY, 1 day professional |
| Complete home fascia replacement | $800-1,500 | $150-300 if tools needed | $3,500-5,000 | 2-3 days DIY, 1-2 days professional |
| Repair plus gutter replacement | $1,000-2,000 | $200-400 if tools needed | $4,500-7,000 | 3-4 days DIY, 2 days professional |
Other cost factors beyond basic materials and labor include disposal fees for rotted wood and old paint waste running $50 to $150 depending on landfill rates. Scaffolding rental adds $150 to $300 per week if your home height makes ladders unsafe. Permits cost $50 to $200 in places requiring them for fascia replacement. Underlying structural repairs addressing rotted rafter tails or sub-fascia damage add $200 to over $1,000 depending on extent.
DIY total investment versus professional advantages comes down to more than just money. Yes, you save $500 to $3,500 on labor depending on project size. But professionals bring liability insurance covering property damage or injury. They provide workmanship warranties typically lasting two to five years. They complete work in half the time with proper equipment and experience. They handle permit applications where required and know building code requirements.
Extensive damage or structural issues often reveal hidden costs making initial professional assessment valuable even for DIY projects. What looks like simple fascia replacement becomes rafter repair, soffit replacement, and shingle work once you open things up. Professionals spot these issues during inspection and provide accurate estimates upfront. DIY projects sometimes turn into multi-week ordeals when hidden damage appears.
When to Hire Professional Contractors for Fascia Repair
Be honest about your capability including comfort with heights, tool skills, and time availability. Saying “I can do this” is different from actually wanting to spend two weekends on a ladder in August heat.
These situations need professional expertise:
- Extensive rot affecting multiple boards or structural members requiring coordinated repairs across large areas
- Two-story or higher homes where falls account for over 32 percent of construction deaths
- Complex rooflines with multiple angles, valleys, and transitions requiring precise measurement and cutting
- Simultaneous soffit replacement needed along with fascia work
- Underlying rafter damage requiring structural work, sistering, or reframing
- Local permits and inspections required by building departments
- Coordination with other roofing repairs like shingle replacement or flashing work
- Homeowner discomfort with heights or lack of proper safety equipment
What to look for when hiring contractors starts with licensing and insurance verification. In Florida and most states, fascia work requires a roofing contractor license. Ask for the license number and verify it’s current through your state licensing board website. Demand proof of general liability insurance and workers compensation coverage. Both protect you if someone gets hurt or property gets damaged.
Detailed written estimates should break down labor costs separately from materials. Vague lump-sum quotes hide what you’re actually paying for. The estimate should spell out board footage, material types, fastener grades, paint specifications, and timeline. Compare at least three estimates before deciding.
Warranty terms on workmanship separate good contractors from mediocre ones. Quality professionals guarantee their installation for at least two years, often five. Material warranties come from manufacturers but installation warranties come from contractors. Get warranty terms in writing as part of your contract.
For comprehensive structural repairs and related interior damage, explore our full range of house repair services. Recent project photos with references let you see actual work quality and talk to previous customers about their experience. Contractors confident in their work readily provide references. Those who hesitate or make excuses probably have unhappy customers.
The value of professional work for complex projects includes proper code compliance you might not know about, long-term performance guarantees, and peace of mind that structural integrity gets properly restored without guessing whether you did it right.
Common Fascia Board Repair Mistakes to Avoid
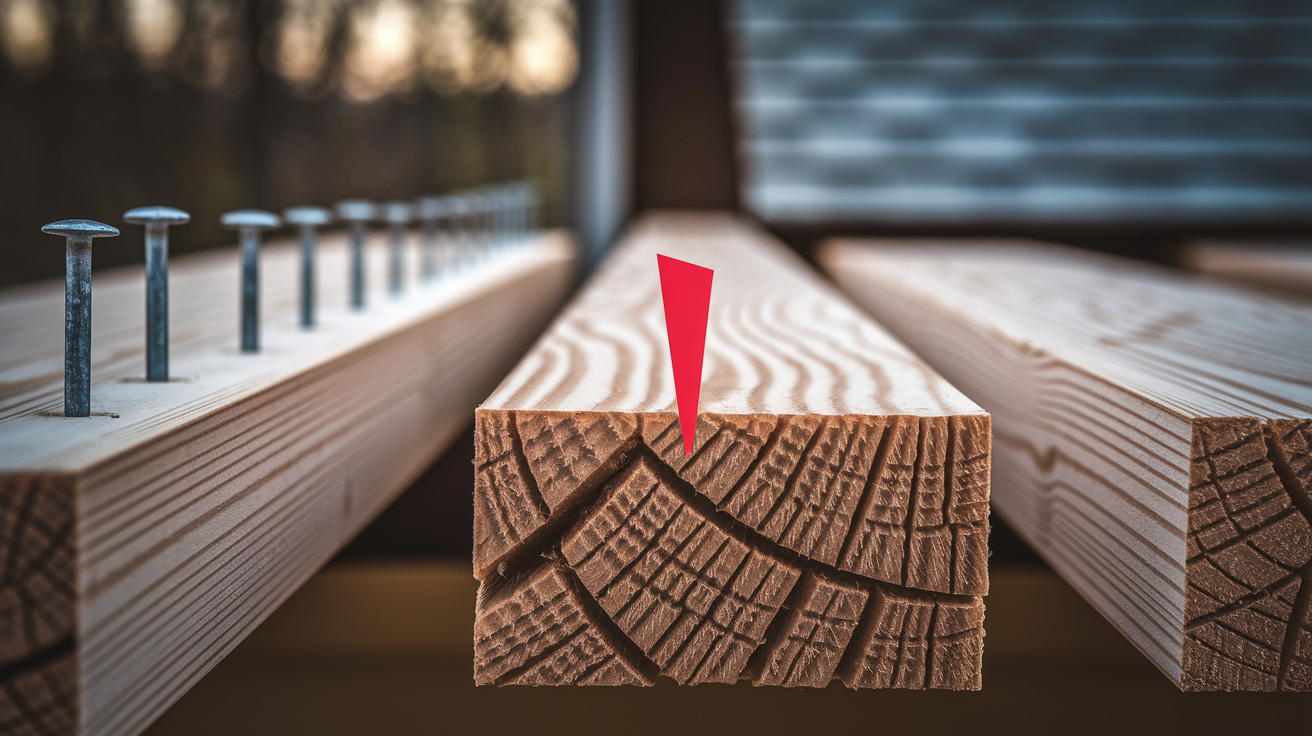
Common mistakes undermine otherwise good repairs and result in repeat failures within one to three years. You’ll spend another weekend fixing the same problem because you skipped critical steps the first time.
Avoid these frequent errors that lead to early failure:
- Failing to find and fix the water source first, leading to immediate re-rotting as the same gutter overflow or missing drip edge continues soaking your new board
- Using boards with finger joints or excessive knots that fail early because finger joint glue doesn’t hold up in wet conditions and knots create weak spots
- Not enough fastening with nails too short to reach through fascia into rafter tails, causing boards to pull loose within months
- Skipping primer on cut wood edges allowing moisture absorption through exposed end grain that rots from the inside out
- Replacing sections that don’t span at least 2 rafters, causing gutter mounting failures and sagging within one season
- Forgetting to seal all joints and seams, creating water entry points that rot the board at connections before the main surfaces show damage
- Reusing corroded fasteners pulled from old boards that break or fail quickly under load
- Rushing installation before paint or sealant fully cures, trapping moisture that causes immediate paint failure and wood rot
Each mistake causes specific failures with predictable timeframes. Water source neglect rots new boards in 6 to 18 months depending on exposure. Finger joint boards fail at connections within 2 to 4 years. Short fasteners pull out during the first heavy rain with full gutters. Unsealed end grain wicks moisture and rots from inside within 1 to 2 years. Unsealed joints fail at seams while the main board looks fine. Rushed paint traps moisture causing bubbling and peeling within weeks.
For guidance on addressing interior damage that may have resulted from prolonged fascia issues, visit our drywall and interior repair services page. Taking time to do repairs correctly the first time with proper materials and techniques prevents costly complete do-overs within a few years and protects your investment in new materials. Spending an extra $100 on quality boards and an additional afternoon on thorough sealing beats spending $400 and three weekends replacing everything again next year.
Final Words
Rotted fascia threatens more than just curb appeal. It weakens your roof edge, invites pests, and turns minor leaks into major structural problems.
Learning how to repair rotted fascia board the right way means fixing the water source first, choosing materials that match your climate, and sealing everything tight.
Whether you tackle a small section yourself or bring in a pro for extensive damage, the goal stays the same: dry wood, solid attachment, and protection that lasts.
Clean gutters twice a year, check for soft spots after storms, and your fascia should hold strong for decades.
FAQ
How do you fix wood rot on fascia boards?
Wood rot on fascia boards is fixed by first identifying the damage extent using a screwdriver probe test, cutting out the rotted section back to solid wood spanning at least two rafters, treating exposed surfaces with wood preservative, installing a new board section with galvanized fasteners, and sealing all joints with exterior caulk before priming and painting.
Can damaged fascia boards be repaired instead of replaced?
Damaged fascia boards can be repaired if the rot is isolated to a small section under three feet and the surrounding wood remains solid. Partial repairs work when damage is localized, but the replacement section must still span at least two rafter tails to properly support gutter mounting and maintain structural integrity.
Why do fascia boards rot?
Fascia boards rot because water from clogged gutters, missing drip edge, or damaged roof shingles consistently soaks the wood. Prolonged moisture exposure allows fungal growth that breaks down wood fibers. Without fixing the water source, newly repaired fascia will rot again within months regardless of material quality or installation technique.
What type of wood should be used for fascia boards?
Pressure-treated pine, cedar, or redwood should be used for wood fascia boards because these materials resist moisture better than standard lumber. For longer-lasting results, PVC or composite materials work better in consistently wet climates since they’re impervious to rot. Always choose clear pine without finger joints if using standard wood.
How long do different fascia board materials last?
Wood fascia boards last 10 to 20 years with regular painting and sealing. Vinyl fascia has a lifespan of 20 to 30 years with occasional cleaning. Aluminum fascia can last 30 to 40 years due to rust resistance. Material lifespan depends heavily on proper installation, climate conditions, and maintenance consistency.
What tools are needed to repair fascia boards?
The tools needed to repair fascia boards include a circular saw for cutting boards, pry bar and hammer for removal, drill with bits for fastening, measuring tape and level for accuracy, cat’s paw tool for nail removal, and safety equipment including harness if working above six feet on stable ladder.
How much does professional fascia board repair cost?
Professional fascia board repair costs between $600 and $2,000 for minor repairs covering small sections. Full fascia replacement ranges from $2,000 to $5,000 depending on home size and material choice. Professional labor averages $50 to $100 per hour, with material costs adding $1 to $12 per linear foot based on wood versus synthetic options.
Should I repair fascia boards myself or hire a professional?
You should hire a professional for fascia repairs on two-story homes, when extensive rot affects structural members, or if you’re uncomfortable working at heights since falls account for over 32 percent of construction deaths. DIY works for small single-story repairs under 10 feet when you have proper tools and ladder safety experience.
How do you prevent fascia boards from rotting again?
Fascia boards are prevented from rotting again by cleaning gutters at least twice yearly, ensuring proper drip edge installation, inspecting after major storms, maintaining adequate attic ventilation, and repainting wood fascia every few years. Most importantly, fix the original water source like clogged gutters or damaged shingles before repairing the fascia.
What’s the most common mistake when repairing fascia boards?
The most common mistake when repairing fascia boards is failing to identify and fix the water source first, which causes the new fascia to rot again within months. Other frequent errors include using boards with finger joints that fail prematurely, inadequate fastening that doesn’t reach rafter tails, and skipping primer on cut edges.