

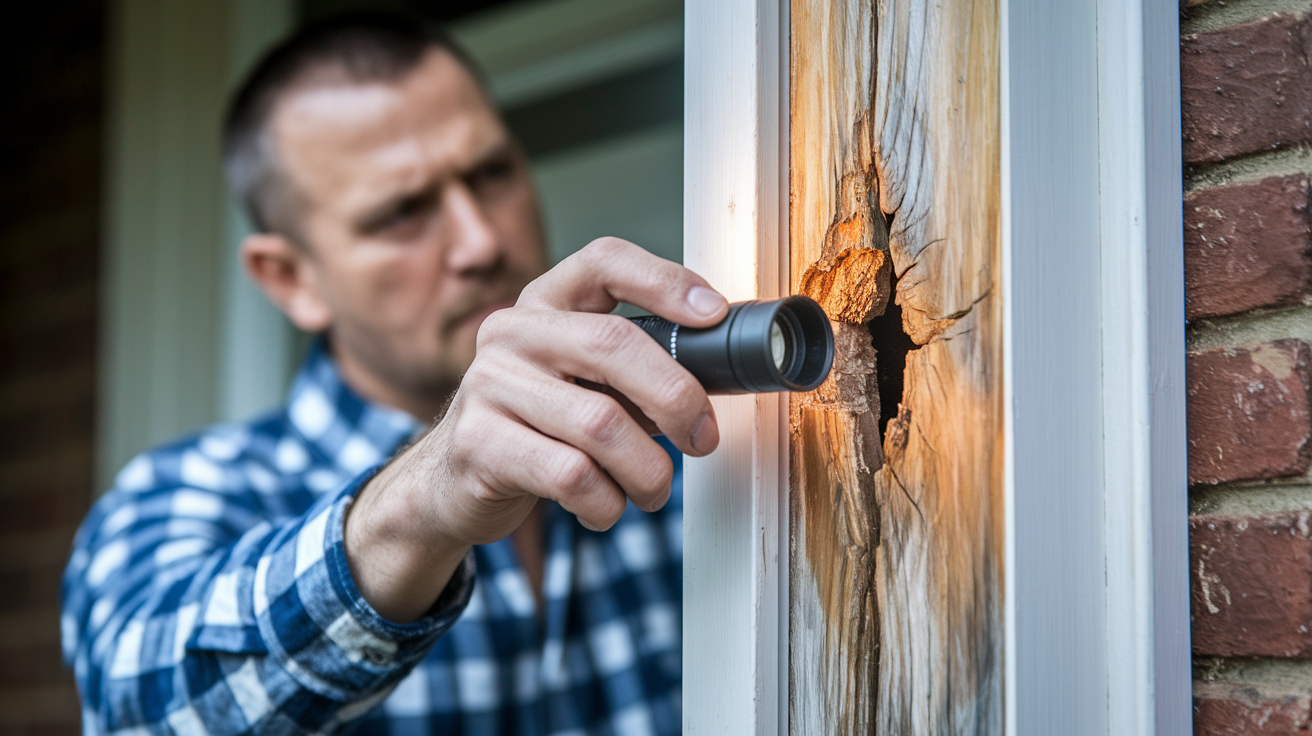

Ever notice how a damaged door frame somehow makes the whole house feel off? That wobble when you close the door, the gap that lets in a draft, the crack that catches your eye every time you walk past. Most door frame damage looks worse than it actually is. A split that seems like a major problem might only need wood glue and twenty minutes. But ignore soft wood or miss hidden rot, and you’re looking at a bigger repair down the road. This guide walks you through diagnosing what’s really wrong, then fixing it with basic tools and materials you probably already have.
Diagnosing Your Door Frame Damage: A Complete Assessment Guide
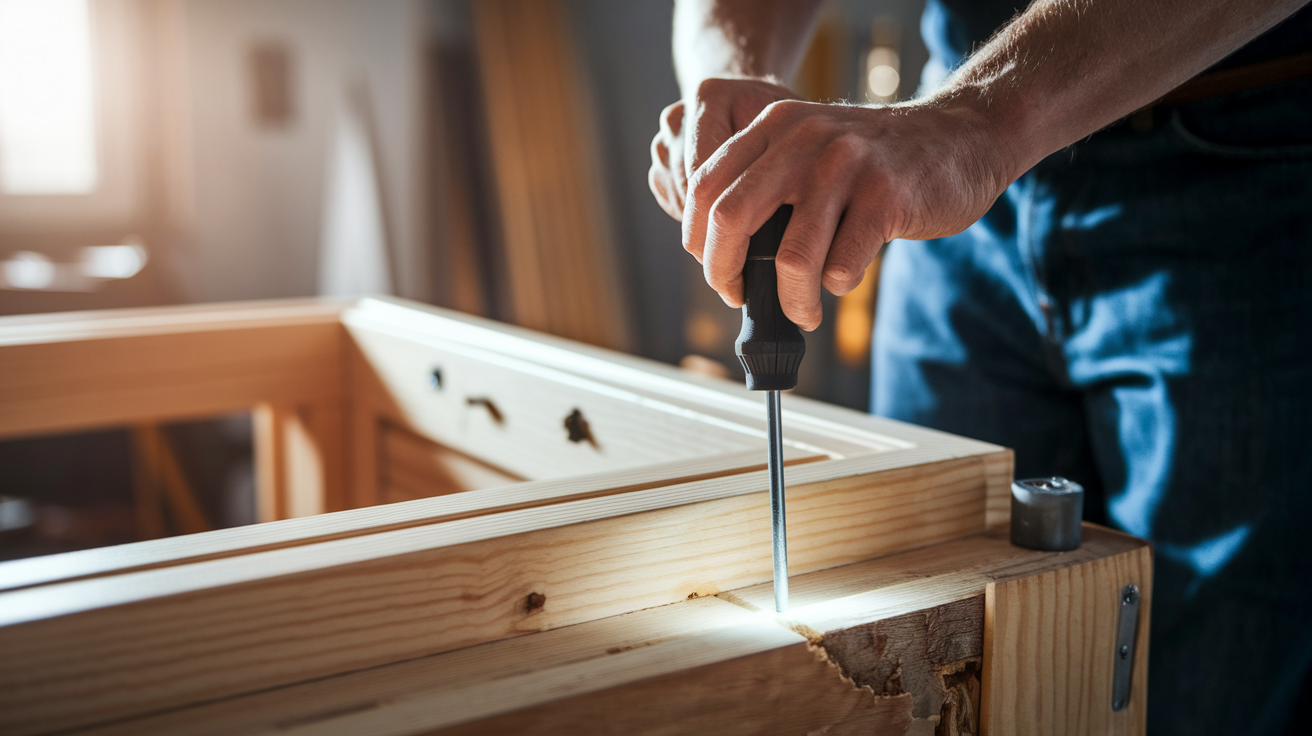
Getting the diagnosis right determines whether you fix it properly or waste time on repairs that don’t hold. What looks like a simple crack might be hiding rot underneath. Or what seems like major structural failure could just need wood glue and filler. Spend twenty minutes checking things carefully now, save yourself hours of redoing work later.
Work systematically with a flashlight, checking every frame component. The jambs run vertically where hinges and strike plates mount. Header spans the top. Threshold sits at the bottom on exterior doors. Look at joints where pieces meet, hardware attachment points, anywhere the frame touches the wall. Check both sides if you can access them. Problems often start on one side and work through.
Run these specific tests to find hidden damage:
- Press a flathead screwdriver firmly into the wood. If it sinks more than 1/8 inch, you’ve got rot that needs complete removal.
- Run your hand slowly along the entire frame. Feel for raised splinters, separation lines, rough spots showing splits.
- Open and close the door several times. Watch for binding, resistance, gaps that appear and disappear.
- Grip each hinge, try to wiggle it. Movement means stripped screws or cracked wood around the mounting area.
- Look for dark streaks, water stains, discoloration. These show moisture damage even when wood still feels firm.
- Check the threshold and bottom six inches of jamb closely. Ground moisture and rain hit these areas hardest.
- Look where frame meets wall. Separation gaps or movement when you push means trouble.
- Test the latch by watching how it enters the strike plate. Misalignment means the frame has shifted or the house has settled.
Sort damage using this decision tree. Cosmetic stuff like chips, shallow dents, scratches under 1/8 inch deep gets wood filler. Structural cracks running with the grain or visible splits need the split repair section. Soft wood, dark discoloration, spongy areas when pressed belong in rot repair. Loose hinges, screws that won’t tighten, stripped holes direct you to hinge reinforcement. Severe impact with broken pieces, multiple damage types in one area, or frame pulling away from the wall means you should probably look at replacement.
Identifying what caused the damage matters just as much as fixing symptoms. A crack from someone kicking the door won’t return after proper repair and maybe adding a door stop. But moisture-caused cracks will come back if you don’t find and fix the water source. House settling creates specific patterns. Diagonal cracks, door binding at top or bottom depending on season, gaps that change size. Moisture shows up as bottom frame damage, dark stains, rot. Impact creates splintered edges and damage concentrated at handle height or where the door hits the frame.
Tools and Materials Needed for Door Frame Repairs
Most repairs need only hand tools and common materials. Full replacement adds power tools and precision measuring equipment.
Essential tools for all repairs:
- Putty knife for applying filler smoothly
- Utility knife with sharp blade for cleaning loose material and trimming excess
- Chisel set for removing rot and creating clean edges
- Hammer for driving finishing nails
- Screwdriver set (Phillips and flathead) for hardware removal
- Cordless drill with bits for pilot holes that prevent new splits
- 2-foot level for checking alignment
- Bar clamps or C-clamps for holding glued splits closed while they cure
- Small pry bar for removing trim without wall damage
- Tack cloth for removing dust before painting or staining
Materials you’ll need:
- Wood filler (synthetic type) for chips, gouges, nail holes on painted frames
- Two-part epoxy filler for rot repairs needing maximum strength and moisture resistance
- Wood putty (oil-based) for stainable repairs requiring natural wood appearance
- Wood glue (yellow carpenter’s glue) for bonding splits and reinforcing weak joints
- Sandpaper in three grits: 80 for shaping, 120 for smoothing, 220 for final finish
- Primer suitable for wood surfaces
- Finishing nails in 6d and 8d sizes for securing loose trim and reinforcing splits
Wear safety equipment. Dust masks filter wood particles when sanding or cutting, particularly important with old paint that might contain lead. Protective goggles stop wood chips and dust from reaching your eyes during chiseling and drilling. Work gloves protect hands from splinters when handling rough wood and prevent skin contact with chemicals in fillers and finishes.
A complete repair kit costs $25 to $75 depending on what you already own. Basic repairs using filler, sandpaper, and paint run $10 to $15. Extensive repairs requiring epoxy filler, clamps, and new lumber pieces reach $50 to $75. Most tools are general carpentry items useful for many home projects beyond door frames.
Repairing Minor Door Frame Damage with Wood Filler
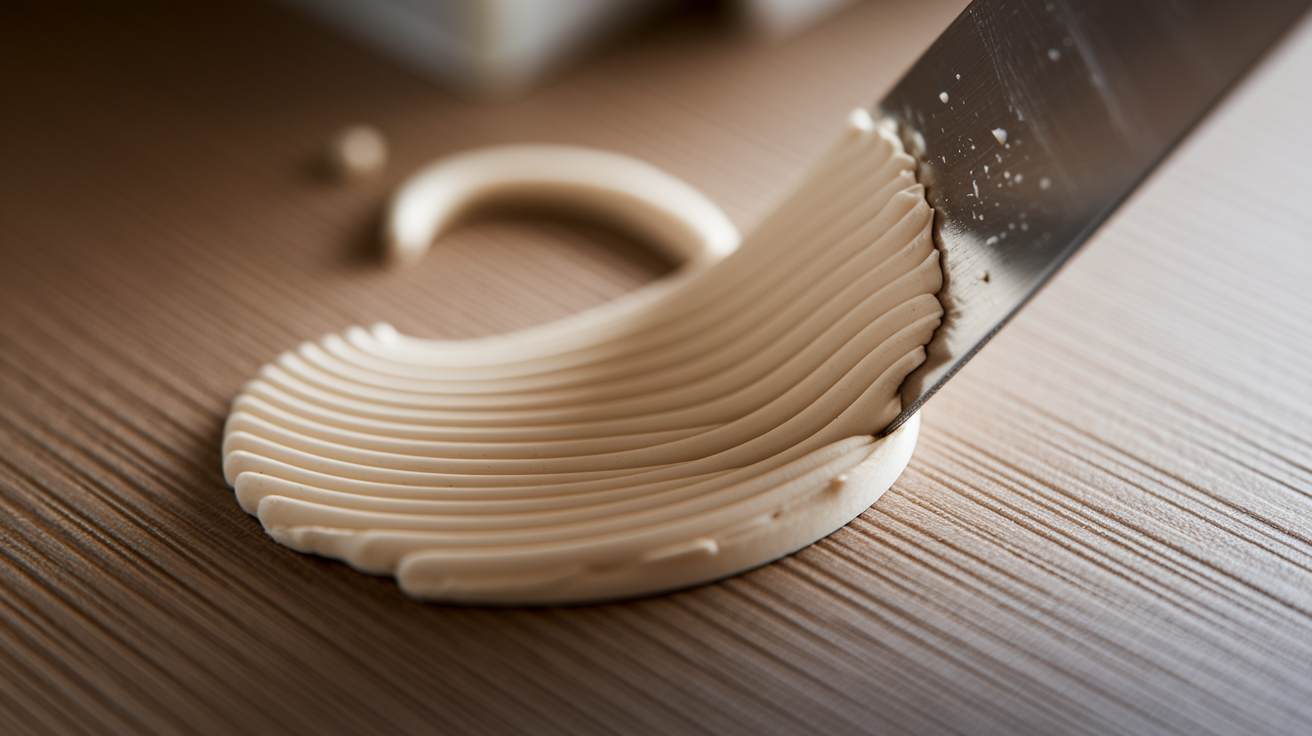
Wood filler works for chips, gouges, small cracks under 1/8 inch wide, nail holes from removed hardware, and minor dents from impacts that haven’t split the wood. These surface damages haven’t compromised structural integrity. The frame still holds the door properly and feels solid when you press on it.
Follow these steps:
- Clean the damaged area, removing all loose material and debris with a stiff brush or vacuum.
- Scrape with a utility knife held at a low angle. Create clean edges and slightly undercut the surface so filler can grip.
- Apply wood filler generously with a putty knife. Overfill by about 1/8 inch since most fillers shrink slightly as they dry.
- Allow proper drying time per manufacturer instructions. Typically 2 to 4 hours for small repairs, up to 8 hours for deep holes.
- Trim excess filler with a utility knife blade held flat against the surrounding surface.
- Sand progressively, starting with 120 grit to remove high spots, then finishing with 220 grit for a paint-ready smooth surface.
- Wipe thoroughly with a tack cloth, removing all dust before painting or staining.
Choose between wood putty and synthetic fillers based on whether the frame will be stained or painted. Wood putty is oil-based, dries slower (sometimes overnight), accepts stain reasonably well, and remains slightly flexible after curing. Synthetic fillers are water-based, dry faster (usually 2 to 4 hours), create stronger repairs, but only accept paint, not stain. For painted door frames, synthetic filler works better. For natural wood or stained frames, use wood putty even though it takes longer. Some putties labeled “stainable” still don’t match wood color perfectly, so test in an inconspicuous spot first.
Avoid common mistakes for seamless results. Applying filler too thin creates a weak repair that cracks or falls out. Apply generously, knowing you’ll sand excess away. Insufficient drying time causes problems during sanding. The filler gums up your sandpaper and creates rough texture instead of smoothing. Wait the full recommended time. Feather the edges by sanding 2 to 3 inches beyond the actual repair area, gradually blending new filler into old wood so the repair becomes invisible under paint. Sharp edges between repair and original wood telegraph through paint as visible lines.
Fixing Cracked and Split Door Frame Wood
Hairline cracks are surface damage less than 1/16 inch wide that haven’t separated the wood. These need only filler. Through-splits are structural damage where wood has separated along the grain, creating a visible gap or allowing you to see movement when you flex the frame. Splits compromise structural integrity while hairline cracks are primarily cosmetic concerns.
Repair splits using these steps:
- Clean the split thoroughly, removing dust and loose wood fibers using a stiff brush or compressed air.
- Apply wood glue liberally into the opening using a small brush or the applicator tip. Work glue as deep as possible into the split.
- Close the split using bar clamps or C-clamps, applying firm, even pressure along the entire length.
- Allow 24-hour cure time without disturbing the repair or removing clamps.
- Fill any remaining surface gaps with wood filler after removing clamps, since splits rarely close completely flush.
Reinforce repaired splits with finishing nails or screws driven perpendicular to the split for permanent strength. Splits repaired with glue alone may reopen under stress from door operation. Drive 6d finishing nails every 6 to 8 inches along the split, angling them slightly so they pass through both sides of the crack and pull the wood together. Pre-drill pilot holes about half the nail diameter to prevent new splitting when you drive fasteners. Countersink nail heads below the surface and fill with wood putty for invisible repairs under paint.
Cracks indicate replacement is needed in several situations. Multiple splits in the same jamb mean the wood has failed structurally and won’t hold repairs reliably. Splits longer than 6 inches usually affect frame strength too much for simple repair. Splits that reopen after proper gluing and clamping indicate ongoing stress from settling or moisture cycles that will continue breaking repairs. Splits accompanied by frame separation from the wall show the entire installation is failing, not just the wood itself.
Addressing Wood Rot in Your Door Frame
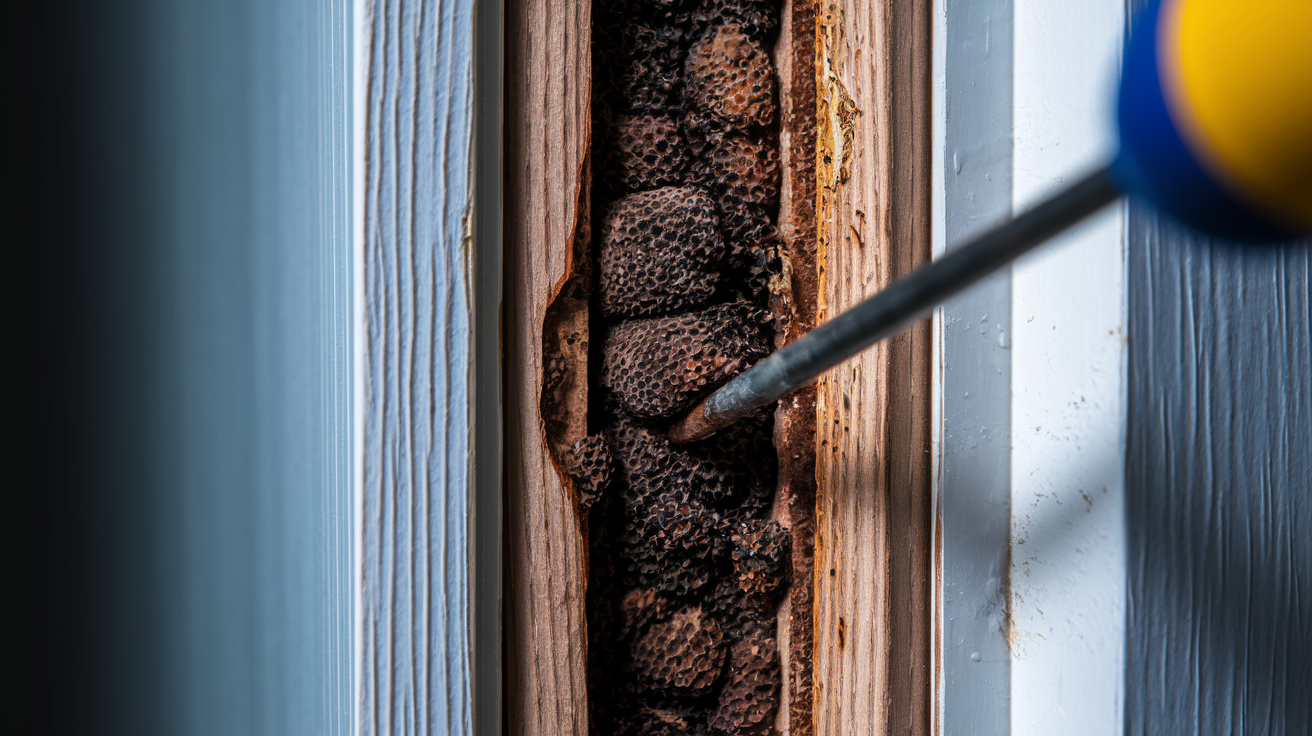
Identify rot by testing wood firmness with a screwdriver. Press the tip firmly into suspected areas. Solid wood resists penetration while rotted wood feels soft and spongy, allowing the screwdriver to sink 1/4 inch or more with moderate pressure. Look for dark discoloration, usually brown or black, sometimes with a gray weathered appearance. Rotted areas often produce a musty smell, especially noticeable in enclosed spaces. Advanced rot shows visible fungal growth as white, yellow, or black fuzzy material on the wood surface.
Repair rot using these specific steps:
- Test wood firmness systematically with a screwdriver, probing every inch to find the complete rot boundary.
- Mark the rot extent with a pencil, extending your cutting line about 1 inch beyond the last soft spot into solid wood.
- Chisel out all soft wood, creating clean edges with solid wood on all sides. Remove material until you hit wood that feels completely firm.
- Treat the cleaned cavity with wood hardener (liquid consolidant), allowing it to soak in and harden remaining wood per product instructions, usually 2 to 4 hours.
- Fill the cavity with two-part epoxy filler, building up in layers for deep damage. Allow each layer to partially cure before adding more.
- Seal the entire repair area with exterior-grade primer once the epoxy has fully cured, creating a moisture barrier.
Partial jamb replacement becomes the better choice when rot exceeds 30% of the jamb width, since the remaining wood may not provide adequate strength even after repair. Rot affecting multiple areas of the same jamb indicates systemic moisture problems and wood that has lost integrity throughout. Rot extending into the wall framing behind the jamb requires carpentry beyond door frame repair and may need professional assessment. Repeated rot in the same location after previous repairs means the moisture source wasn’t eliminated and filling again won’t solve anything.
Moisture source elimination is critical for permanent rot repair. Check weather stripping around exterior doors for gaps allowing rain infiltration. Look for clogged drainage holes in storm doors or exterior door frames. Find missing caulk at the threshold where water runs along the floor and soaks into the bottom of the jamb. Check for plumbing leaks from nearby pipes, especially in bathroom and laundry room door frames. Prevention requires proper sealing with paintable caulk at all joints, maintaining weather stripping, ensuring good drainage away from thresholds, and using exhaust fans to control interior moisture in bathrooms. For more extensive moisture issues throughout the structure, professional water damage restoration may be necessary to address underlying problems before frame repairs will hold.
Reinforcing Stripped Screw Holes and Hinge Areas
Hinge areas fail from repeated stress caused by door weight and movement. Each time you open or close the door, force concentrates at hinge mounting points. Over-tightening screws during repeated adjustments gradually crushes wood fibers, enlarging holes until screws no longer grip. Original screws that are too short to reach solid wood or wall studs pull out easily under normal door use, especially on hollow-core frames.
Reinforce stripped holes using these proven methods:
- Wood glue and toothpick method: Fill the stripped hole with round toothpicks or wooden golf tees coated in wood glue. Pack them tightly until no more fit, allow overnight drying, then trim flush and re-drill a pilot hole for the screw.
- Dowel plug installation: Drill out the damaged hole to a uniform 3/8 inch diameter, removing all damaged wood. Glue in a hardwood dowel cut flush with the surface, allow to cure, then drill a new pilot hole for the screw.
- Larger diameter screws: Replace standard #8 hinge screws with #10 or #12 screws that bite into fresh wood surrounding the stripped hole.
- Longer screws reaching wall studs: Install 3-inch screws that penetrate completely through the jamb into the wall framing, providing solid anchoring independent of jamb wood condition.
- Metal reinforcement plates: Install T-plates or hinge backing plates on the back side of the jamb, distributing stress over a larger area and preventing screw pull-through.
Install wood shims behind hinge mortises when the frame-to-stud gap is excessive, creating solid backing material where none exists. Gaps wider than 1/4 inch leave hinges suspended with inadequate support. Cut cedar shims to fit behind each hinge location, applying wood glue to hold them in place, then drive longer screws through the jamb and shim into the wall stud. This creates a solid wood sandwich that won’t compress or strip out.
Use preventive reinforcement during initial repair rather than waiting for failure. Install longer 3-inch screws at least once per hinge, usually in the middle screw hole, even if original screws haven’t stripped. Check hinge alignment by observing how the door hangs. Binding at top or bottom indicates misalignment causing stress that will eventually strip screws or crack the frame.
Repairing Kicked-In or Impact-Damaged Door Frames
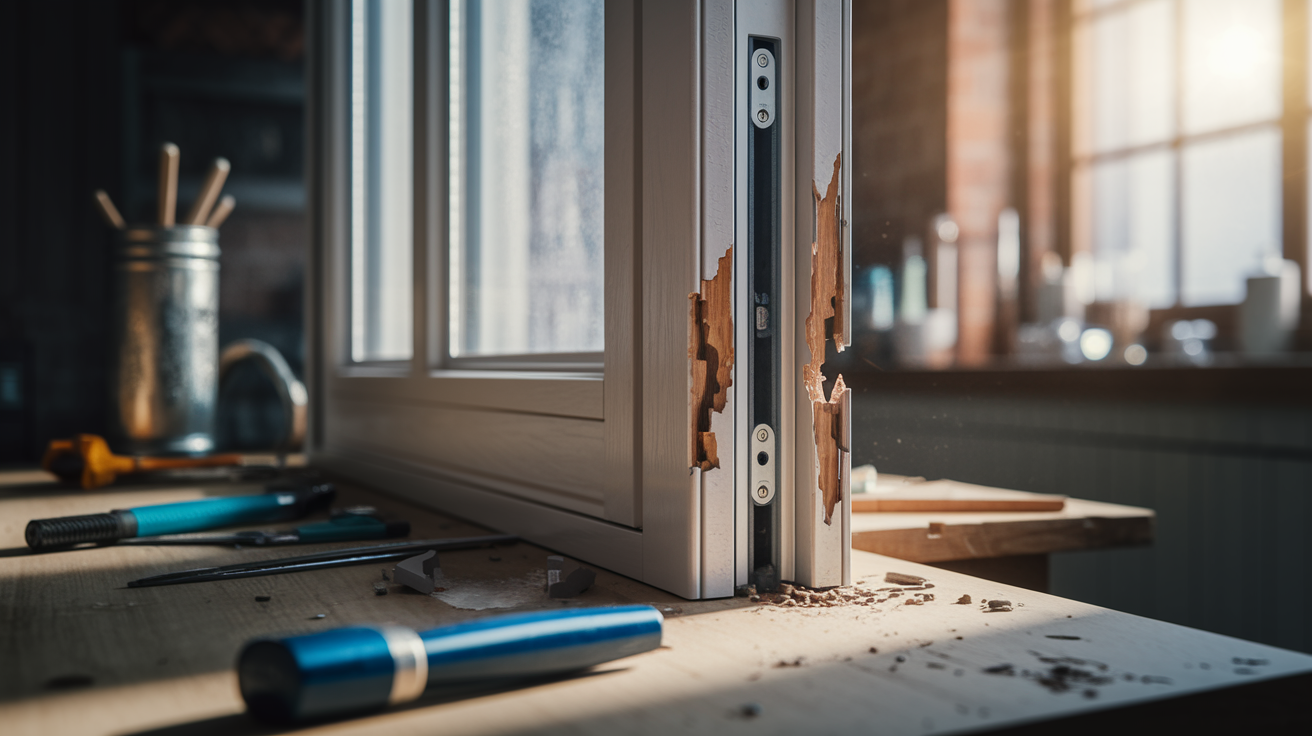
Assess whether partial repair or full replacement is needed by examining specific damage patterns. Split jambs with separated wood fibers running 6 inches or longer indicate structural failure requiring replacement of that jamb section. Frame joints pulled apart at mitered corners mean the frame has been racked out of square and won’t hold a door properly even after cosmetic repair. Frame movement away from the wall, visible as a gap where the jamb has pulled away from the drywall or wallpaper, indicates that fasteners have failed throughout the installation.
Replace partial jamb sections using this process:
- Remove the door from its hinges and set it aside in a safe location where it won’t be damaged.
- Cut out the damaged jamb section using a handsaw or reciprocating saw, making square cuts at the top and bottom of the damaged area in solid wood.
- Measure and cut a replacement piece from matching lumber (typically 3/4 inch thick pine or fir) to exact dimensions fitting between your cuts.
- Test-fit the replacement piece, ensuring it sits flush with the remaining frame and doesn’t create steps or gaps.
- Secure the replacement with wood glue on all contacting surfaces and drive 8d finishing nails at angles through the replacement into the remaining frame.
- Reinforce the strike plate area with metal L-brackets or T-plates screwed through the jamb into wall studs, adding strength specifically where force concentrates during impacts.
- Fill all nail holes with matching wood putty and sand smooth after drying.
Upgrade security during repair by installing hardware that resists future impacts. Use 3-inch screws through the strike plate penetrating wall studs rather than screwing only into the jamb. Install heavy-duty reinforced strike plates with four screw holes instead of standard two-hole plates. Add door frame security brackets, metal plates that span from the jamb to the wall framing, distributing impact force across a much larger area. These upgrades cost $20 to $40 in materials but dramatically increase resistance to forced entry.
Full frame replacement is more practical than extensive piecemeal repairs when damage affects both jambs and the header, when multiple previous repairs have weakened overall structure with numerous patches and fastener holes, or when the damaged frame is low-quality material not worth extensive repair time and materials. A new pre-hung frame costs $150 to $250 installed in 4 to 6 hours versus 6 to 8 hours patching multiple damaged sections with uncertain long-term results.
Complete Door Frame Replacement: When and How
Replacement indicators include multiple failed repair attempts suggesting the damage or underlying cause exceeds repair capability. Rot in multiple jamb sections or in the header indicates moisture problems that have compromised structural integrity throughout. Severe warping that prevents door operation even after adjustment means the wood has permanently deformed beyond repair. Frame separation from the wall over large areas shows installation failure requiring complete reinstallation. Upgrading during renovation provides an opportunity to install modern energy-efficient frames with better weather stripping and insulation.
Follow this complete replacement sequence:
- Remove the door from its hinges and store it safely away from the work area.
- Remove interior trim carefully using a flat pry bar with wood blocks protecting the wall, starting at the bottom and working up.
- Cut the paint seal around the frame perimeter with a utility knife, preventing paint from tearing and damaging the wall.
- Remove the old frame by extracting visible screws or using a reciprocating saw to cut through hidden nails.
- Clean the rough opening thoroughly, removing old shims, debris, loose insulation, and protruding nails or screws.
- Measure the opening width at three locations: top, middle, and bottom. Record all three measurements and use the smallest dimension.
- Test-fit the new frame in the opening, checking for interference before permanent installation.
- Insert cedar shims in pairs at each hinge location and every 12 inches around the perimeter. Adjust until a level shows the frame is plumb on both sides.
- Secure the frame to wall studs with 3-inch screws driven through the jamb and shims into solid framing.
- Reinstall trim pieces using finishing nails, caulking small gaps between trim and wall.
Pre-hung door units include the door already attached to the frame with hinges installed and the strike plate mortise cut. They offer faster installation since you’re handling one assembled unit, guaranteed fit between door and frame eliminating adjustment, and professional bore and mortise work you don’t have to do yourself. Jamb-only replacement lets you reuse the existing door, saving cost on solid-wood or custom doors. It requires precise fitting since you’re matching an existing door to a new frame, and costs less overall since quality doors often outlast their frames. Choose pre-hung for badly damaged doors or major upgrades. Choose jamb-only when the door itself is in good condition.
Estimated time runs 4 to 6 hours for an experienced DIYer familiar with carpentry basics who works methodically. First-time installers should plan 6 to 8 hours, allowing for learning curve, measurement verification, and adjustment time. This is intermediate to advanced DIY requiring carpentry skills including accurate measuring, level and plumb concepts, proper shimming technique, and patience for precise work. Rushing installation creates problems. Doors that bind, frames that aren’t square, or drafty gaps from poor shimming.
Finishing Your Repair: Sanding, Painting, and Staining
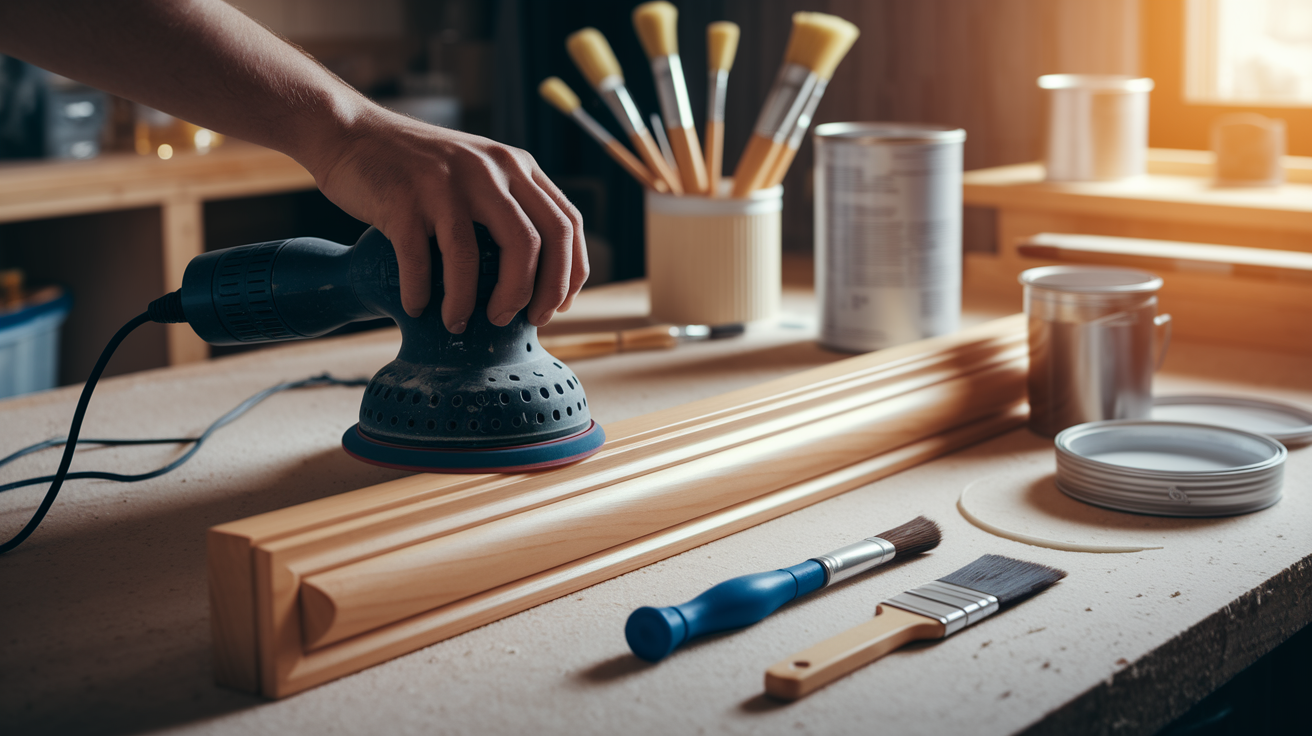
Proper surface preparation and finishing matters for paint adhesion, preventing peeling or bubbling after all your repair work. Finishing creates a smooth professional appearance where repairs blend invisibly with the existing frame. Good finishing protects wood from future damage by sealing against moisture, impact, and normal wear.
Sand repaired areas using this progression:
- Start with 80 grit sandpaper for shaping dried filler, removing high spots, and leveling uneven surfaces.
- Progress to 120 grit for smoothing out scratches left by coarse grit and refining the surface.
- Finish with 220 grit, creating a paint-ready smooth surface that won’t show sanding marks under finish coats.
- Sand 2 to 3 inches beyond the actual repair area in all directions, feathering edges for invisible blending with original surfaces.
- Vacuum all debris after each grit change and wipe with a tack cloth, removing every particle before moving to finer grit.
Use a power palm sander for large flat jamb surfaces, moving with the wood grain in long straight passes. Switch to hand sanding for corners, edges, and tight areas around hardware where power tools can’t reach or might damage adjacent surfaces. Always make your final sanding pass by hand following the wood grain to eliminate any swirl marks left by power sanders.
Painting Repaired Door Frames
Select primer based on what you’re covering. Oil-based primer blocks stains and tannin bleed through from wood knots or water damage, while latex primer works for standard repairs over clean wood. Match paint type to the existing finish using latex for most interior frames and exterior-grade paint for outside doors exposed to weather. Apply primer with a quality angled brush, working it into wood grain. Allow 2 to 4 hours drying time before painting.
Apply paint in thin even coats rather than one thick coat that sags or shows brush marks. Two coats minimum provides proper coverage and durability, with 4 hours of drying time between coats in normal conditions. Lightly sand between coats using 220 grit sandpaper, just enough to knock down any raised grain or dust particles, then wipe clean with a tack cloth. The second coat goes over a perfectly smooth first coat for a glass-smooth finish. Feather paint edges 6 inches beyond repairs so new paint blends gradually into old rather than creating a visible line.
Staining Wood Door Frames
Choose stain color to match existing finish using sample boards. Apply stain to scrap wood similar to your door frame, let it dry completely, then compare in natural light. Apply wood conditioner on repairs made with wood putty or filler since these materials absorb stain differently than surrounding wood, creating blotchy appearance without conditioning. Wood conditioner evens out absorption so the entire frame takes stain uniformly.
Apply stain with a clean cloth or natural-bristle brush, working with the grain direction in long continuous strokes. Wipe excess stain after 5 to 10 minutes using clean rags, removing material sitting on the surface. Stain that isn’t wiped off dries sticky and dark, creating an uneven appearance. Allow complete drying for 24 hours before touching or applying topcoat. Stain feels dry to the touch after a few hours but needs full cure time for proper topcoat adhesion.
Apply protective topcoat in two coats minimum, polyurethane or lacquer, for protection against moisture, impacts, and wear. Topcoat turns a fragile stain into a durable finish that can be cleaned and will protect wood for years. Use satin or semi-gloss sheen matching the existing door finish.
Color matching techniques include testing stain or paint in inconspicuous areas like the hinge mortise or behind trim before committing to visible surfaces. Use gel stains instead of liquid stains on repairs for better color control since gel stains sit on the surface more uniformly. Feather paint edges by thinning the paint slightly at transition areas, gradually building coverage rather than creating a sharp edge where new paint meets old.
Sealing and Weatherproofing Exterior Door Frames
Exterior frames need extra protection from rain driving against the door during storms, snow accumulating at the threshold and melting into the wood, temperature changes cycling between freezing and thawing that crack sealants, and humidity cycling between wet and dry seasons that causes wood movement. Interior frames don’t experience these constant attacks.
Seal these critical areas on exterior door frames:
- Threshold-to-jamb joint where water naturally pools when rain hits the door.
- Jamb-to-wall gaps around the entire perimeter, allowing water infiltration behind the frame.
- Exterior trim joints where pieces meet at corners or where trim contacts siding.
- Bottom six inches of door jamb, the most vulnerable area for ground moisture and rain splash.
- Exposed end grain at cut edges of jambs or trim, absorbing water like a sponge.
- Hinge mortises on the exterior side, creating water entry points directly into wood.
Select products for specific applications rather than using one caulk everywhere. Paintable acrylic latex caulk works for visible joints requiring paint compatibility and minor flexibility. Clear silicone caulk handles the threshold area, needing maximum flexibility as the door opens and closes and waterproofing where standing water occurs. Polyurethane caulk provides maximum durability in high-movement areas like frame-to-wall joints that flex slightly as the door operates. Use foam backer rod to fill gaps wider than 1/4 inch before applying caulk, since caulk alone won’t bridge large gaps and will fail quickly.
Apply caulk in a continuous smooth bead, tool it immediately with a wet finger or plastic tool creating slight concave surface, and allow full cure time (usually 24 to 48 hours) before painting or exposure to water. Proper tooling presses caulk into the joint rather than leaving it sitting on the surface where it will peel away.
Resealing maintenance requires annual inspection of all caulk joints in early spring after winter weather. Look for cracked caulk, separated caulk pulling away from wood or wall, and gaps where caulk has shrunk or fallen out. Repair problems immediately since small gaps become big problems fast with water infiltration. Complete resealing every 2 to 3 years provides maximum protection by replacing caulk before it fails, not after water has already damaged wood.
Common Door Frame Repair Mistakes to Avoid

Mistakes happen during door frame repairs when you rush to complete the project quickly, wanting the door back in service. Inadequate damage assessment causes wrong repair approaches that don’t address the actual problem. Using the wrong products for the damage type creates repairs that don’t hold or don’t match the finish. Skipping preparation steps like cleaning or priming leads to poor adhesion and early failure.
Avoid these common problems:
- Skipping thorough damage assessment, jumping straight to repairs without understanding the full extent of damage, leading to incomplete repairs that fail quickly.
- Insufficient removal of damaged material, leaving soft wood or loose fibers under the repair that create weak spots destined to fail.
- Inadequate drying time between filler coats, trying to speed up the process by adding the second coat too soon, causing cracking or poor adhesion.
- Over-sanding repaired areas with too much pressure or too coarse sandpaper, creating depressions below the surrounding surface.
- Mismatched filler type to application, such as using non-stainable synthetic filler on natural wood frames that will show as an obvious patch.
- Ignoring the moisture source that caused the damage, repairing rot without fixing the leak that will rot the wood again.
- Using fasteners too short to reach solid backing, driving screws that only grip the jamb without reaching wall studs for proper support.
- Skipping primer before painting repairs, reducing paint adhesion and coverage, requiring extra coats to hide repairs.
The most critical mistake is not addressing underlying causes like persistent moisture sources, foundation settling creating constant stress, or door hardware problems causing repeated impacts. A perfect surface repair over foundation settling will crack again in months as the house continues moving. Rot repair without fixing the leak just delays the problem until next year. Installing a repair without addressing why the door slams means the new wood will split just like the old. Surface repairs fail when root problems persist.
Test repairs before finishing work by checking door operation through multiple open and close cycles, verifying smooth surfaces by running your hand along repairs, and confirming structural stability by pushing firmly on repaired areas. Problems found now are easy to fix. Problems found after painting require stripping and starting over.
Preventing Future Door Frame Damage
Prevention is significantly cheaper than repair, with regular maintenance catching small problems before they become major structural issues requiring frame replacement. A tube of wood filler applied to a hairline crack costs $5 and takes 10 minutes. A rotted jamb replacement costs $150 to $300 and takes half a day.
Practice these prevention habits:
- Install door stops to prevent the door handle from impacting walls and jambs, absorbing force that would otherwise crack wood.
- Adjust door closers to reduce slamming force and stress, setting the tension so doors close firmly but not violently.
- Maintain paint or stain barrier with touch-ups every 2 to 3 years, keeping protective finishes intact before bare wood is exposed to moisture.
- Address moisture sources promptly, including leaks, condensation, and poor drainage. Fix the problem when you first notice water rather than after damage appears.
- Tighten hinge screws during routine checks twice a year, preventing loosening that creates stress and accelerated wear.
- Monitor for seasonal door binding and adjust hinges or plane edges slightly, eliminating friction before it damages the frame.
- Seal exterior frames regularly, inspecting caulk annually for cracks or separation and reapplying before water gets behind sealant.
Create a seasonal inspection routine that catches problems early. Spring checks look for winter moisture damage from ice, snow, and freezing temperatures that crack wood and sealants. Summer checks find swelling from humidity that causes doors to bind in frames. Fall preparation work focuses on weather sealing before winter storms, ensuring caulk and weather stripping are intact. Winter checks find ice damage at thresholds and gap infiltration allowing cold air and moisture inside.
Early intervention provides huge cost benefits. Fixing a small crack with filler costs under $10 in materials and 30 minutes of work. Ignoring that crack until moisture gets in and rot starts means replacing a rotted jamb for $100 to $300 in materials and supplies plus 3 to 4 hours of work. Catching hinge screw loosening early means tightening screws in 5 minutes. Ignoring loose screws until the frame cracks around the hinge requires wood glue, clamps, reinforcement brackets, and 2 to 3 hours of repair time.
Door Frame Repair Cost and Time Estimates

Factors affecting cost include damage extent and location, with threshold damage requiring more work than upper jamb repairs. Door frame material type matters, with solid wood being more expensive than MDF or pine. Paint or stain matching requirements may require custom mixing. And there’s DIY capability versus contractor hiring for complex structural work.
| Repair Type | Material Cost | Time Required | Difficulty |
|---|---|---|---|
| Minor filler repairs | $10-25 | 1-2 hours | Beginner |
| Crack and split repairs | $15-35 | 2-3 hours | Beginner-Intermediate |
| Hinge reinforcement | $20-40 | 1-2 hours | Beginner-Intermediate |
| Partial jamb replacement | $40-80 | 3-4 hours | Intermediate |
| Full frame replacement | $150-400 | 4-8 hours | Intermediate-Advanced |
| Rot remediation | $50-150 | 3-5 hours | Intermediate |
DIY cost savings run 60 to 75% less than professional work since you’re paying only for materials and supplies. A minor repair costing $15 in materials would cost $80 to $120 if you hired someone. Full frame replacement you complete for $300 in materials would cost $500 to $800 with professional installation. But professional quality benefits include experience recognizing hidden problems DIYers might miss, proper tools for efficient work, warranty coverage on labor usually for 1 to 2 years, and faster completion, saving disruption time when having a door out of service affects home security or weather protection.
Hidden costs affect DIY budgets beyond material lists. Tool purchases add $40 to $100 if you don’t already own basic carpentry tools. Multiple attempts when the first repair doesn’t work out right waste materials. That $15 wood filler repair becomes $40 after three tries learning technique. Time spent researching, shopping, and working costs money in lost productivity if you’re taking time off work. Factor these into your budget comparison.
Spending more upfront through replacement or professional help saves money long-term in several situations. Avoiding repeated repairs that never quite fix the problem means one $300 replacement beats three $50 repair attempts over two years. Preventing structural problems from inadequate DIY repairs saves thousands in future framing repairs. Eliminating energy loss from poor-fitting doors reduces utility bills by $100 to $200 annually, paying for professional installation within 2 to 3 years through lower heating and cooling costs.
When to Call a Professional for Door Frame Repairs
Evaluate your personal skill level honestly. Do you have carpentry experience with measuring, cutting, and fitting wood pieces? Check if you own or can borrow necessary tools for the repair complexity you’re facing. Assess physical capability for work that requires standing, kneeling, lifting, and using hand tools for extended periods. Consider time constraints realistically. That 4-hour repair might take you 8 hours the first time.
Call a professional for these situations:
- Extensive rot affecting wall framing or header, not just the door jamb itself, requiring structural assessment beyond door frame scope.
- Sagging header or foundation settling, indicating larger structural problems that door frame repair won’t solve.
- Multiple failed DIY repair attempts over months or years, suggesting a misdiagnosed problem or technique issues.
- Lack of necessary tools, making proper repair impossible without buying specialized equipment you won’t use again.
- Time constraints for urgent repairs affecting security from kicked-in doors or weatherproofing from damaged exterior frames during storm season.
- Historic home with custom millwork requiring specialized matching that modern lumber can’t duplicate.
- Door frame issues discovered during home sale inspection, requiring certified repairs to satisfy buyers or lenders.
Professionals provide value beyond just labor hours. Proper structural diagnosis identifies problems DIYers often miss, like rot extending into wall framing or settling causing recurring damage. Repair warranties typically cover 1 to 2 years, giving you protection if problems return. Building code compliance matters for permitted work and insurance claims. Insurance coverage protects you if repair work accidentally damages other home components. Efficiency completes in hours what might take DIYers days, limiting security exposure and household disruption
Final Words
A damaged door frame doesn’t have to mean a complete replacement.
Small cracks, stripped screws, and even impact damage can often be fixed with the right approach and materials.
The key is matching your repair method to the actual problem you’re dealing with.
Start with a thorough inspection, choose your technique based on damage type, and don’t skip the finishing work.
When you learn how to repair damaged door frame issues correctly, you restore both function and safety to your home.
And if rot runs deep or structural problems show up, calling a professional prevents bigger headaches down the road.
FAQ
Can a damaged door frame be repaired?
A damaged door frame can be repaired in most cases, depending on the extent and type of damage. Minor issues like chips, cracks, dents, and stripped screw holes are straightforward fixes using wood filler, glue, and reinforcement methods. More serious damage such as splits, impact breaks, or localized rot can be repaired by replacing the damaged section and reinforcing the area with brackets or longer screws. However, extensive rot affecting multiple sections, severe warping, or structural compromise typically requires full frame replacement rather than repair.
How much does it usually cost to fix a door frame?
Fixing a door frame usually costs between $10 and $400 for materials, depending on the repair type. Minor cosmetic repairs using wood filler run $10-25, while crack and split repairs cost $15-35. Hinge reinforcement materials cost $20-40, partial jamb replacement runs $40-80, and full frame replacement materials range from $150-400. These are DIY material costs. Professional repairs add labor, typically ranging from $200-500 for full frame replacement.
Is it cheaper to repair or replace a door frame?
It is cheaper to repair a door frame when damage is minor or localized to one area. Repairing small cracks, dents, stripped screws, or single damaged jamb sections costs $10-80 in materials and takes 1-4 hours. Replacement becomes more cost effective when damage is extensive, affecting multiple frame sections, involves significant rot, or requires repeated repairs. Full replacement costs $150-400 in materials but provides a structurally sound frame that won’t need ongoing fixes.
Is it possible to fix frame damage?
It is possible to fix frame damage through several methods matched to the damage type. Surface damage like chips and dents gets filled with wood putty. Cracks and splits are repaired using wood glue and clamps. Stripped screw holes are reinforced with dowels, longer screws, or metal brackets. Rot requires cutting out all soft wood and filling with epoxy filler. Impact damage may need partial jamb replacement with metal reinforcement. Only severely compromised frames with extensive rot or multiple structural failures truly can’t be fixed.
What tools are needed for door frame repair?
Door frame repair requires basic hand tools and materials matched to your damage type. Essential tools include putty knife, utility knife, hammer, screwdrivers, drill, chisel, clamps, and sandpaper. Materials needed are wood filler or epoxy, wood glue, finishing nails, screws, and paint or stain. Add safety gear like dust mask, goggles, and gloves. A complete repair kit costs $25-75. More extensive repairs may need a pry bar, level, saw, and metal brackets.
How long does it take to repair a door frame?
Door frame repair takes 1 to 8 hours depending on damage extent and repair complexity. Minor filler repairs take 1-2 hours including drying time. Crack and split repairs need 2-3 hours. Hinge reinforcement takes 1-2 hours. Partial jamb replacement requires 3-4 hours. Full frame replacement takes 4-8 hours for DIYers. These times assume you have tools ready and work steadily. Add time for multiple filler coats, extended glue drying, or paint application with proper drying between coats.
How do you know if door frame damage is structural?
You know door frame damage is structural when it affects the frame’s ability to support the door and maintain proper alignment. Signs include the door sagging or not closing properly, visible gaps between door and frame that weren’t there before, frame pulling away from the wall, soft or spongy wood that depresses under pressure indicating rot, and multiple cracks or splits in the same section. Cosmetic damage like small dents or surface scratches doesn’t compromise structural integrity.
What causes door frames to rot?
Door frames rot when moisture stays in contact with wood long enough for fungal growth to start. Common causes include leaking weather stripping allowing rain in, missing or failed caulk around exterior frames, condensation from temperature differences, plumbing leaks near the frame, water splashing from bathrooms, poor ventilation trapping humidity, and ground contact at thresholds. Exterior door frames and bathroom frames face the highest rot risk. Rot appears as soft, dark, often musty-smelling wood.
Can you replace just part of a door frame?
You can replace just part of a door frame when damage is localized to one section and surrounding wood remains solid. Partial replacement works well for impact-damaged jamb sections, rotted bottom sections near thresholds, or areas with severe splitting. The process involves cutting out the damaged section with square cuts, fitting and securing a replacement piece, and reinforcing the joint. However, if multiple sections need replacement or rot extends into wall framing, full frame replacement is more practical and reliable.
How do you prevent door frame damage?
You prevent door frame damage through regular maintenance and protective measures. Install door stops to prevent handle impacts. Adjust closers to reduce slamming force. Maintain paint or stain barriers with touch-ups every 2-3 years. Seal exterior frames annually, checking caulk for cracks. Tighten hinge screws during routine checks. Address moisture sources immediately including leaks and condensation. Monitor for seasonal swelling and adjust hinges as needed. Conduct seasonal inspections catching small problems before they expand into major repairs.