


Ever notice how a single warped board can make an entire room feel off? That slight unevenness catches your eye every time you walk through. Hardwood floor warping shows up as cupped edges, raised centers, or boards that lift away from the subfloor. Most warping happens because of moisture, whether from a slow leak, high humidity, or water damage that dried unevenly. The good news: many warped floors can be fixed at home if you identify the problem correctly, eliminate the moisture source, and use the right repair method for your specific warping type.
Identifying Warping Type and Damage Severity
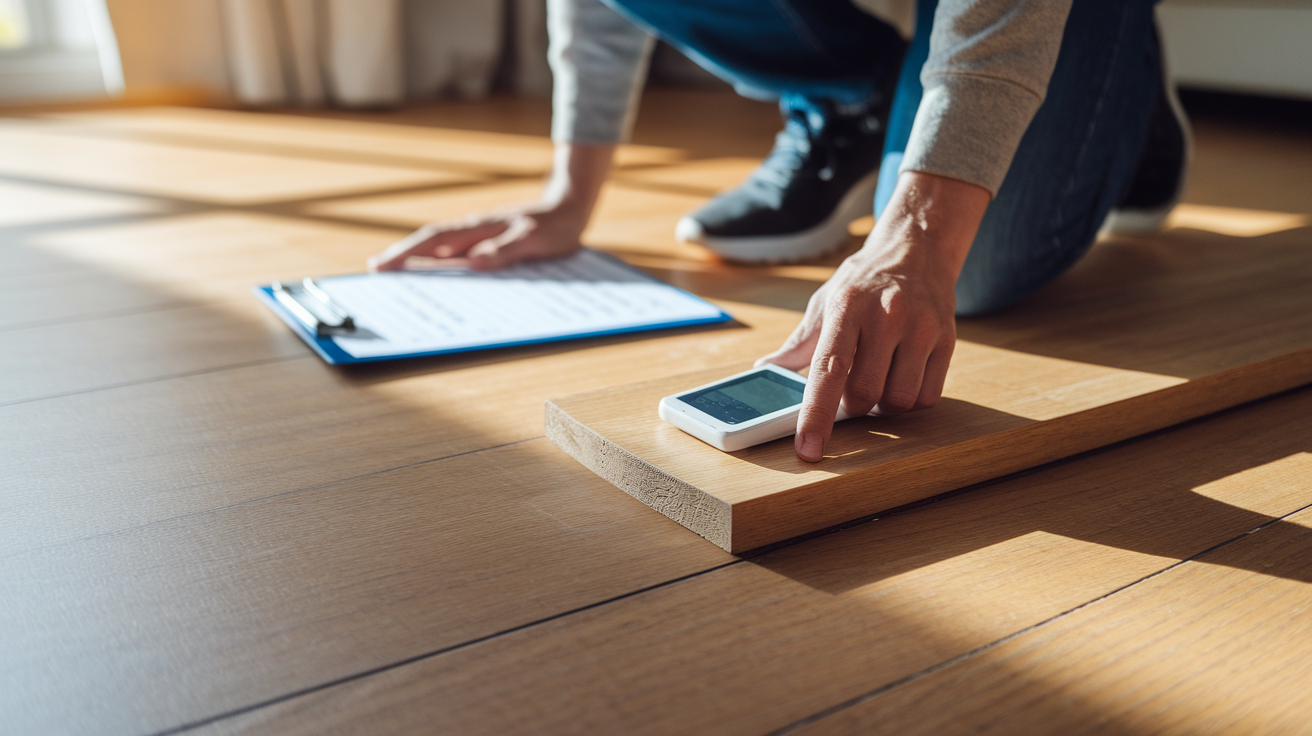
Before you pull out tools or order supplies, you need to know exactly what you’re dealing with. Rushing into a repair without understanding the specific warping pattern usually means wasted time and materials. Start by looking at the floor from different angles and in different lighting. Get down low and sight along the boards to see how they’re sitting. Are the edges curling up? Is the center of the board higher than the sides? Are entire planks lifting away from the subfloor?
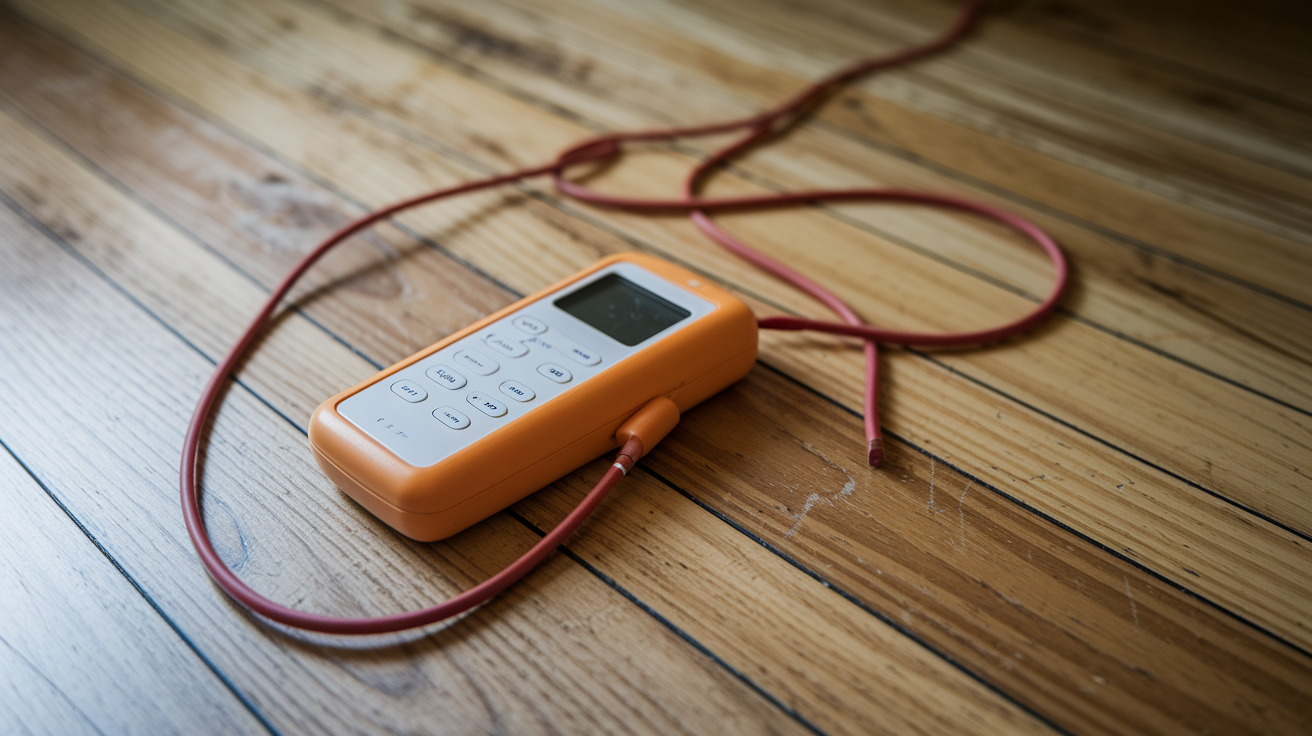
Grab a moisture meter if you have one, or borrow one from a hardware store that rents tools. The ideal moisture content for hardwood flooring sits between 6 and 9 percent. Measure both the warped areas and the unaffected sections to compare. That difference tells you whether moisture is still active or if you’re looking at old damage. Now figure out scale. Does the problem affect a few individual boards scattered around the room, or are multiple boards in a section all warped together? If the entire floor looks wavy, that’s a different problem entirely and might point to subfloor or structural issues underneath.
Diagnostic Checklist:
- Examine floor surface for cupping (edges higher), crowning (center higher), or buckling (boards lifting)
- Use moisture meter to measure moisture content in affected and unaffected areas
- Check subfloor for visible water damage, staining, or soft spots
- Identify pattern. Isolated boards vs. widespread warping
- Determine if warping is recent or long standing
Understanding severity determines whether DIY solutions or professional help makes sense. Small, isolated warping with low current moisture content is usually fixable at home. Widespread damage with high moisture readings or soft subfloor spots means you need to dig deeper before attempting cosmetic fixes.
Root Causes and Moisture Elimination
Hardwood flooring reacts to moisture like a sponge. The wood absorbs water and expands. When it dries out, it contracts. This constant back and forth movement causes the warping, cupping, and crowning you see on the surface. Relative humidity in your home drives this cycle. Hardwood floors stay stable when indoor humidity sits between 40 and 60 percent. Below that range, boards shrink and gaps open up. Above it, boards swell and push against each other. Seasonal changes make this worse. Humid summers cause expansion, dry winters cause contraction. Your HVAC system helps manage this, but only if you keep settings consistent year round instead of turning heat and air conditioning on and off.
Common Water Damage Sources:
- Pipe bursts and plumbing leaks
- Dishwasher, refrigerator, and washing machine leaks
- Roof leaks and window seepage
- Flood damage and standing water
- High crawl space moisture without vapor barrier
- Excessive wet mopping or spill cleanup delays
- Concrete slab moisture seepage
- Poor drainage around home foundation
Installation errors cause warping problems too, even without active water damage. If the wood planks didn’t acclimate to room temperature and humidity for 48 to 72 hours before installation, they’ll move unpredictably after they’re nailed down. Missing expansion gaps around the room edges mean the wood has nowhere to go when it expands, so it buckles upward instead. Poor subfloor preparation (uneven surfaces, debris, or moisture) creates an unstable foundation. Improper fastener placement or adhesive failure in glue down applications let boards move independently instead of staying locked together.
Repairs can’t begin until the moisture source is eliminated and the floor is dried. Your target is moisture content below 12 percent across the affected area. For minor warping, expect a drying timeline of 2 to 4 weeks. The wood needs time to reach equilibrium, where its moisture content matches the surrounding air. This isn’t something you can rush with heat lamps or fans alone. The wood has to adjust slowly and evenly through its full thickness.
Drying Protocol:
- Stop moisture source. Repair leaks, fix appliances, address drainage issues
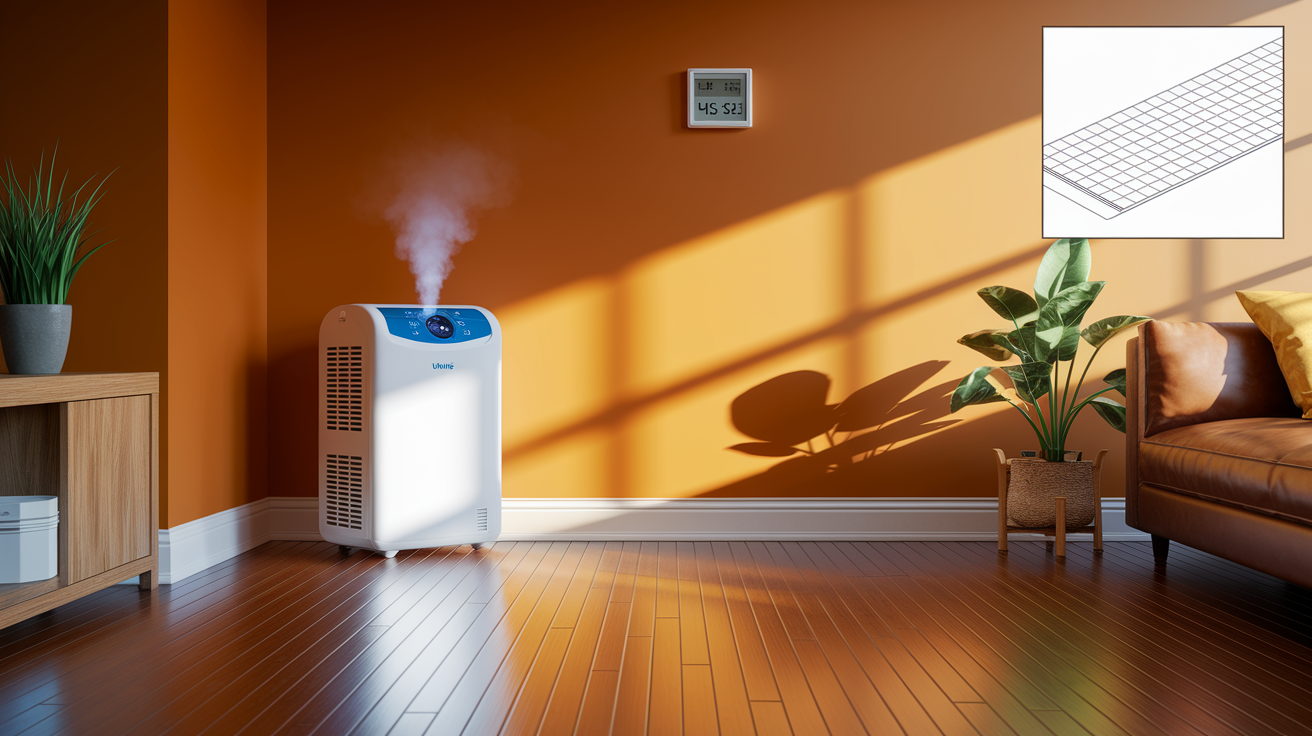
- Deploy dehumidifier in affected room and run continuously
- Position fans to improve air circulation across floor surface
- Monitor moisture content with moisture meter every few days until below 12%
Reversible damage may self correct during the drying phase, eliminating the need for more involved repairs. Some cupping flattens out on its own once the moisture imbalance resolves. That’s why you wait and monitor before sanding or replacing boards.
Comprehensive Repair Methods for All Warping Types
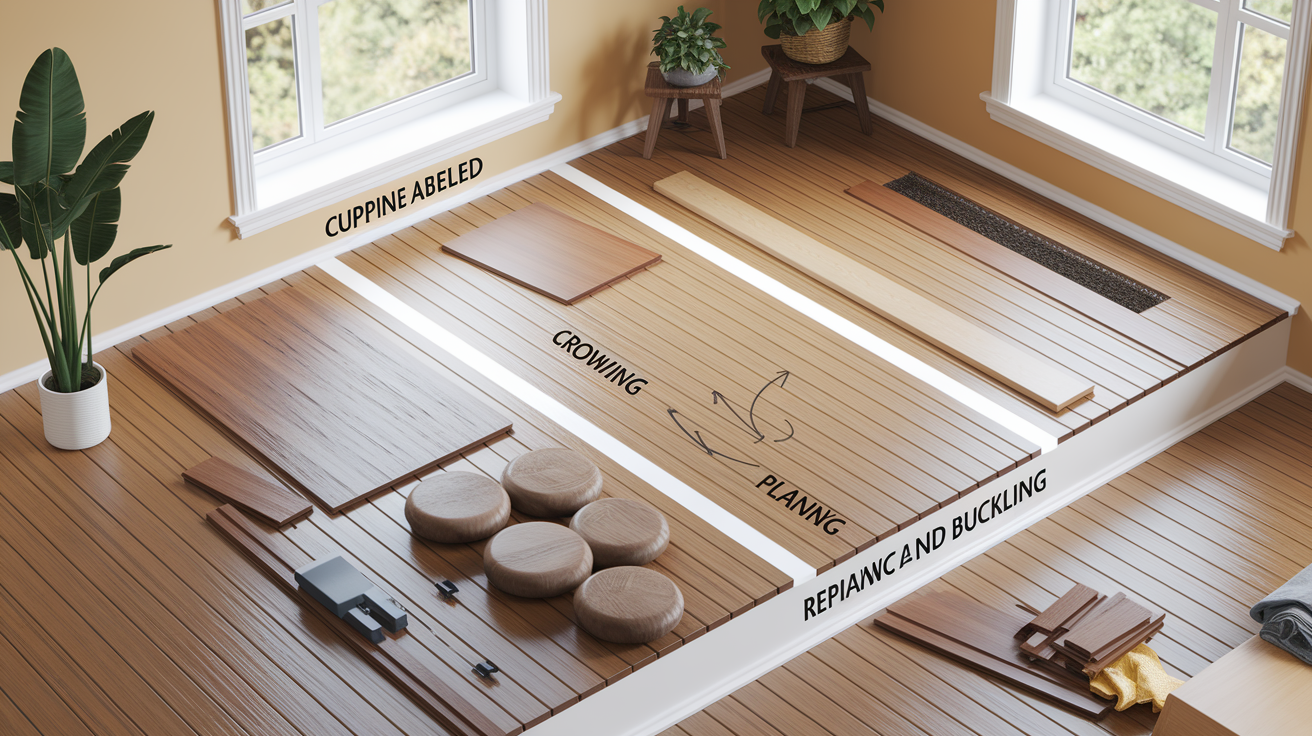
Warped hardwood flooring can be repaired using DIY methods depending on severity. Your repair approach depends on whether you’re dealing with cupping, crowning, or buckling, and whether the underlying cause has been eliminated. Moisture elimination must be complete before beginning repairs. Trying to fix warped boards while moisture is still present just means the problem comes back in a few weeks.
Repairing Cupped Hardwood Floors
The moisture and weight method works for minor to moderate cupping where the board edges are higher than the center. Wet the affected area with a damp cloth. Don’t saturate it, just make the surface slightly damp. Then place heavy, flat objects like stacked books or boxes evenly across the warped section. The weight presses the boards flat while moisture helps them relax and take a new shape. For a natural drying approach, skip the added moisture and just use a dehumidifier and fans for 2 to 4 weeks. This slower method works well when the cupping is mild and recent.
Active Flattening Procedure:
- Dampen affected cupped boards with cloth (do not saturate)
- Place heavy, flat objects evenly across warped area
- Leave weights in place for 3 to 5 days, checking progress daily
After complete drying, light sanding with 120 grit sandpaper can address remaining minor issues. Sand with the grain direction only. Never across the grain, which tears wood fibers and leaves visible scratches.
Fixing Crowned Floor Boards Through Sanding
Sanding is appropriate for minor to moderate crowning where the center of the board sits higher than the edges. This removes material permanently, so it should be used carefully after you’ve confirmed the floor is fully dry and stable. Sanding across the grain creates permanent damage, so you always follow the wood’s natural lines. A dust collection system isn’t optional. Sanding hardwood creates fine particles that coat everything in the room and get into your lungs.
Sanding Procedure:
- Clear room completely and seal doorways to contain dust
- Start with 60 grit sandpaper on belt sander or drum sander for initial leveling of raised board centers
- Sand with the grain in overlapping passes, never across grain
- Progress to 80 grit, then 120 grit for smooth finish
- Vacuum thoroughly between grit changes
- Apply polyurethane sealer and finish coat after final sanding
Wear a dust mask and eye protection during sanding. Ensure adequate ventilation by opening windows and using fans to push dust outside. Plank thickness limits how many times hardwood flooring can be refinished. Most floors can handle three to five sandings over their lifetime. Over sanding creates uneven surfaces and permanent damage by removing too much material, leaving the boards thin and structurally weak.
Addressing Buckled Planks Through Replacement
Replacement is necessary when you see severe buckling, permanent structural damage to individual boards, or large warps affecting multiple boards. Trying to flatten badly damaged wood rarely works. The boards have been stressed beyond their ability to return to shape. Matching wood species and stain is important for a finished appearance that doesn’t stand out, especially in visible areas.
Removal Procedure:
- Set circular saw depth to board thickness (avoid cutting subfloor)
- Cut lengthwise down center of damaged boards
- Use chisel and pry bar to lift cut sections from tongue and groove connections
- Inspect exposed subfloor for moisture damage, soft spots, or structural damage
- Allow subfloor to dry completely if moisture present
Installation Procedure:
- Acclimate replacement boards in room for 48 to 72 hours
- Cut replacement planks to exact length with 1/4 inch expansion gaps at ends
- Remove lower lip of groove side using chisel for easier fitting
- Apply hardwood glue to tongue and groove connections
- Tap replacement board into place with mallet, secure with nail down method if needed
Gap filling with wood filler might be necessary after installation, especially around edges or where boards don’t fit perfectly tight. Matching stain may require professional color matching for a finished appearance that blends in. Wood species vary, and even the same species changes color with age and sun exposure.
Massive warps affecting entire floors indicate structural damage or subfloor issues requiring professional assessment. When most of the room shows warping or buckling, the problem usually sits underneath. Damaged floor joists, settling foundation, or widespread water damage that compromised the subfloor.
Tools and Materials Needed for Hardwood Floor Repair
Having proper tools prevents project delays and ensures quality results. Running to the hardware store three times during a repair wastes time and breaks your workflow. Specific tools depend on repair severity. Minor cupping needs different equipment than full board replacement.
| Repair Type | Required Tools | Materials Needed |
|---|---|---|
| Minor Warping/Drying | Dehumidifier, fans, moisture meter, heavy weights | Damp cloth, protective padding |
| Sanding/Refinishing | Belt sander or orbital sander, dust collection system, sanding block | 60, 80, 120 grit sandpaper, polyurethane sealer, finish coat, stain (matching) |
| Board Replacement | Circular saw, pry bar, chisel, hammer, mallet | Replacement boards (matching wood species), hardwood glue, matching stain, wood filler (latex or epoxy) |
| Gap Filling | Putty knife, sanding block | Latex wood filler (gaps ≤0.25″), epoxy wood filler (gaps >0.25″), matching stain |
Prevention Strategies for Long Term Hardwood Floor Protection
Prevention is easier and less expensive than repair. Once you’ve fixed warped hardwood flooring, the last thing you want is to see the same problem six months later. Moisture control is the primary prevention strategy. Almost all warping traces back to water or humidity problems that could have been avoided.
Humidity and Moisture Control:
- Maintain indoor relative humidity between 40 to 60% year round
- Use dehumidifier in humid climates or during wet seasons
- Install vapor barrier over crawl space or under concrete slab installations
- Ensure proper ventilation in crawl spaces and basements
- Set HVAC system to consistent temperature to minimize seasonal changes
Daily and periodic maintenance practices protect solid hardwood from gradual damage. Small habits make a big difference over time. A wet mop might seem harmless, but water seeping into seams between boards causes the same expansion problems as a leak.
Maintenance Best Practices:
- Wipe up water leaks and spills immediately with absorbent cloth
- Use only damp mops with hardwood specific cleaning solutions, never wet mops
- Place protective mats near sinks, dishwashers, and exterior doors
- Inspect regularly for early detection of discoloration or swelling boards
- Verify expansion gaps remain clear around room perimeter
- Address plumbing leaks, pipe bursts, and appliance leaks within hours
Cost Estimates and Professional Contractor Guidance
Cost concerns are real, and variables like room size, damage extent, and local labor rates affect pricing. DIY repairs save money on labor but require tool rental or purchase, plus the time investment to do the work correctly. Professional installation costs more upfront but includes experience, proper tools, and usually some form of warranty coverage.
| Repair Type | DIY Cost Range | Professional Cost Range | Timeline |
|---|---|---|---|
| Minor drying/dehumidification | $50 to $200 (equipment rental) | $300 to $800 | 2 to 4 weeks |
| Sanding and refinishing (per 100 sq ft) | $100 to $300 (rental + materials) | $600 to $1,500 | 3 to 5 days |
| Individual board replacement (5 to 10 boards) | $150 to $400 | $500 to $1,200 | 1 to 2 days |
| Large section replacement (50+ sq ft) | $400 to $1,000 | $1,500 to $4,000 | 3 to 7 days |
| Full floor removal and reinstallation | Not recommended DIY | $3,000 to $8,000+ | 1 to 2 weeks |
Call a professional when you see floor joist damage, widespread structural damage, or subfloor replacement needs. Insurance claims processing and warranty coverage concerns also benefit from professional documentation and work. If the subfloor feels soft or spongy when you walk on it, that’s a structural issue beyond cosmetic board replacement. Professional assessment typically costs $100 to $300 and prevents costly mistakes. Fixing the wrong problem or making damage worse with improper techniques.
Contractor selection matters. Look for bonded and insured status, which protects you if something goes wrong during the work. Hardwood flooring specialization means they’ve handled warping problems before and know how to diagnose root causes. Ask for references specifically for water damage restoration work, not just general flooring installation. Some permanent damage or repeated refinishing history makes floors unsuitable for DIY solutions. A contractor can tell you whether repair is realistic or if replacement makes more sense.
Final Words
Knowing how to fix warped hardwood floor starts with accurate diagnosis and complete moisture elimination before you touch a single board.
Minor cupping may self-correct with patient drying. Crowning often responds to careful sanding. Severe buckling requires replacement and subfloor inspection.
The real work happens before repair—stopping leaks, running dehumidifiers, monitoring moisture content until boards stabilize.
When you address the root cause first, your repair holds up. When you skip that step, the warping comes back.
If the damage runs deep or affects the entire floor, bring in a professional to assess structural issues and ensure safe, lasting results.
FAQ
How do you flatten a buckled hardwood floor?
You flatten a buckled hardwood floor by first eliminating the moisture source, then drying the area completely with dehumidifiers and fans for 2 to 4 weeks. Severely buckled boards need removal with a circular saw, subfloor inspection and drying, and replacement with acclimated matching boards. Minor buckling may self-correct after complete drying without additional repair steps needed.
Will buckled hardwood floors go back to normal?
Buckled hardwood floors will go back to normal only if the buckling is minor and you address the moisture source immediately. After stopping the leak and drying the floor for 2 to 4 weeks, minor buckling may flatten naturally as wood reaches equilibrium moisture content. Severe buckling with structural damage requires board replacement instead of waiting for natural correction.
How to fix a wood floor that is lifting?
You fix a wood floor that is lifting by identifying and stopping the moisture source, then allowing complete drying until moisture content drops below 12 percent. After drying, remove lifted boards using a circular saw and pry bar, inspect and dry the subfloor, then install replacement boards after 48 to 72 hour acclimation. Always secure replacement boards with hardwood glue and nail down method.
Can you unwarp hardwood?
You can unwarp hardwood if the damage is minor by dampening the affected boards with a cloth, placing heavy flat objects on top for 3 to 5 days, and checking progress daily. After complete moisture elimination and drying for 2 to 4 weeks, minor cupping often self-corrects. Moderate crowning requires light sanding with the grain using 120-grit sandpaper after complete drying.
What moisture content is safe for hardwood floors?
Safe moisture content for hardwood floors ranges between 6 to 9 percent under normal conditions. Before attempting any repairs, reduce floor moisture content to less than 12 percent using dehumidifiers and fans. Monitor moisture levels with a moisture meter every few days during the drying process until readings stabilize in the safe range.
How long does it take for warped hardwood to dry?
Warped hardwood takes 2 to 4 weeks to dry completely after eliminating the moisture source. Run a dehumidifier continuously and position fans to improve air circulation across the floor surface. Check moisture content with a moisture meter every few days until readings drop below 12 percent before attempting repairs.
What humidity level prevents hardwood floor warping?
The humidity level that prevents hardwood floor warping ranges between 40 to 60 percent relative humidity year-round. Use dehumidifiers during wet seasons and maintain consistent HVAC settings to minimize seasonal temperature fluctuations. Monitor indoor humidity with a hygrometer and adjust as needed to keep levels stable.
Should I sand cupped or crowned hardwood floors?
You should sand crowned hardwood floors after complete moisture elimination and drying, using 60-grit sandpaper to level raised board centers. Do not sand cupped floors until after complete drying because the cupping may self-correct naturally. Light sanding with 120-grit sandpaper can address remaining minor cupping issues after moisture content stabilizes.
How do I know if my subfloor has water damage?
You know your subfloor has water damage by inspecting for visible staining, soft spots when you press on the surface, or musty odors near affected areas. After removing buckled boards, check exposed subfloor with a moisture meter for elevated readings. Discoloration, warping, or deterioration on the subfloor surface indicates moisture penetration requiring complete drying before reinstallation.
When should I replace hardwood boards instead of repairing them?
You should replace hardwood boards instead of repairing them when severe buckling lifts entire boards from the subfloor or large warps affect multiple planks. Replacement makes sense when boards show permanent structural damage, repeated refinishing has reduced plank thickness too much, or widespread water damage affects solid wood integrity. Individual board replacement works better than flattening attempts for large warps.
What size expansion gap do hardwood floors need?
Hardwood floors need an expansion gap of at least 1/4 inch around room edges and perimeter walls. This gap allows natural wood movement from seasonal humidity changes without causing buckling or lifting. During board replacement, verify existing expansion gaps remain clear and unobstructed by baseboards or trim.
Can I use a belt sander on hardwood floors myself?
You can use a belt sander on hardwood floors yourself for moderate crowning if you work carefully with the grain direction and progress through grit stages. Start with 60-grit sandpaper for leveling, then 80-grit, then 120-grit for smooth finish. Wear dust protection, ensure adequate ventilation, and avoid over-sanding which causes permanent damage and uneven surfaces.
What type of wood filler works for hardwood floor gaps?
Wood filler that works for hardwood floor gaps depends on gap width and includes latex floor filler for gaps 0.25 inches or less. Gaps larger than 0.25 inches require epoxy wood filler for stronger structural support. Apply filler with a putty knife, sand flush after drying, and apply matching stain for seamless appearance.
How much does professional hardwood floor repair cost?
Professional hardwood floor repair costs range from $600 to $1,500 per 100 square feet for sanding and refinishing work. Individual board replacement for 5 to 10 boards runs $500 to $1,200, while large section replacement over 50 square feet costs $1,500 to $4,000. Full floor removal and reinstallation starts at $3,000 and can exceed $8,000 depending on damage severity.
When should I call a professional for warped hardwood floors?
You should call a professional for warped hardwood floors when massive warps affect entire floors, subfloor damage is present, or floor joists show structural damage. Professional assessment prevents costly mistakes with insurance claims, warranty coverage concerns, or situations where repeated refinishing makes floors unsuitable for repair. Bonded flooring contractors handle complex water damage restoration and subfloor replacement safely.