


Ever wonder why that small dent in your siding keeps getting worse? Most exterior siding damage starts small, but it invites moisture behind the surface where rot spreads fast. The good news is you can fix a lot of it yourself for under $200 if you catch it early and understand which repairs are safe to handle. This guide walks through when DIY makes sense, what tools you actually need, and the specific steps for vinyl, wood, and fiber cement repairs that hold up season after season.
Assessing Your Siding Damage: What You Can Fix vs. When to Call a Pro
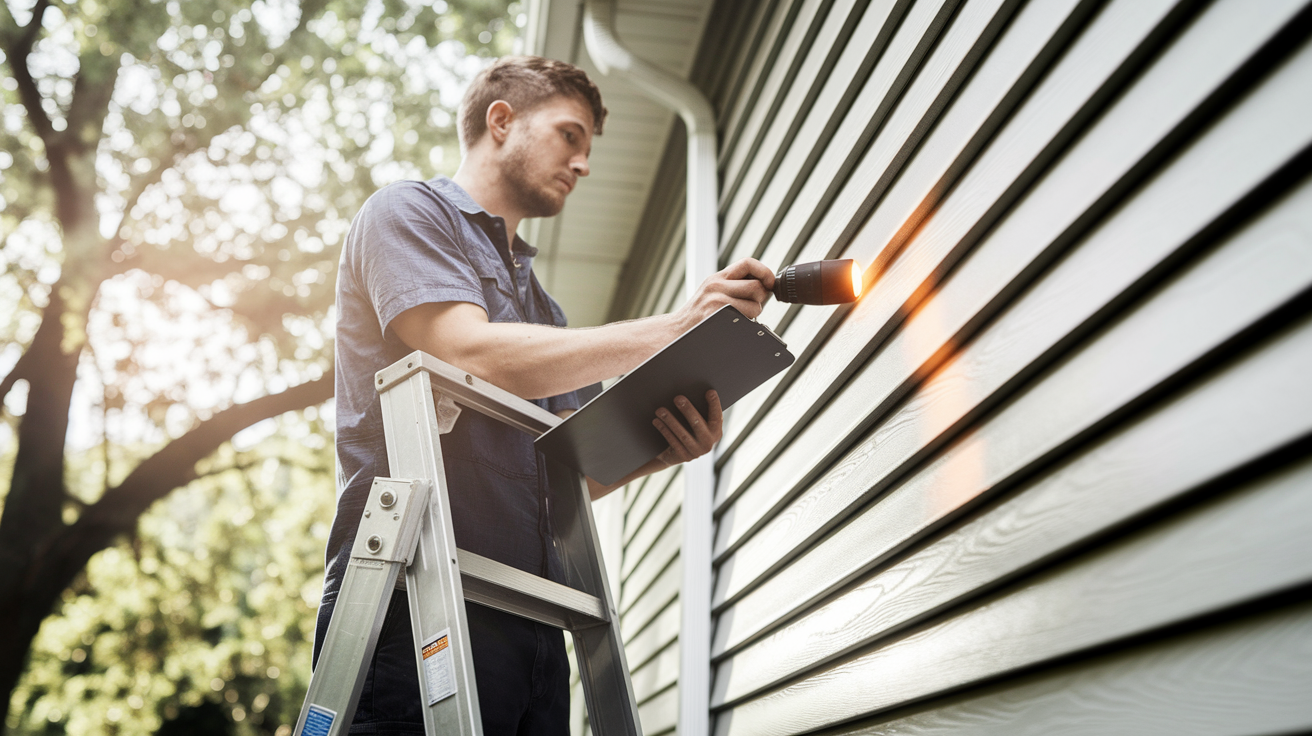
Start by walking around your home and checking the damaged spots from a few different angles. See how many boards or panels look affected, press gently to feel for soft spots that mean rot underneath, and think about whether you can safely reach everything from a ladder. This first walkthrough tells you if you’re dealing with a weekend project or something that needs professional help.
You can handle these yourself:
- Single cracked vinyl panel with nothing wrong underneath
- Small holes under 3 inches in wood siding without rot
- Loose or missing individual boards you can reach safely
- Minor impact damage on one or two sections
- Old caulking around seams that needs replacing
- Weathered paint that just needs touching up
Call a professional for these:
- Damage affecting more than 20% of any wall
- Structural rot or framing problems behind the siding
- Two story or higher work that needs scaffolding
- Complex flashing around chimneys or bay windows
- Mold growth or extensive water damage behind siding
- Insurance claim repairs that need licensed contractor documentation
- Work requiring building permits in your area
Small DIY repairs usually cost $50 to $300 for materials and tools. Professional repairs typically run $200 to $1,000 depending on how much needs fixing and what material you’re working with. If quotes seem high, remember they include labor, insurance, proper disposal, and warranty coverage that DIY work doesn’t.
Before starting any repair, put on safety goggles. Make sure your ladder’s stable and positioned at the right angle. Check for electrical wiring or plumbing behind the siding before cutting or drilling. And be honest with yourself about your skill level. There’s nothing wrong with calling someone when a project involves heights, hidden damage, or techniques you haven’t tried before.
How to Repair Damaged Siding by Material Type
Most siding repairs follow the same basic steps, no matter what covers your home. You’ll check the damage extent first, then gather your tools and materials. Next comes removing the damaged section safely, preparing the area underneath, cutting and fitting the replacement piece, sealing exposed edges, installing the new material securely, and finishing with caulk and paint.
What changes is how you do each step. Vinyl snaps into place. Wood needs priming on every raw edge. Fiber cement creates dust you need to contain. The sections below walk through what’s different for each material.
Vinyl Siding Repairs
Vinyl’s the most common siding material, and it uses a snap lock system that makes removal and installation pretty straightforward once you understand how it works.
Required tools:
- Zip tool (hooks under panel edges to unlock them)
- Utility knife for scoring and cutting
- Pry bar for nail removal
- Tin snips for cutting panels
- Hammer for securing new nails
- Tape measure for accurate cuts
Start by using the zip tool to unlock the bottom edge of the panel sitting above your damaged section. Slide the tool along the seam while pulling outward gently. Once it’s unhooked, use your pry bar to remove the nails holding the damaged panel. Pull straight out to avoid bending the panels above and below.
Measure your replacement panel carefully and cut it to size, leaving 1/4 inch gaps at corners and where it meets trim pieces. Vinyl expands and contracts with temperature changes. If you don’t leave room for that movement, the panel will buckle on hot days. Engage the snap lock mechanism at the bottom first, then push up until you hear it click. Nail through the center of the nail slots, not at the ends, and leave about 1/32 inch between the nail head and the panel. Drive it too tight and you’ll restrict expansion. That’s when panels crack.
Wood Siding Repairs
Wood repairs split into two categories. Small holes and cracks get patched with epoxy filler. Boards with rot or damage longer than a few inches need full replacement.
For replacing a damaged board, drive wedges underneath it to pull it away from the sheathing behind it. This gives you room to work. Use a hacksaw or backsaw to cut through the damaged section on both sides of the problem area. If you can’t fit the saw in with the frame attached, wrap one end of a hacksaw blade with electrical tape to protect your hand and use it that way.
Prime both sides of your new board before installation, plus all the edges. Also prime the raw edges of the opening where you removed the old board. Moisture gets into untreated wood and starts the rot process all over again. Secure the new clapboard with 16d nails driven through the bottom edge and through the overlapping board above into the top edge of your replacement piece.
For patching small holes, remove any loose paint and rotten wood first. You want a clean, solid surface for the filler to grab onto. Apply epoxy based exterior wood filler. This type expands and contracts with temperature changes, which matters when half your wall is in sun and the other half is in shade. Overfill the hole slightly, maybe 1/8 inch higher than the surrounding surface. The filler will shrink a bit as it cures, and you’ll sand it flush anyway. Let it cure completely according to the package directions. Sand smooth with medium grit sandpaper first, then switch to fine grit for the final pass.
Wood siding needs resealing or repainting every few years to maintain that 20 to 40 year lifespan. Skipping the primer step is where most wood repairs fail within a year or two.
Fiber Cement Siding Repairs
Fiber cement is durable and resists rot, but it’s brittle when you try to remove or cut it. A crack that would just be annoying in vinyl can mean replacing the whole board with fiber cement.
You’ll need a circular saw with a fiber cement blade. Regular wood cutting blades dull instantly on this material. An oscillating multi tool works well for precision cuts near corners and trim. Wear a proper dust mask rated for silica dust. This isn’t optional. The dust from cutting fiber cement can cause serious lung problems.
Score the caulk lines around the damaged section with a utility knife first. Then carefully pry away the damaged board without cracking the ones next to it. Check the condition of the house wrap and backing behind the board. If water got through, you might have damage there too.
Cut your replacement pieces with the proper tools, leaving the gaps specified by the manufacturer. This varies by brand, so check the installation guide. Use stainless steel nails or screws at the intervals the manufacturer specifies. This matters for warranty coverage. If you use the wrong fasteners or spacing and have problems later, the warranty is void. Apply paintable caulk at the seams after installation.
Follow the manufacturer’s specs for nail placement. Fiber cement doesn’t forgive improvising like wood sometimes does.
Essential Tools and Materials for Your Siding Repair
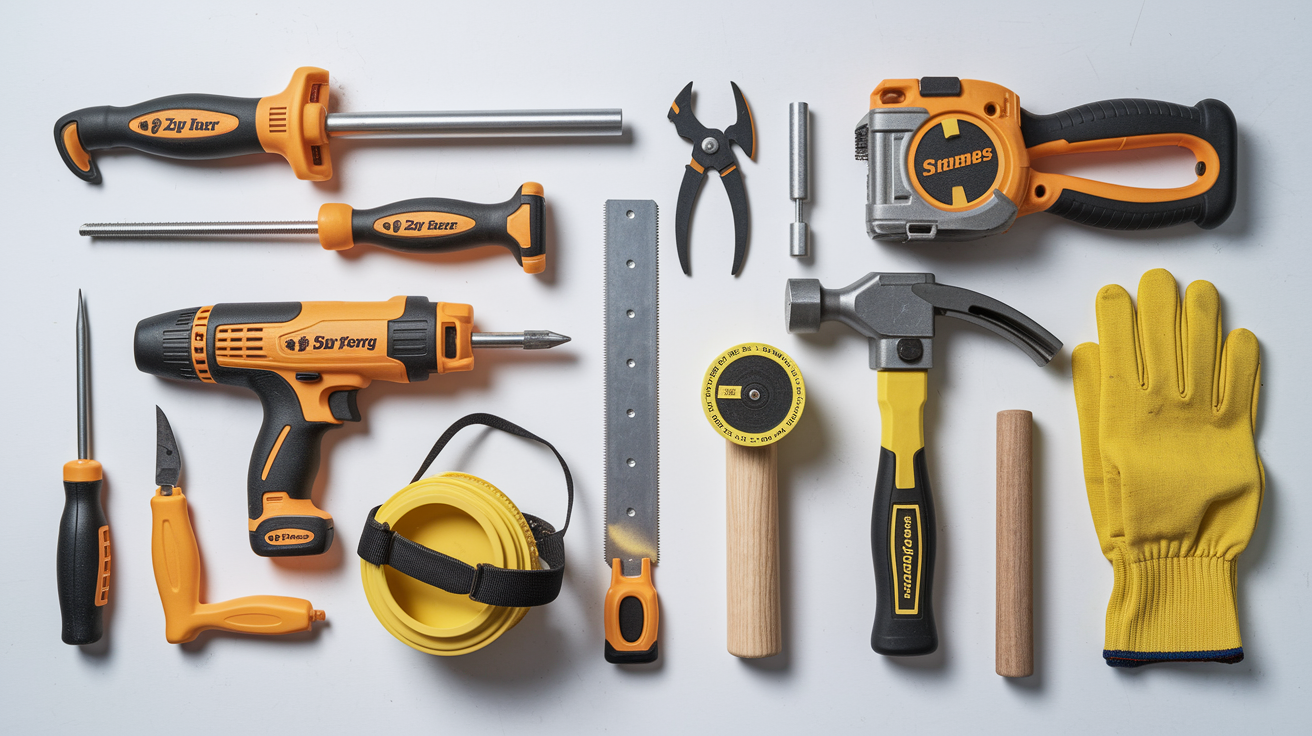
Having the right tools before you start makes the work go faster and look more professional. You won’t be stopping mid project to run to the store, and you won’t be trying to make do with something that almost works.
| Tool/Material | Purpose | Approximate Cost |
|---|---|---|
| Zip tool | Unlocking vinyl siding panels | $8-15 |
| Pry bar | Removing nails and damaged sections | $12-25 |
| Oscillating multi tool | Precision cutting in tight spaces | $40-120 |
| Circular saw with appropriate blade | Cutting replacement pieces to size | $60-150 |
| Caulking gun | Applying sealant at seams | $10-20 |
| Hammer or nail gun | Securing new siding sections | $15-250 |
| Utility knife | Scoring and trimming materials | $8-15 |
| Tape measure | Accurate measurements for cuts | $10-20 |
| Sandpaper assortment | Smoothing wood filler and edges | $8-15 |
| Safety equipment | Eye protection, dust masks, gloves | $15-30 |
When selecting materials, match your siding type and color as closely as possible. Use stainless steel or aluminum fasteners instead of regular steel. They cost a bit more, but they won’t rust and stain your siding or fail in a few years. Choose paintable acrylic or silicone caulk specifically rated for exterior use. It needs flexibility to handle expansion and contraction as temperatures change. Buy exterior grade primer and paint, not interior products that will peel off the first season.
Home improvement stores carry most common siding materials and colors. For exact matches or specialty profiles, you might need to visit a siding supplier that works with contractors. For a typical small repair involving one or two boards, expect to spend $50 to $150 total in materials.
Assessing Water Damage and Structural Issues Behind Siding
When you pull off damaged siding, you’re looking at what’s been happening behind it. Exterior damage usually means moisture got past the surface, and now you need to know how far it went.
Signs of underlying problems:
- Soft or spongy sheathing that compresses when you push on it
- Water stains on interior walls, usually yellowish or brown patches
- Musty odors coming from wall cavities
- Visible mold growth on sheathing or insulation
- Damaged house wrap with tears or missing sections
After removing the damaged siding section, use a flashlight to look into the cavity. Check the sheathing condition by pressing on it with your finger. Solid sheathing feels firm. Rotted sheathing feels soft or crumbly. Pull back any insulation that’s visible and check if it’s wet or compressed. Wet insulation doesn’t insulate anymore and needs replacing.
If you find damaged house wrap, cut away the bad section with a utility knife. Install new house wrap with at least 6 inches of overlap on all sides, with the upper piece overlapping the lower one like roof shingles. This directs water down and out, not into the wall. Check for flashing issues around windows and doors while you’re in there. Damaged flashing lets water run behind the siding instead of over it. Water Damage Repair Services become necessary when moisture penetration has affected interior spaces or created conditions for mold growth.
Reinstalling siding over damaged barriers or rotted sheathing is like putting a bandage on without cleaning the wound. The problem keeps getting worse underneath.
Emergency Repairs and Temporary Siding Fixes
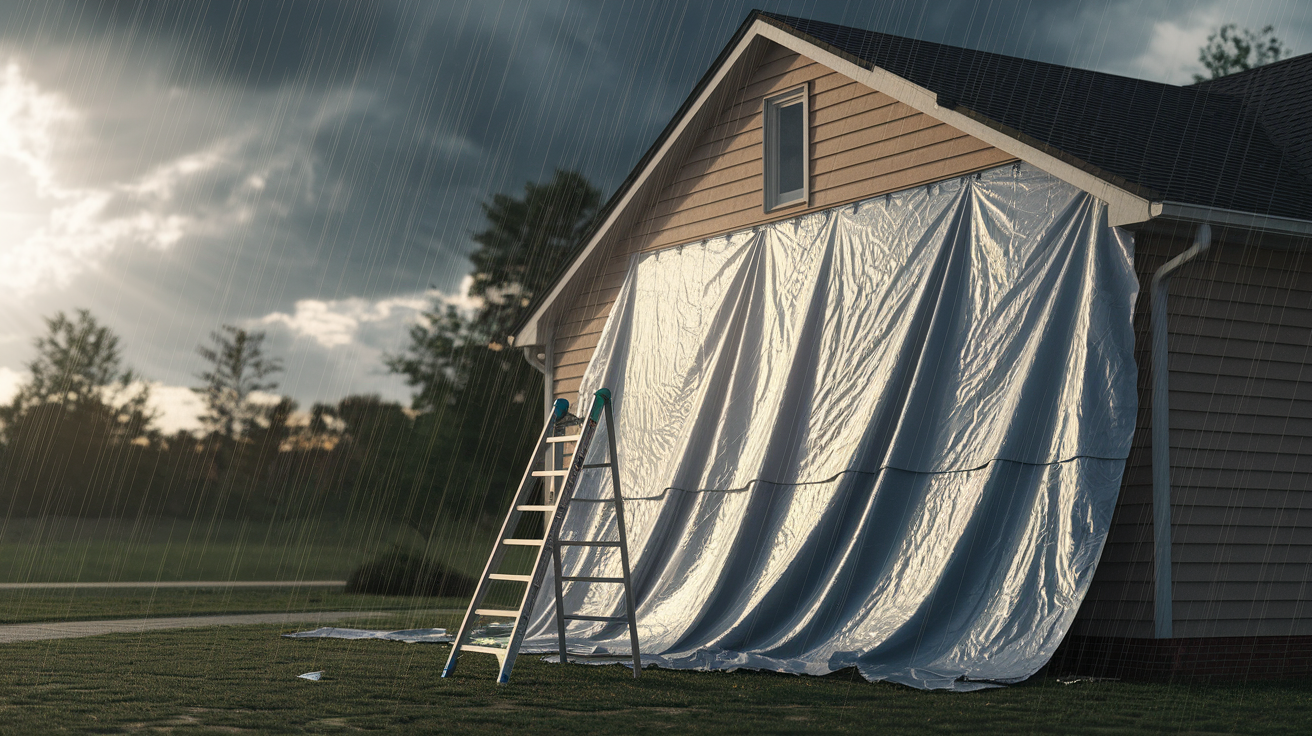
Sometimes you need to protect your home right now, before you can do the permanent repair. Storm damage, a vehicle backing into the house, or suddenly noticing a large gap all create situations where water, insects, and cold air are getting in today.
Five temporary fixes that work:
- Apply waterproof tape over cracks and holes, pressing firmly to create a seal
- Use exterior grade caulk to seal gaps and prevent water entry at seams
- Secure loose panels with temporary screws driven through existing nail holes
- Cover large damaged areas with tarps secured with furring strips screwed into solid areas
- Install plywood patches over major openings, sealing edges with caulk
These temporary fixes protect your home’s structure from further damage, but they’re not permanent solutions. Tape and caulk degrade in sunlight. Tarps tear in wind. Plywood patches don’t match and can trap moisture if not installed correctly. Plan to complete permanent repairs within a few days to a couple weeks, depending on weather conditions and material availability.
Take photos of the damage before making temporary repairs. If you’re filing an insurance claim, adjusters need to see what actually happened, not just your temporary patch. Document the date, what caused the damage if you know, and the extent of affected areas.
Understanding Repair Costs and When Replacement Makes More Sense
The cost to repair your siding depends on what it’s made of, how much is damaged, whether you can reach it safely from a 6 foot ladder, and what contractors charge in your area for this type of work.
Cost ranges by repair type:
- Small vinyl patch: $50 to $150 DIY or $200 to $400 professional
- Wood board replacement: $100 to $250 DIY or $300 to $700 professional
- Fiber cement repair: $150 to $350 DIY or $400 to $900 professional
- Large section replacement: $500 to $2000+ professional
- Water damage remediation: $1000 to $5000+ professional
- Full siding replacement: $5000 to $25000+ professional
When you do the work yourself, you save 50 to 70 percent on labor costs. That’s significant money in your pocket. But you’re trading that savings for your time, and you need to own or buy the right tools. You’re also responsible for the quality of the work and any mistakes that need fixing later.
Hidden costs show up after you start the project. You might pull off siding and discover rot in the sheathing behind it. That adds $500 to $3000 or more depending on how far it goes. Some areas require building permits for siding work, typically $50 to $200. And you’ll pay $50 to $150 to dispose of the old materials unless you can break them down small enough for regular trash pickup.
Repair makes more financial sense than replacement when damage affects less than 30 percent of a wall’s surface area, the materials underneath are structurally sound, and your siding is still within its expected lifespan. Wood siding lasts 20 to 40 years with maintenance. Vinyl goes 20 to 30 years. Fiber cement can last 50 years. If your siding is near the end of its life and you’re repairing it every couple years, replacement becomes the smarter investment.
For extensive damage situations, Professional House Repair Services provide the experience and equipment to handle complex repairs efficiently while maintaining quality standards. Get quotes from at least three contractors. Compare not just the price, but what’s included, the timeline they propose, and the specific materials they plan to use. The lowest bid isn’t always the best value if corners get cut.
Common Siding Repair Mistakes to Avoid
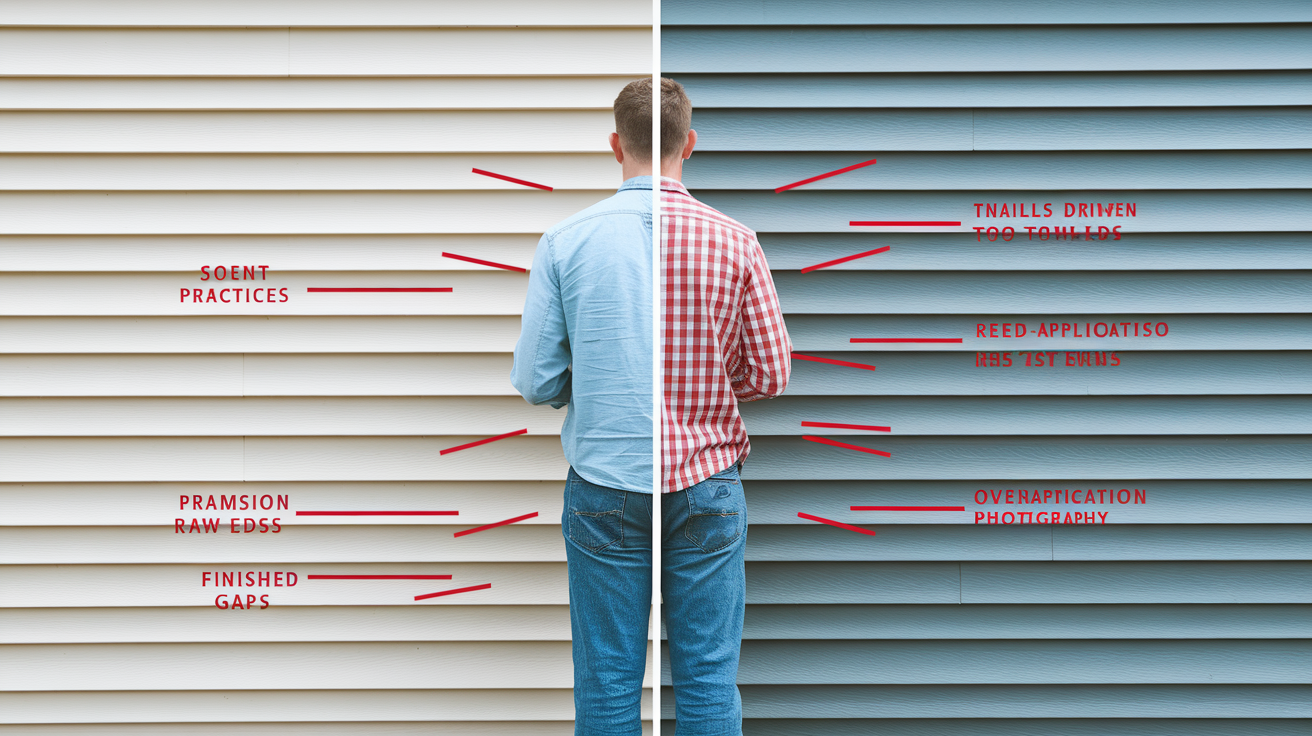
Small mistakes during repairs lead to the same problems coming back within a year or two, sometimes adding new damage along the way.
Errors that compromise repair quality:
- Driving nails too tight so panels can’t expand and contract with temperature changes
- Failing to leave 1/4 inch expansion gaps at corners and trim pieces
- Repairing in freezing temperatures when caulks and adhesives won’t cure properly
- Skipping primer on raw wood edges where moisture will soak in first
- Mismatching siding thickness or profile so the new piece doesn’t sit flush
- Over caulking joints so water can’t drain out of weep holes
- Neglecting to check for underlying rot or damage before installing new siding
- Painting immediately without giving primers and caulks proper curing time
When you drive nails too tight in vinyl siding, the panels can’t move. Summer heat makes them expand. With nowhere to go, they buckle and crack. Missing primer on wood means moisture gets in through the raw edge even though the painted face looks fine. Excessive caulk traps water behind the siding instead of letting it drain out the bottom. That speeds up rot instead of preventing it. Improper fastening on fiber cement voids the manufacturer’s warranty, leaving you with no recourse if the material fails.
Most siding materials work best when installed between 50 and 85 degrees. Below 50, caulks and adhesives don’t cure properly. Above 85, materials may be expanded from heat, leading to gaps when they cool. Plan for dry weather for 24 to 48 hours after completing the work. That gives sealants time to set up before rain tests them. Let primers cure the full time listed on the can before caulking. Let caulk cure completely before painting over it.
Taking shortcuts or rushing the work costs more in the long run when you’re doing the same repair over again or fixing new problems your repair created.
Matching and Blending Replacement Siding Panels
The challenge with siding repair is making the new piece disappear into the existing surface. Siding fades from sun exposure. Colors get discontinued. Textures change slightly between production runs.
Five strategies for better matches:
- Bring a sample piece to suppliers for direct color and texture comparison under different lighting
- Check your garage or attic for leftover material from the original installation
- Contact the original manufacturer with your house age and any product numbers you can find
- Consider taking panels from inconspicuous areas like the back of the garage to use in visible front wall repairs
- Plan to repaint the entire wall section for uniform appearance when perfect matches aren’t possible
When you need to match paint, professional color matching services at paint stores can scan your existing siding and create a custom formula. Buy a small amount and test it on an actual piece of siding, not just a sample card. Look at it in morning light, afternoon sun, and shade. Colors shift depending on the light angle. Let new paint weather for 2 to 3 months before making a final judgment on the match. Fresh paint always looks different than paint that’s been exposed to weather.
Texture matters as much as color. Factory finishes on vinyl and fiber cement have different sheens and surface patterns than field applied paint. Wood grain patterns need to run the same direction. Embossed patterns on vinyl require precise alignment or the seam will be obvious. Sometimes you can’t get a perfect match on materials that have been discontinued or have weathered for 15 years.
On older homes, painting the full wall section often creates better visual consistency than trying to hide a patched area that almost matches but doesn’t quite. It’s more work and costs more, but the finished result looks intentional instead of repaired.
Preventive Maintenance to Avoid Future Siding Damage
Regular maintenance catches small problems before they need repairs. That extends your siding’s useful life by 10 to 15 years and prevents damage that reaches the structure underneath.
Six annual maintenance tasks:
- Inspect all siding in spring and fall for cracks, gaps, and loose sections
- Check and refresh caulk around windows, doors, and corners where it’s pulled away
- Clean siding with the appropriate method for your material type
- Trim vegetation 12 to 18 inches away from siding to prevent branch damage
- Ensure gutters drain properly and direct water away from siding
- Touch up paint on wood siding showing wear before moisture gets into the raw wood
| Siding Type | Cleaning Method | Frequency |
|---|---|---|
| Vinyl | Garden hose and soft brush with mild detergent solution | Once per year |
| Wood | Soft brush or cloth with gentle cleaner, no pressure washer | Once per year |
| Fiber Cement | Garden hose and soft brush, low pressure washer acceptable | Once per year |
| Aluminum | Garden hose and soft brush with mild detergent solution | Once per year |
When you spot small problems, address them right away. Recaulk when you see gaps appearing at seams. Replace individual damaged pieces before water gets behind them and starts rotting the sheathing. Watch areas you’ve repaired previously. They’re more likely to develop problems again if the original cause wasn’t fully addressed.
Check for ice damage every spring if you live where winters are cold. Ice dams force water under siding and behind trim. Look for storm damage after severe weather, even if you didn’t notice anything from inside the house. Wind can lift panels without creating obvious breaks. Complete any repairs before winter when possible. Cold weather makes materials brittle and limits your working conditions.
Final Words
Small cracks and holes in your siding deserve quick attention before water finds its way behind your walls.
Learning how to repair exterior siding damage yourself saves money on simple fixes like single cracked panels or minor holes. But knowing when to call in a pro protects your home from hidden rot and structural issues that spread fast.
Start with a careful assessment. Check what’s happening behind that damaged section. Match your materials properly. And don’t skip the primer or caulk.
Your siding is your home’s first line of defense against weather, and keeping it in good shape means dry walls, lower energy bills, and one less thing to worry about.
FAQ
Can damaged siding be repaired?
Damaged siding can be repaired in most cases, especially when damage affects only a few boards or small sections. Minor issues like single cracked panels, small holes, loose boards, or deteriorated caulking are straightforward repairs that restore protection without replacing entire walls.
How do you repair siding without replacing it?
You repair siding without replacing it by using epoxy-based exterior wood filler for small holes and cracks, re-securing loose panels with proper fasteners, refreshing caulk at seams, and touching up paint on superficial damage. These methods work when the underlying structure and material remain sound.
Can I repair siding myself?
You can repair siding yourself for small projects like fixing a single cracked panel, filling holes under three inches, reattaching loose boards, or replacing deteriorated caulk. DIY repairs typically cost $50-300 and work well when damage is accessible and limited to a few sections.
Can you replace just a few pieces of siding?
You can replace just a few pieces of siding when damage is localized and the rest of the wall remains in good condition. Only the damaged board or section needs replacement, which saves money and maintains the existing appearance of your home’s exterior.
What signs indicate I need professional siding repair?
Professional siding repair is needed when damage affects more than 20 percent of a wall, you discover structural rot or mold growth, repairs require two-story access with scaffolding, or work involves complex flashing around chimneys and windows. Insurance claims also typically require licensed contractor documentation.
How much does professional siding repair cost?
Professional siding repair costs range from $200-1,000 for small repairs, $500-2,000 for large section replacements, and $1,000-5,000 for water damage remediation. Cost depends on material type, damage extent, accessibility, and local labor rates. Getting multiple contractor quotes helps compare estimates and timelines.
What tools do I need for DIY siding repair?
DIY siding repair requires a zip tool for vinyl panels, pry bar for removal, utility knife, hammer or nail gun, caulking gun, tape measure, sandpaper, and safety goggles. Material costs including replacement boards, stainless steel nails, exterior caulk, and primer typically total $50-150 for small repairs.
How do I know if water damaged the area behind my siding?
Water damage behind siding shows up as soft or spongy sheathing when you press on it, water stains on interior walls, musty odors near exterior walls, or visible mold growth. Remove a damaged section and inspect the cavity with a flashlight to check sheathing and insulation condition.
When should I replace siding instead of repairing it?
Replace siding instead of repairing when damage affects more than 30 percent of the surface area, the material has reached its expected lifespan, or you discover extensive rot in the underlying structure. Full replacement costs $5,000-25,000 but makes more financial sense than repeated repairs on failing siding.
What mistakes should I avoid when repairing siding?
Avoid driving nails too tight, which restricts natural expansion and causes cracking. Don’t skip leaving quarter-inch expansion gaps at corners, forget to prime raw wood edges, or repair in freezing temperatures when adhesives won’t cure properly. Over-caulking joints traps moisture instead of letting water drain.
How do I match new siding to existing faded panels?
Match new siding to existing panels by bringing a sample piece to suppliers, checking for leftover original material in your garage, or contacting the manufacturer with your home’s age and siding details. For older homes, consider repainting the entire wall section for uniform appearance when perfect matches aren’t available.
What maintenance prevents future siding damage?
Prevent future siding damage by inspecting all sections twice yearly for cracks and gaps, refreshing caulk around windows and corners annually, trimming vegetation 12-18 inches away from walls, and ensuring gutters drain properly. Wood siding needs resealing or repainting every few years for optimal protection.