

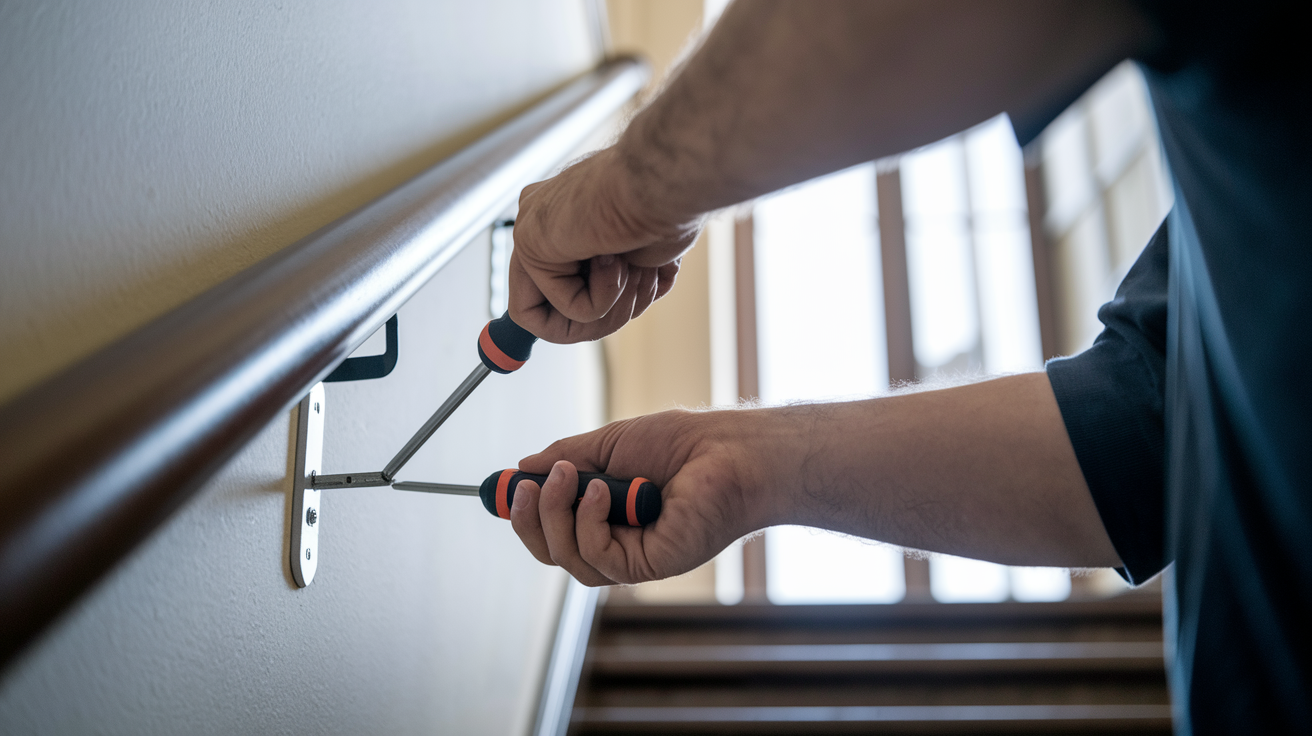

Ever grab your handrail and feel it shift under your hand? That wobble means your mounting brackets are failing. Most bracket problems start with barely noticeable movement that gets worse each time you use the stairs. The good news is you can fix loose or damaged handrail hardware yourself in most cases. The key is securing brackets to solid backing, not just patching the surface. We’ll walk you through identifying what’s actually wrong, choosing the right repair approach for your wall type, and making sure the finished work holds up to real use.
Complete Guide to Fixing Loose and Damaged Handrail Brackets
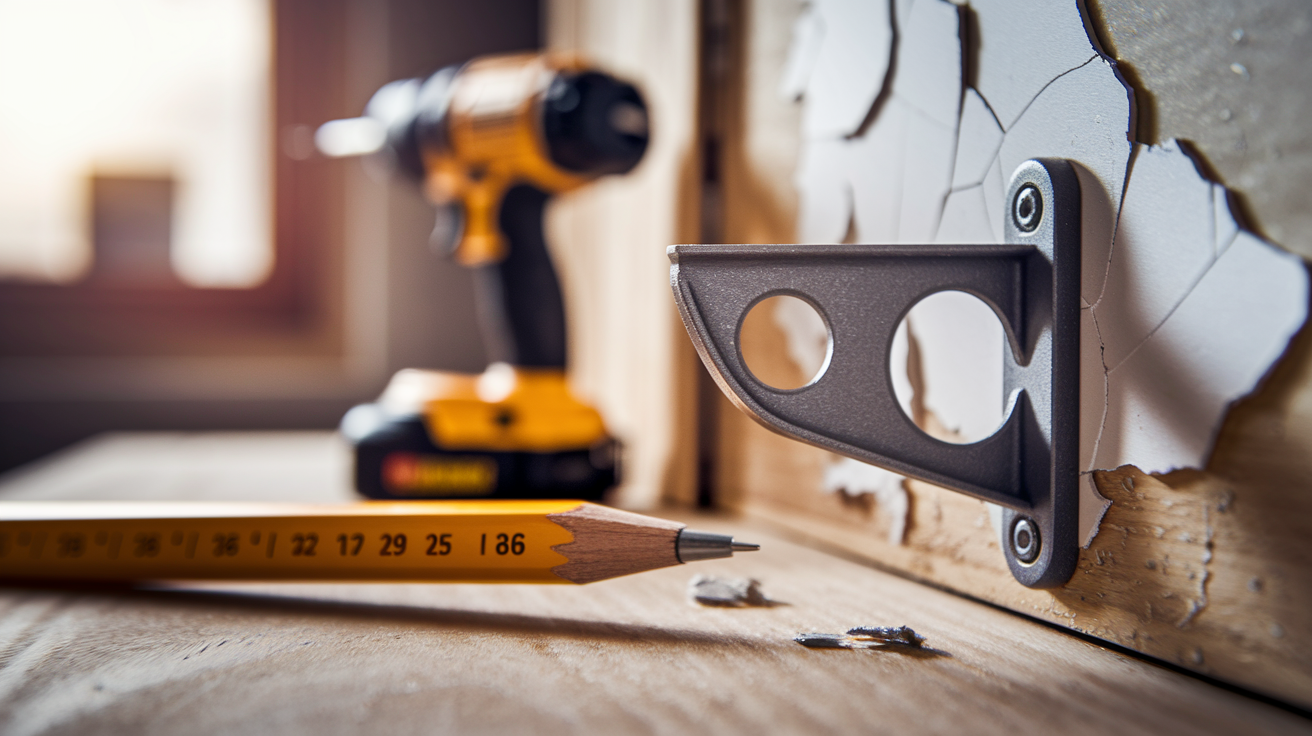
Handrail bracket repair means reattaching or swapping out the hardware that keeps your handrail secured to the wall or post. Brackets fail for pretty predictable reasons. Weight stress from everyday use, sloppy fastening when they were first installed, the wall material behind the bracket breaking down, moisture causing corrosion. Most bracket problems start small. Barely noticeable movement that gets worse over time.
The usual suspects include rails that wobble when you grab them, screws that pulled out and won’t hold in stripped holes anymore, drywall that cracked around the bracket from too much force, corroded brackets where the metal itself got weak, and stripped mounting holes that reject the original fasteners. You might feel the handrail loose at certain points. Or you’ll see gaps opening up between the bracket and wall. Sometimes the fasteners stay tight, but the wall material around them gives up.
The repair process follows a logical path. Figure out exactly what’s causing the problem by testing each bracket. Get the right tools and replacement parts based on your wall type and how bad things are. Secure the bracket to actual structural support, not just surface material. Test stability with firm pressure before calling it done.
Most homeowners can handle simple bracket repairs. Tightening loose screws, replacing stripped fasteners with proper wall anchors, swapping damaged brackets for new ones on interior walls. Call a professional when you find structural damage behind the wall, when you’re uncertain about code requirements, or when dealing with exterior installations needing proper weatherproofing. If multiple brackets failed or the wall shows major deterioration, that’s pointing to a bigger problem requiring expert diagnosis.
Essential Tools and Replacement Parts for Bracket Repair
Having everything ready before you start prevents annoying hardware store trips mid project. Gather your tools, replacement parts, and wall repair materials first. Check the existing brackets to identify what type you’re working with and what size fasteners you need.
Pick replacement parts that match or beat the original bracket specs. For wall material, choose anchors rated for at least 200 pounds if you’re not mounting directly into studs. If your existing brackets show wear or corrosion, replace them instead of reinstalling questionable hardware.
Basic Hand Tools:
- Measuring tape, to determine bracket spacing and mark precise mounting locations
- Level tool, ensuring brackets align horizontally and vertically before fastening
- Screwdriver set, both flathead and Phillips for various fastener types
- Adjustable wrench, to tighten lag screws and hold nuts while turning bolts
Power Tools:
- Cordless drill with bits, for drilling pilot holes and driving screws efficiently
- Stud finder, to locate wall framing for secure mounting points
Fasteners and Hardware:
- Replacement screws in various lengths, from 2 inch for drywall anchors to 3 inch for stud mounting
- Wall anchors or toggle bolts, for hollow walls where studs aren’t available at bracket locations
- Lag screws for stud mounting, 3 inch minimum length to penetrate framing adequately
- Drywall anchors, self drilling anchors rated for the weight load your handrail will experience
Materials for Wall Repair:
- Wood filler or spackle, to fill old screw holes and surface damage before reinstalling brackets
- Epoxy for reinforcement, to strengthen stripped holes or bond backing material in place
Identifying Different Bracket Types and Mounting Methods
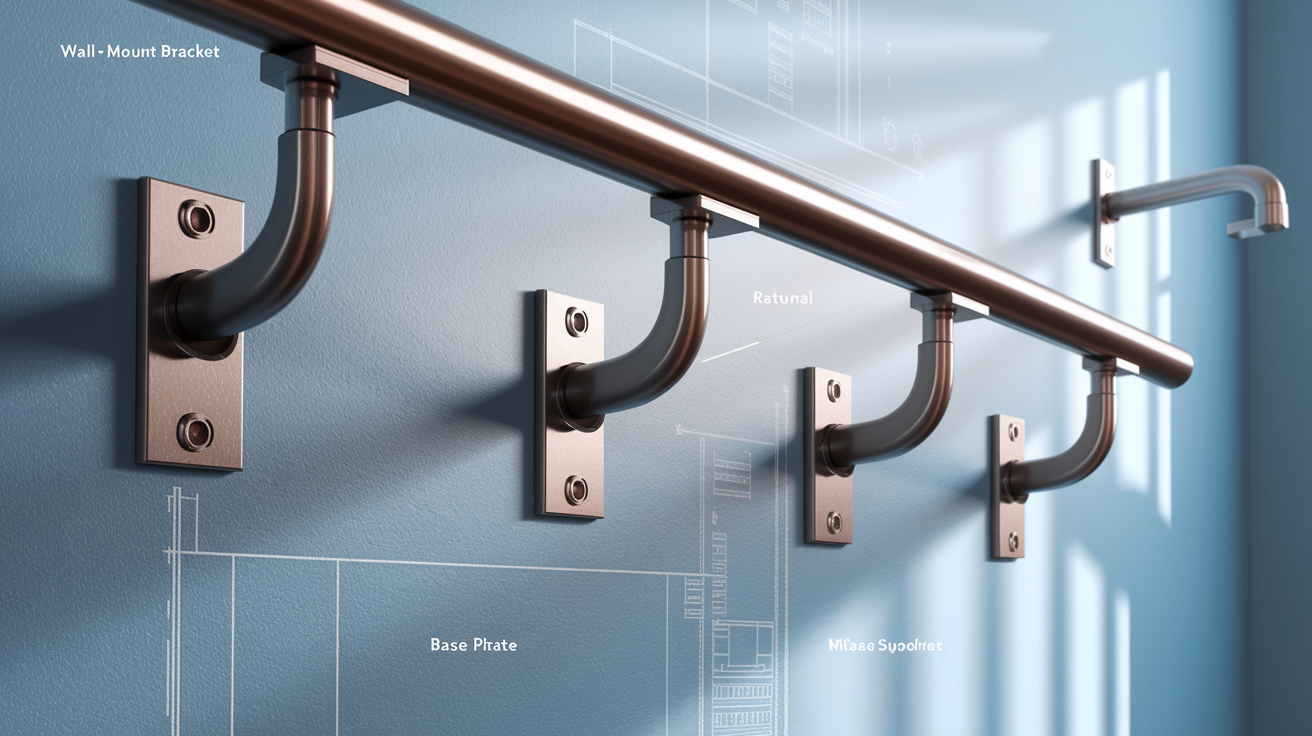
Identifying the correct bracket type before you start ensures you buy the right replacement parts and use appropriate mounting techniques. Brackets look similar at first glance, but they’re engineered for specific applications and load requirements.
Wall-Mount Brackets
Standard wall mount brackets are the most common type. They’ve got a flat back plate sitting flush against the wall with the handrail fitting into a U shaped or circular holder. Interior applications typically use zinc plated steel or powder coated metal brackets. Exterior railings require stainless steel or heavy duty aluminum to resist corrosion. The typical failure point is where screws attach to the back plate, especially when the fasteners don’t reach solid framing behind the wall surface.
Flange-Mount Brackets
Flange style brackets use a base plate that mounts flat to a horizontal surface. You’ll commonly see these where a handrail meets a newel post or transitions from wall to floor level. The base plate spreads the load across multiple fasteners, usually four or more screws arranged in a square pattern. These need solid backing below the mounting surface. The broader footprint distributes weight better than wall mount styles, but they depend entirely on the integrity of the mounting surface.
Return and End Brackets
Return brackets terminate the handrail by curving it back into the wall, creating a finished look at stair landings or hallway ends. End mount applications hold the handrail perpendicular to the wall at its termination point. These brackets experience different forces than mid run supports since they resist both downward weight and rotational torque. Finish options like satin nickel, oil rubbed bronze, or powder coated colors let these visible brackets complement your décor.
Mid-Span Support Brackets
Support brackets for long handrail runs prevent sagging and distribute weight more evenly. A handrail longer than six feet typically needs at least one mid span bracket. These brackets prevent the stress concentration that causes end brackets to fail over time. Proper spacing recommendations vary based on handrail material and expected load, but residential installations commonly place supports every 4 to 6 feet along the run.
| Bracket Type | Best Use | Typical Material | Mounting Surface |
|---|---|---|---|
| Wall-Mount | Interior and exterior straight runs | Steel, aluminum, stainless steel | Vertical walls with stud backing |
| Flange-Mount | Post connections and floor transitions | Heavy-gauge steel, cast aluminum | Horizontal surfaces, newel posts |
| Return/End | Wall terminations and landings | Decorative metal with finish options | Wall studs at handrail endpoints |
| Mid-Span Support | Long handrail runs over 6 feet | Structural steel, reinforced aluminum | Wall studs between end brackets |
Step-by-Step Handrail Bracket Removal and Wall Assessment
Support the handrail before you remove any brackets, especially on stairs where a loose rail creates a fall hazard. Have someone hold the rail, or temporarily support it with blocks underneath. Protect finished floors and walls near your work area with drop cloths. Wear safety glasses, particularly when working overhead on staircase installations where debris can fall into your eyes.
Start removing fasteners from the bracket farthest from where the handrail is supported. If you’re working on a staircase, begin at the top and work down. Remove screws slowly, alternating between fasteners on the same bracket rather than removing one completely before starting the next. This prevents sudden shifts that could crack drywall. For stripped screws that won’t turn, try a rubber band between the screwdriver and screw head for extra grip. Or use screw extraction bits designed for damaged fasteners. Pull brackets straight away from the wall rather than prying sideways, which causes additional damage. Save any hardware that’s still in good condition.
After removing the bracket, measure the damage zone around each mounting hole. Note holes larger than 1/4 inch in diameter. That indicates stripped conditions requiring repair before reinstallation. Check for cracked drywall by pressing gently around the damaged area. Soft or spongy spots suggest moisture damage. Dark staining around mounting holes often indicates water intrusion that may have compromised wood framing behind the surface. Test wall integrity by pressing firmly with your palm. Movement or flexing means inadequate backing.
Use a stud finder to locate framing members near the bracket position. Mark stud centerlines with light pencil marks. For hollow walls, knock gently with your knuckles to hear the difference between open cavities and solid framing. Masonry and concrete walls sound solid everywhere and require different fastening approaches than hollow walls. Wood studs typically run vertically on 16 inch centers in most residential construction. Understanding what’s behind your wall surface determines which fasteners will provide adequate strength for safe handrail mounting.
Repairing Stripped Holes and Damaged Wall Surfaces
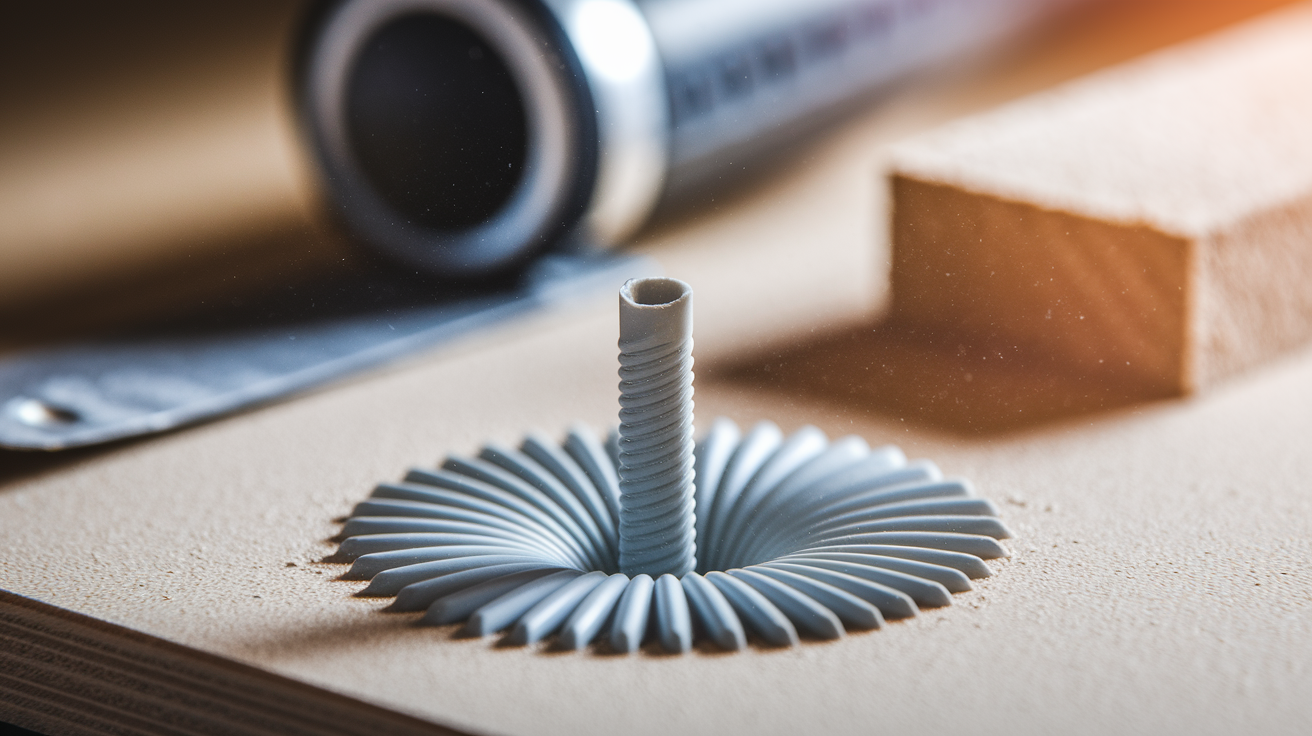
Proper wall repair before reinstalling brackets determines whether your repair lasts years or fails within months. A bracket mounted to damaged wall material will work loose again regardless of how carefully you install it. The wall must provide solid, intact backing for fasteners to develop their full holding power.
Fixing Stripped Screw Holes in Drywall
For stripped holes up to 3/8 inch diameter, fill them with two part epoxy or wood filler, let it cure completely, then drill a fresh pilot hole in the filled material. This works when the surrounding drywall is solid. Larger damaged areas need different solutions. Moving the bracket up or down by 1 to 2 inches lets you drill into undamaged drywall, but only works if the offset doesn’t create alignment problems with the handrail. Toggle bolts span the hollow space behind drywall and grip the back surface, providing much stronger holding power than standard drywall anchors. Drill a hole large enough for the folded toggle wings to pass through, usually 1/2 inch. Insert the toggle through the wall, then tighten the bolt to draw the wings against the back of the drywall. For severe damage where multiple holes merged into one large opening, use epoxy formulated for drywall repair. Mix it according to package directions, typically equal parts resin and hardener. Fill the damaged area flush with the wall surface and let it cure for 24 hours before drilling mounting holes.
Repairing Cracked or Damaged Drywall
Cut out the damaged section in a rectangular shape using a drywall saw or utility knife. Make your cuts centered on wall studs whenever possible so you have solid nailing surfaces for the patch. If the damage falls between studs, install horizontal backing boards between the studs to support the patch edges. Cut a drywall patch to fit the opening, leaving 1/8 inch gap around the perimeter. Secure the patch with drywall screws driven into studs or backing boards. Apply joint tape over the seams, then apply joint compound in three thin coats rather than one thick coat. Let each coat dry before applying the next. Sand smooth between coats using 120 grit sandpaper. Prime the repaired area before installing the bracket, which prevents the raw drywall from pulling moisture out of paint later.
Reinforcing Hollow Walls for Better Support
When your bracket position requires mounting at a spot where no stud exists, cut the drywall open between two adjacent studs and add blocking between them. Cut horizontal 2×4 or 2×6 pieces to fit snugly between the studs at the height where you need bracket support. Toe screw or nail the blocking to the studs on both ends. Patch the drywall opening as described above, then mount your bracket directly to this new blocking using 3 inch screws that penetrate well into the solid wood.
For situations where the wall is too far from the handrail for standard brackets to reach, build a spacer block instead of buying custom extended brackets. Use 1×3 inch wood strips for spacers. The exact thickness depends on your gap, but a common solution is gluing three pieces of oak flooring together, creating roughly a 2 inch thick block. Apply wood glue between layers, clamp them together, and let the adhesive cure overnight. Mount the spacer block to wall framing using 3 inch screws that penetrate at least 1.5 inches into the stud. Then mount your standard bracket to the face of the spacer block.
Addressing Moisture Damage Around Mounting Areas
Moisture damage shows up as dark staining, soft or spongy drywall, peeling paint, or musty odors near the bracket. Before repairing mounting areas, identify and fix the moisture source. Common culprits include roof leaks, plumbing leaks in walls, condensation from temperature differences, or exterior water intrusion around windows and doors. If you discover water damage that compromised wall integrity, addressing the underlying moisture problem prevents recurring bracket failure.
Let affected areas dry completely before repairs. This may take several days depending on the extent of saturation. Use fans and dehumidifiers to speed drying. Check wood framing with a moisture meter if possible. Wood moisture content should be below 15% before you seal it back into the wall cavity. Replace any wood framing that shows rot or feels soft when you press it with a screwdriver. For drywall, anything beyond surface staining needs replacement rather than repair. Prime all repaired surfaces with a stain blocking primer to seal any remaining discoloration before you reinstall brackets.
Installing Mounting Brackets with Proper Wall Anchoring
Proper alignment and level installation aren’t just aesthetic concerns. A bracket mounted out of level concentrates weight unevenly on its fasteners, increasing the chance of future failure. The handrail should follow a consistent line along the wall, with each bracket positioned to support it at the same height and distance from the wall.
Select fasteners that match your wall material and penetrate deep enough into solid backing. For mounting to wood studs, 3 inch screws provide adequate penetration, with at least 1.5 inches buried in the stud itself. Lag screws sized 1/4 inch diameter or larger provide even more holding power for heavy duty applications. Wall anchors for hollow sections should be rated for at least 200 pounds each, which typically requires heavy duty toggle bolts rather than simple plastic expansion anchors.
Installation Steps:
-
Mark bracket positions using a level tool and measuring tape. Space them according to your handrail length and code requirements, typically 4 to 6 feet apart for residential installations, with brackets required within 6 inches of each end.
-
Locate wall studs using a stud finder and mark the centerlines with light pencil marks at the heights where brackets will mount. Building codes typically require handrails 34 to 38 inches above the stair nosing or floor level.
-
Drill pilot holes at marked locations. For 3 inch screws into wood studs, use 1/8 inch pilot holes. For lag screws, use pilot holes 1/16 inch smaller than the screw shaft diameter. For toggle bolts in hollow walls, drill holes large enough for the folded toggle wings to pass through, usually 1/2 inch.
-
Position the bracket at the first location and check alignment with your level before making any marks through the bracket’s mounting holes, then drill through those marks.
-
Insert appropriate wall anchors if you’re not mounting directly to studs. Push toggle bolts through the drilled holes until you feel the wings spring open behind the drywall.
-
Install fasteners partially through all mounting holes on the bracket. Verify the bracket sits level and flush against the wall, then tighten each fastener gradually in a cross pattern rather than fully tightening them one at a time.
-
Test bracket stability by gripping the mounting point and pulling firmly in multiple directions. Down, out, and sideways to verify no movement occurs before you attach the handrail.
-
Apply finish touches by countersinking screws slightly below the bracket surface if needed. Run a small bead of paintable caulk around the bracket perimeter to seal the wall gap and touch up any paint damage from the installation process.
Don’t overtighten fasteners, which can strip threads in wood or crack drywall. Stop tightening when the bracket sits firmly against the wall with no movement. If you’re installing multiple brackets for one handrail run, check that all brackets align with each other using a straight edge or the handrail itself before final tightening. Allow any adhesives, caulk, or wall fillers to cure according to their package directions before applying weight to the handrail.
Adding Mid-Span Support Brackets to Prevent Future Loosening
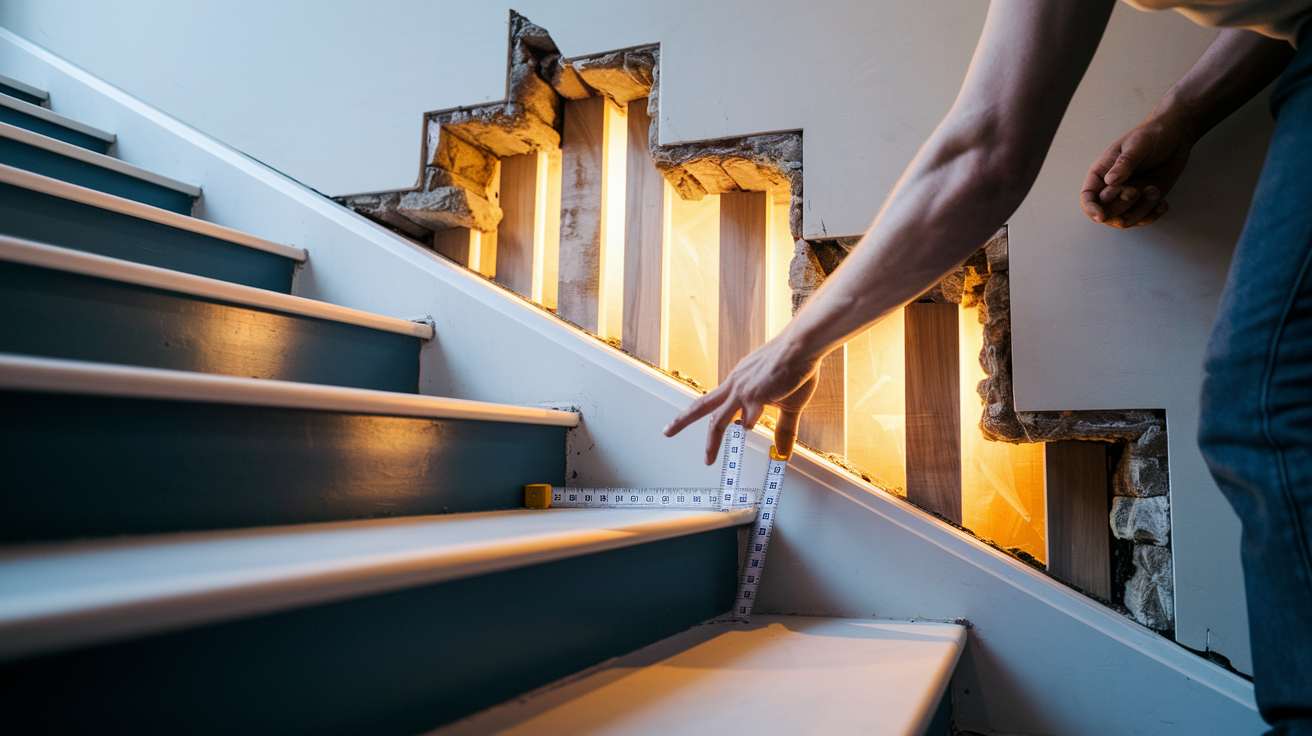
Wobbly handrails commonly result from unsupported middle sections where weight creates extra stress on end brackets, causing them to loosen or dislodge from walls over time. Adding a handrail support in the middle span distributes weight evenly across all brackets and stiffens the rail. Creates a system stronger than many original installations. This single upgrade often solves chronic loosening problems for good.
Determining proper spacing depends on your handrail length and the forces it experiences during normal use. Building codes don’t always specify maximum bracket spacing for residential handrails, but the practical limit before you notice flex and movement is about 6 feet between supports. For handrails 8 feet or longer, add at least one mid span bracket. Handrails over 12 feet should have brackets roughly every 4 feet. Commercial applications and handrails that see heavy use benefit from closer spacing. The handrail material matters too. Wood rails need more frequent support than metal ones, and decorative rails with elaborate profiles are weaker than simple round rails.
Install mid span brackets the same way as other wall mount brackets, with one important difference. The bracket position is determined by stud location rather than perfect mathematical center. Use your stud finder to locate framing near the midpoint of your handrail run. If the nearest stud sits 6 to 12 inches off center, mount the bracket there rather than forcing it into a hollow wall section with anchors. The slight offset won’t affect function or appearance noticeably. When walls are too far from the handrail for standard brackets to reach, use a spacer block as described in the wall repair section. When centered placement is required but no stud exists at that location, cut the drywall open and add blocking between two adjacent wall studs, then patch and mount your bracket to this new structure.
Consider adding a second bracket to balance the aesthetics if a single mid span bracket appears noticeably off center. Two brackets placed symmetrically look more intentional than one bracket that’s clearly positioned for structural reasons alone. After installing mid span supports, check your existing end brackets. The redistribution of forces often reveals that end brackets were starting to loosen. You may need to reattach other brackets with longer screws or better anchoring to complete the repair properly and bring the entire system up to the same strength level.
Troubleshooting Common Handrail Bracket Problems
Identifying the specific problem gets you to the right solution faster than trying generic fixes that may not address the underlying cause. Each symptom points to particular failure mechanisms.
Common Problems and Solutions:
Bracket pulls away from wall. This happens when fasteners never reached solid structure, relying only on drywall or plaster. The wall surface material alone can’t support the forces applied during normal handrail use. The solution is relocating the bracket to mount directly into a stud. Or if no stud exists at the required location, installing backing material between studs as detailed in the wall reinforcement section, then using appropriate fasteners that penetrate solid wood.
Handrail wobbles despite tight screws. This symptom indicates an unsupported middle span rather than loose fasteners. The end brackets are secure, but the handrail flexes between them under normal gripping pressure. The solution is adding one or more mid span support brackets as covered in the prevention section, which distributes weight and stiffens the handrail along its entire length.
Screws won’t tighten. Stripped mounting holes no longer grip the screw threads, so turning the screws just spins them without developing any clamping force. The solution requires filling stripped holes with wood filler or epoxy. Drill fresh pilot holes after the filler cures. Possibly relocate the bracket slightly to find undamaged wall material, using the repair methods detailed in the wall preparation section.
Cracked wall around bracket. Excessive installation force or bracket movement over time fractures the drywall, creating visible cracks radiating from mounting holes. This often means inadequate backing behind the surface material. The solution involves cutting out the damaged section, installing proper backing boards or blocking between wall studs, patching with new drywall, and then mounting the bracket to solid structure using the wall reinforcement techniques described earlier.
Misaligned brackets. Installation errors leave brackets at different heights or distances from the wall, causing the handrail to sit crooked or not fit properly. Minor adjustments involve loosening all brackets slightly, using shims behind low brackets to raise them, or adding spacers to bring forward brackets that sit too deep. Major misalignments require removing brackets and starting fresh with careful measurements.
Loose handrail in bracket. This occurs when the handrail rattles within the bracket’s mounting cup even though the bracket itself is secure to the wall. Worn set screws, incorrect handrail diameter for the bracket, or damaged bracket holders cause this. The solution involves installing small hardwood shims between the handrail and bracket to take up excess space, replacing worn set screws with new ones, or replacing the bracket entirely if its mounting cup is damaged or worn.
When you discover multiple symptoms together, like cracked walls, pulled out screws, and loose handrails all on the same installation, the entire bracket system probably needs replacement rather than piecemeal repairs. Complete system failure often indicates fundamental installation errors or deteriorated wall structure. For exterior installations with corrosion and rust issues, comprehensive solutions are addressed in the weatherproofing section rather than trying to salvage compromised hardware.
Building Code Requirements and Safety Standards for Handrail Brackets
Building codes exist to prevent injuries and establish minimum standards for structural integrity that keep people safe. Even if your original handrail installation predates current codes, bringing it up to modern standards during repairs makes good sense from both safety and liability perspectives. Especially for rental properties or homes you plan to sell.
The International Residential Code sets requirements followed by most U.S. jurisdictions with some local variations. Handrails must be 34 to 38 inches above the stair nosing, measured vertically from the leading edge of the tread. The handrail must project between 1.5 and 4.5 inches from the wall to provide proper gripping clearance. The critical structural requirement is load capacity. Brackets and mounting must support 200 pounds concentrated load applied in any direction, plus 50 pounds per linear foot distributed along the length. This means a 6 foot handrail must support 500 pounds total, 200 concentrated plus 300 distributed. Bracket spacing maximums aren’t always specified numerically, but the load requirements effectively limit spacing to about 6 feet under residential conditions. All brackets must be secured to structural members, wall studs, blocking between studs, or equivalent solid backing. Not just to surface materials.
Commercial and accessibility codes impose stricter requirements. The Americans with Disabilities Act and International Building Code require continuous gripping surfaces without interruption by brackets where the hand grips. Handrail mounting height for accessible routes must be 34 to 38 inches above the walking surface, consistent with IRC but with less tolerance for deviation. Wall clearance must be exactly 1.5 inches minimum. The handrail must return to the wall or floor at endpoints rather than ending with exposed sharp edges. Load capacity requirements increase to 250 pounds for commercial handrails. These standards apply to businesses, multifamily buildings, government facilities, and any space serving the public.
Permits and inspections depend on the scope of your repair. Simple bracket replacement or tightening doesn’t require permits in most areas. Structural modifications, like adding blocking inside walls, may require permits. Commercial properties almost always need permits and inspections for handrail work. Rental properties should follow commercial standards even if technically classified as residential. Major staircase repairs that involve multiple brackets or substantial wall reconstruction typically trigger permit requirements. Contact your local building department before starting work if you’re uncertain. The inspection process verifies proper mounting to structure, correct heights and clearances, and adequate load capacity through physical testing.
| Code Requirement | Residential (IRC) | Commercial (IBC) |
|---|---|---|
| Mounting Height | 34 to 38 inches above nosing/floor | 34 to 38 inches (stricter enforcement) |
| Load Capacity | 200 lbs concentrated + 50 lbs per linear foot | 250 lbs concentrated load minimum |
| Bracket Spacing | Not specified (determined by load capacity) | Spacing must support required loads |
| Wall Clearance | 1.5 to 4.5 inches projection | 1.5 inches minimum (ADA requirement) |
| Mounting Requirement | Must attach to structural members | Must attach to structure, higher safety factor |
Exterior Handrail Bracket Repair and Weather Protection
Outdoor installations face challenges that interior brackets never experience. Rain, snow, temperature swings from below freezing to over 100°F, UV radiation that degrades protective coatings, and moisture that penetrates joints all work to corrode hardware and loosen mounting points. Coastal environments add salt exposure that accelerates metal deterioration dramatically.
Select materials engineered for weather exposure. Type 316 stainless steel resists corrosion in coastal areas better than the more common 304 stainless. Aluminum provides excellent corrosion resistance at lighter weight than steel, though it’s slightly less strong. Powder coated finishes bond to metal through an electrochemical process that creates more durable color than paint, with better UV resistance and chip resistance. Hot dip galvanized hardware provides excellent protection for steel fasteners. Avoid plain steel brackets or zinc plated fasteners for exterior use. They rust quickly despite their low cost.
Proper sealing during installation prevents the water intrusion that causes most exterior bracket failures. Apply a bead of exterior grade polyurethane or silicone caulk completely around the bracket perimeter where it meets the wall surface, creating a gasket that blocks water from running behind the bracket. If your wall has siding, consider installing small aluminum flashing behind the bracket. Lap it over the siding below so water that gets behind the bracket runs out over the siding rather than into the wall cavity. Any horizontal surfaces on the bracket or mounting block should slope slightly downward away from the wall so water drains off rather than pooling. Standing water accelerates corrosion and works its way into fastener holes.
Before reinstalling brackets in areas showing corrosion, address existing rust damage completely or it will continue spreading under new coatings. Remove loose rust and corrosion using a wire brush or wire wheel. For heavy rust, chemical rust converters change iron oxide into a stable compound that can be primed and painted. Apply the converter according to product directions, usually brushing it on and letting it work for several hours before wiping away residue. Prime all bare metal surfaces with a rust inhibiting metal primer before applying finish coats. Inspect the bracket structure carefully. Surface rust can be treated, but brackets with pitting corrosion that ate through more than 25% of the metal thickness should be replaced rather than repaired. Weakened metal won’t reliably support the required loads even after cleaning and coating.
Annual inspection and maintenance schedules for exterior brackets prevent small problems from becoming major repairs. Check all brackets each spring after winter weather has passed. Tighten any fasteners that have loosened. Clean brackets with mild detergent and water to remove dirt and salt accumulation. Inspect caulk joints and re-caulk any gaps or cracks. Touch up damaged protective coatings immediately, since small coating failures expose bare metal that rusts rapidly. Check for any new movement or flex in the handrail that indicates developing problems.
Cost Estimates and When to Hire Professional Repair Services
Several factors affect what you’ll spend on handrail bracket repair. The extent of damage makes the biggest difference. Tightening loose screws costs almost nothing. Replacing multiple brackets with extensive wall repair and blocking installation can run several hundred dollars. Wall type matters too. Working with drywall is straightforward and inexpensive, while masonry and concrete require specialized tools and fasteners that increase costs. Higher end bracket materials like stainless steel or decorative finishes cost more than basic steel hardware. Difficult access, such as high stairwells or exterior installations requiring ladders, adds time and complexity.
DIY repairs for simple problems stay under $50 in most cases. You’ll need basic replacement hardware and possibly some wall repair materials. More complex situations involving wall reconstruction, mid span support installation, or multiple bracket replacements typically run $100 to $200 for materials if you do the work yourself.
Cost Breakdown:
Replacement bracket costs by material type. Basic steel brackets run $8 to $15 each. Powder coated or decorative finishes cost $15 to $30 per bracket. Stainless steel brackets range from $25 to $50 each depending on size and grade.
Fasteners and anchors. A complete hardware set including various length screws, wall anchors, toggle bolts, and lag screws typically costs $10 to $30 depending on quantities and quality grades selected.
Wall repair materials. Budget $15 to $40 for drywall pieces, joint compound, tape, wood filler, backing boards, primer, and paint for typical repairs affecting 2 to 4 square feet of wall surface.
Tool rental if needed. Specialized tools like rotary hammers for masonry or scaffolding for high exterior work rent for $20 to $50 per day at most equipment rental centers.
Professional labor rates. Handyman and carpentry services typically charge $75 to $150 per hour depending on your region, with higher rates in urban areas and for specialists with specific certifications.
Complete professional repair service. Expect to pay $150 to $500 for a typical project involving 2 to 4 brackets with minor to moderate wall repair on interior installations. Complex repairs with extensive reconstruction or difficult exterior access can exceed $500.
Hire professionals for structural damage concerns that extend beyond simple bracket replacement. If you lack proper tools like a good drill and stud finder, buying them just for one repair may cost more than professional service. Building code uncertainty is another good reason to hire out, since professionals know local requirements and handle permits. Multiple bracket failures along the same handrail often indicate systemic problems with the wall structure or original installation that need expert diagnosis. Complex wall types including masonry, tile, or brick require specialized knowledge and equipment. Liability concerns for rental properties make professional installation with warranty protection worthwhile. Exterior installations requiring scaffolding or working above 10 feet are safer left to professionals with proper equipment and insurance. Warranty protection on both labor and materials provides peace of mind that DIY repairs can’t match.
Professional service delivers several benefits beyond just completing the work. Contractors guarantee code compliance, which matters for inspections and liability. Proper diagnosis of underlying problems prevents recurring failures. Warranty coverage means the contractor returns to fix any issues that develop. Structural integrity assessment by experienced professionals identifies hidden damage you might miss. Time savings are substantial when you factor in research, shopping trips, and actual repair time. Preventing further damage from incorrect DIY attempts often pays for professional service by itself when you consider what major mistakes cost to fix.
Preventing Future Bracket Failure Through Proper Maintenance
Regular maintenance catches developing problems while they’re still minor repairs instead of emergency situations. Small investments of time now extend bracket lifespan significantly and maintain the safety these railings provide. Most people ignore handrails until something breaks, but simple checks prevent that.
Regular Inspection Schedule
Inspect your handrails every three to six months. Quarterly if they see heavy use or harsh conditions. Walk the entire length of each handrail and grip it firmly every couple of feet, applying downward and outward pressure as if you were catching yourself from a fall. Any movement, flexing, or creaking sounds indicate developing problems. Visually inspect each bracket where it meets the wall, looking for gaps that opened up between the bracket and wall surface. Check all visible screws and bolts for tightness. Don’t tighten them yet during inspection, just note which ones need attention.
Examine the wall condition immediately around each bracket. New cracks radiating from mounting points suggest the bracket is pulling away. Water stains or discoloration near interior brackets might indicate plumbing leaks or roof leaks needing investigation before they cause major damage. On exterior installations, look for rust spots, corroded fasteners, or degraded protective coatings. Check caulk joints around brackets for gaps or separation from the wall surface. Pay special attention to any changes from your last inspection rather than just looking at current condition. Brackets that were solid three months ago but now show slight movement are telling you something’s starting to fail.
Test stability by applying firm pressure, not just casual gripping. Push down with your full weight while standing on a lower step. Pull outward away from the wall. These tests simulate the forces applied during actual falls when someone catches themselves on the handrail. Seasonal checks matter for exterior installations. Inspect after harsh winter weather and after heavy summer storms. Temperature extremes and moisture cycles accelerate deterioration outdoors.
Preventive Maintenance Tasks
Tighten all bolts and screws annually even if they don’t appear loose. Metal fasteners work gradually looser from vibration and wood movement. Use the appropriate screwdriver or wrench and snug them firmly, but don’t overtighten. Stop when you feel solid resistance. Clean brackets and handrails to remove debris buildup, especially in outdoor installations where dirt and organic material accumulate. Use mild detergent and water with a soft brush. Rinse thoroughly and dry to prevent water spots.
Touch up protective coatings as soon as you notice damage. Small chips or scratches in paint or powder coating expose bare metal that rusts quickly. Use matching touch up paint or clear protective coating. For exterior brackets, check and refresh caulk joints every year or two. Old caulk loses flexibility and adhesion, opening pathways for water intrusion. Cut out old caulk completely before applying fresh material. If brackets have moving parts or adjustment points, apply a small amount of waterproof grease annually to prevent corrosion and maintain smooth operation.
Address wall surface problems before minor damage spreads. Small cracks near brackets can be filled with spackling compound. Loose or soft drywall should be reinforced before the bracket pulls completely free. Identify and fix moisture sources near interior brackets. Even minor dampness weakens drywall and promotes wood rot in framing.
Final Words
A loose handrail isn’t something to put off.
Handrail mounting bracket repair is straightforward when you address the root cause, not just the wobbly symptom. Whether you’re filling stripped holes, adding mid-span support, or replacing corroded exterior brackets, the key is proper anchoring and honest wall assessment.
Take your time with the prep work. Secure those brackets to studs when you can. Use the right fasteners for your wall type.
If the damage runs deeper than expected or you’re not sure about code requirements, that’s when professional help makes sense. A stable handrail protects everyone who uses those stairs.
FAQ
How often should handrail brackets be installed?
Handrail brackets should be installed every 3 to 4 feet along the rail, with brackets always placed at both ends. Building codes typically require brackets to support 200 pounds concentrated load, so proper spacing prevents middle sections from sagging or pulling end brackets loose over time.
How much does it cost to fix a handrail?
Fixing a handrail typically costs between $150 and $500 for professional repair, depending on damage extent and wall type. DIY repairs run $30 to $120 for replacement brackets, fasteners, wall anchors, and repair materials like wood filler or drywall patches.
What is a handrail bracket?
A handrail bracket is the metal or aluminum mounting hardware that attaches the handrail to the wall or post. It provides essential structural support and stability, transferring the weight and force from the rail directly into wall studs or blocking for safe gripping.
Why is my stair railing wobbly?
Your stair railing is wobbly because unsupported middle sections create stress on end brackets, causing screws to loosen or pull from the wall. Other common causes include stripped mounting holes, brackets not secured to wall studs, or missing mid-span support brackets on longer runs.