

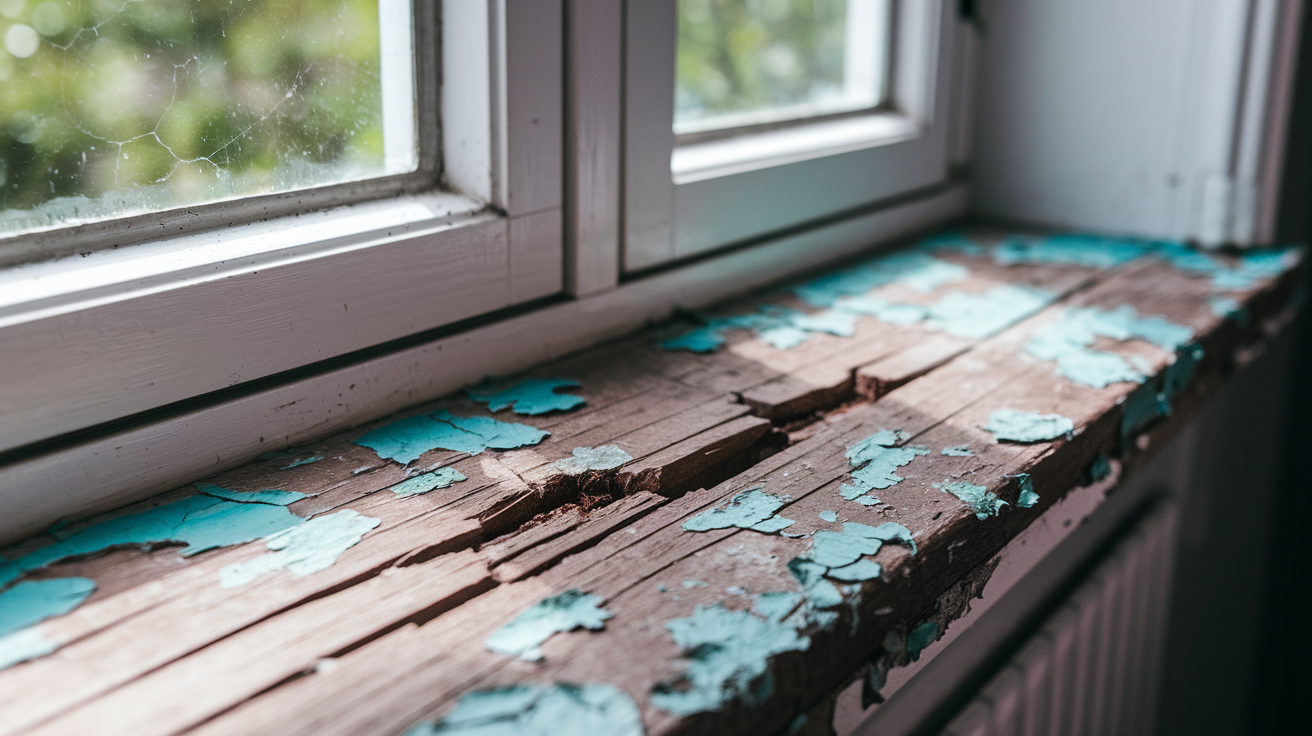

Ever notice how a small crack in your window sill turns into a soft, crumbling mess faster than you’d expect? Water finds its way in, wood rots from the inside out, and what started as a cosmetic annoyance becomes a structural problem. The good news is that most window sill damage can be repaired with the right materials and a clear plan. This guide walks you through the complete process, from identifying rot and choosing between epoxy and wood filler to applying hardener, filling voids, and finishing the surface so it holds up for years.
Identifying Window Sill Damage: Signs and Inspection Techniques
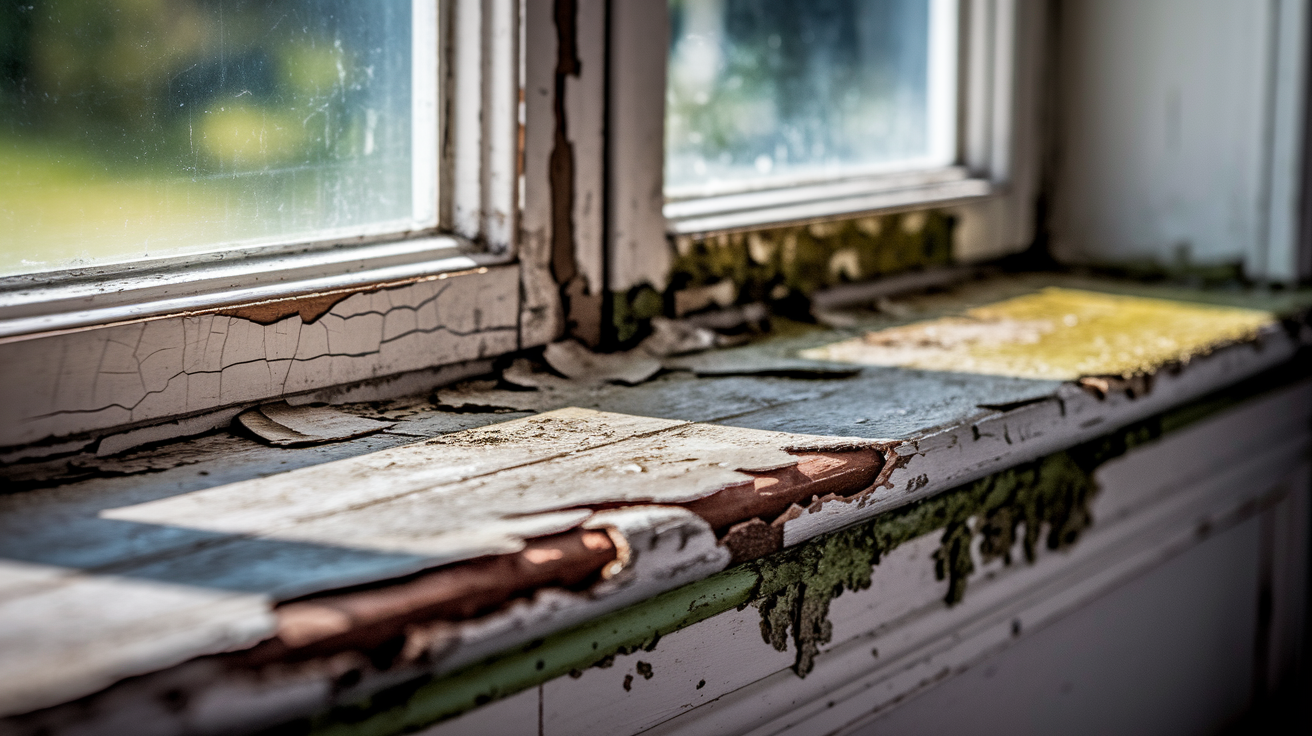
Catching window sill damage early keeps small problems from turning into big ones. The sooner you spot soft wood, cracks, or moisture, the less you’ll spend and the simpler the repair will be.
Watch for these warning signs when you inspect your sills:
- Visible cracks or splits in the wood
- Soft or spongy texture when pressed
- Discoloration or faded uneven coloring
- Peeling paint or finish
- Mold or mildew growth
- Wood feels damp to touch
- Visible water staining
The screwdriver probe test tells you if rot is present. Press the tip of a flathead screwdriver into the wood at a slight angle. If the tool sinks in easily or the wood feels spongy instead of firm, you’ve found rot. Healthy wood resists the probe and feels solid.
Inspect window sills right after the rainy season ends, when water damage is most visible. Four things cause most sill problems: moisture exposure from rain or condensation, temperature fluctuations that crack the wood, UV sun exposure that breaks down the finish, and neglect over time.
Exterior sills face harsher conditions than interior ones. Direct weather, intense UV, and temperature swings from freezing to hot cause faster deterioration. Paint fails quicker. Wood checks and splits more often. Rot develops in just a season or two if water sits on the surface.
Interior sill damage typically comes from condensation on cold windows. The problems are less severe and progress more slowly. Exterior repairs require marine grade epoxy and weatherproof finishes to hold up. Interior repairs can often use standard wood filler because conditions are milder and moisture exposure is lower.
Window Sill Repair Process: Essential Steps Overview
This overview introduces the repair sequence, with each step expanded in dedicated sections below. Think of this as your roadmap through the project.
Here are the seven main steps:
- Clean and remove loose material
- Excavate damaged wood (1 inch beyond visible decay)
- Dry and prep the surface
- Apply wood hardener to sound wood
- Fill voids with epoxy or wood filler
- Sand smooth (80 to 220 grit progression)
- Prime and paint with weather resistant products
Wear a NIOSH approved respirator and safety goggles whenever you’re sanding epoxy or removing old paint. If more than 50% of the sill structure is compromised, or if decay has reached the window frame itself, consider calling a professional for full replacement instead of attempting a repair.
Tools and Materials Required for Window Sill Repair
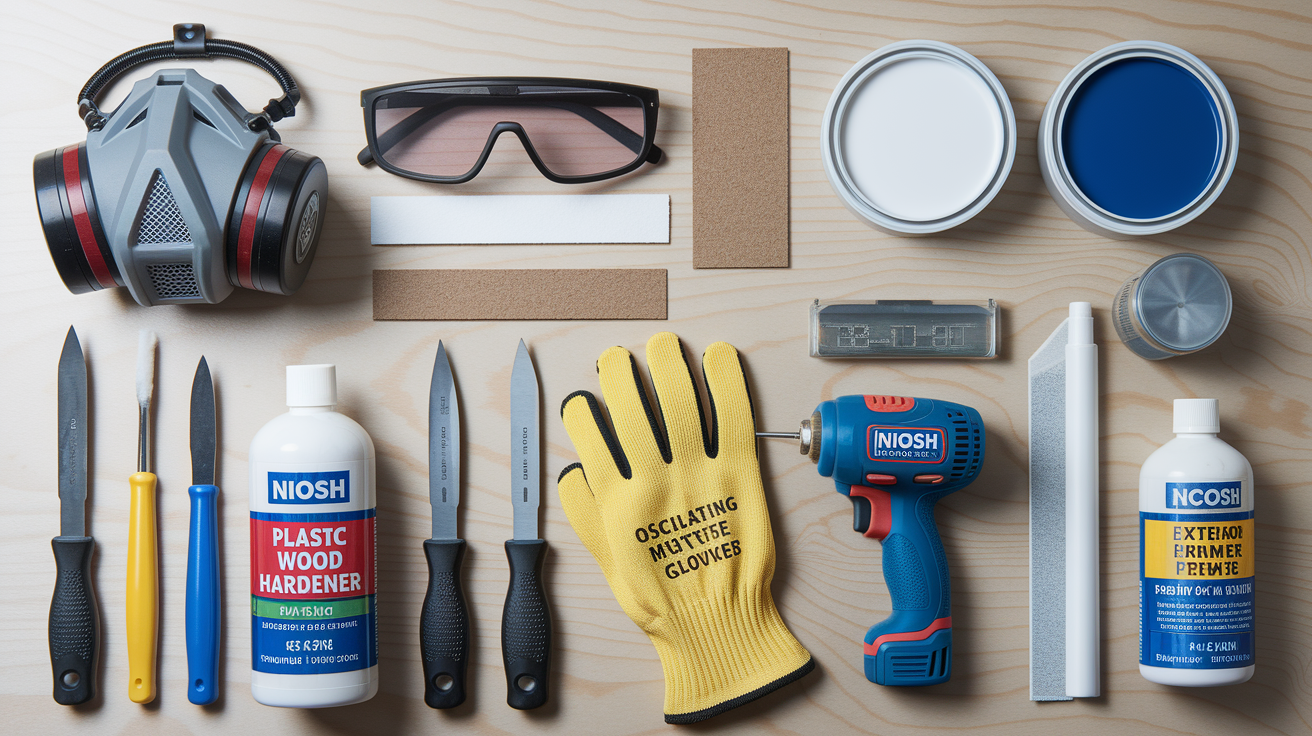
Having all materials ready before starting prevents project delays and ensures proper repairs. You don’t want to stop midway through because you’re missing sandpaper or the right brush.
| Category | Item | Purpose |
|---|---|---|
| Safety Gear | NIOSH approved respirator | Protect lungs during sanding and chemical use |
| Safety Gear | Safety goggles | Shield eyes from dust and epoxy splashes |
| Safety Gear | Chemical resistant gloves | Protect hands from epoxy and solvents |
| Removal Tools | 5 in 1 tool or putty knife | Scrape loose paint and remove soft wood |
| Removal Tools | Chisel | Cut away moderately rotted sections |
| Removal Tools | Oscillating multi tool | Cut through severe rot or make precise cuts |
| Application Tools | Paintbrush (glue brush) | Apply liquid wood hardener |
| Application Tools | Plastic putty knife | Spread and smooth epoxy paste filler |
| Repair Materials | Liquid wood hardener (consolidant) | Penetrate and strengthen soft wood |
| Repair Materials | Two part epoxy paste filler | Fill voids, cracks, and structural gaps |
| Repair Materials | Acetone | Clean tools and thin epoxy if needed |
| Finishing Materials | Sandpaper (80, 120, 220 grit) and exterior grade primer, paint, and 100% silicone caulk | Smooth surface, seal wood, protect from weather |
Epoxy Filler vs Wood Filler: Choosing the Right Repair Material
The critical difference comes down to this: use epoxy for structural repairs, wood filler for cosmetic fixes. If the damage goes deeper than surface level or affects how the sill supports the window, epoxy is the only choice.
Two part marine grade epoxy offers real structural strength. It’s completely waterproof and bonds to damp wood, which matters when you’re repairing exterior sills that may not be bone dry. The material contains zero VOCs and cures into a solid mass that’s as strong as the original wood. Mix it at a 1:1 ratio, half Part A and half Part B, and you’ve got a 5 to 10 minute working window before it starts to set. That play doh like consistency can be molded, troweled, or thinned with acetone if you need a different texture.
Standard wood filler works fine for interior cosmetic repairs, small surface cracks, or nail holes. But it’s non structural, shrinks as it dries, and isn’t waterproof. Use it on interior trim or cabinet repairs, not on exterior window sills where moisture and temperature swings will break it down fast.
Never use Bondo or auto body filler on exterior wood repairs. It will fail. The material wasn’t designed for wood movement or moisture exposure. Also worth noting: larger epoxy patches cure faster than small ones, so if you’re filling multiple areas, tackle the big voids first.
Removing Damaged and Rotted Wood from Window Sills
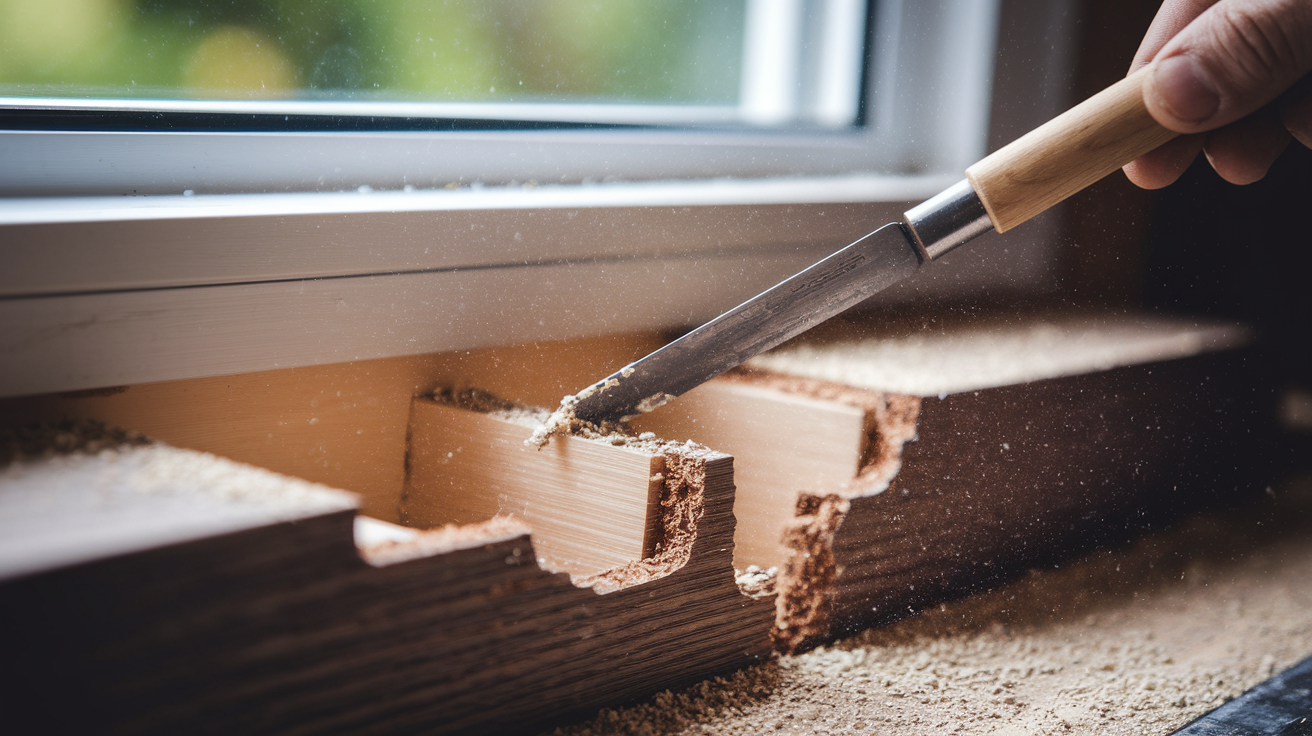
Complete rot removal is what makes repairs last. Leave soft, compromised wood in place and the problem comes right back, usually within a year.
Follow these removal guidelines:
- Excavate 1 inch beyond visible rot
- Remove only loose or crumbling wood
- Leave slightly soft but attached wood intact
- Work in well ventilated area
- Use appropriate tool for damage extent
Match your tool to the damage you’re dealing with. A 5 in 1 tool or awl handles minor rot and loose material. A chisel works for moderate rot where you need to carve out defined areas. An oscillating multi tool or saw becomes necessary for severe cases where you’re cutting away large sections or making precise cuts through solid material.
If more than half the sill structure is compromised, or if decay has reached the window frame itself, full replacement is necessary rather than repair. At that point, the remaining wood doesn’t have enough integrity to support a lasting fix, even with epoxy reinforcement.
Cleaning and Preparing the Window Sill Surface
Scrape off loose paint and debris first, then wipe the entire surface with a rag moistened with TSP. Remove all dust, flaking finish, and loose material. Clean wood accepts filler better and creates a stronger bond.
Check the wood’s moisture content before moving forward. Epoxy repairs require wood moisture no higher than 12 to 15 percent. Arid climates may read below 10 percent. Humid climates like Florida typically stay below 14 percent. The wood needs to be dry enough for the epoxy to cure properly, but it doesn’t need to be completely bone dry the way standard wood glue would require.
Remove old paint down to bare wood in the repair area. Epoxy bonds to wood, not to paint layers. Scrape or sand the finish away wherever you’ll be applying hardener or filler. The bare wood gives you the solid surface adhesion that makes repairs hold up year after year.
Never start repairs when rain is expected. Cover the work area with plastic sheeting if dew is anticipated overnight. Make sure you’ve got adequate ventilation when you’re using TSP, epoxy, primer, or paint. Open windows, set up a fan, or work outside when possible.
Applying Wood Hardener to Stabilize Remaining Window Sill Structure
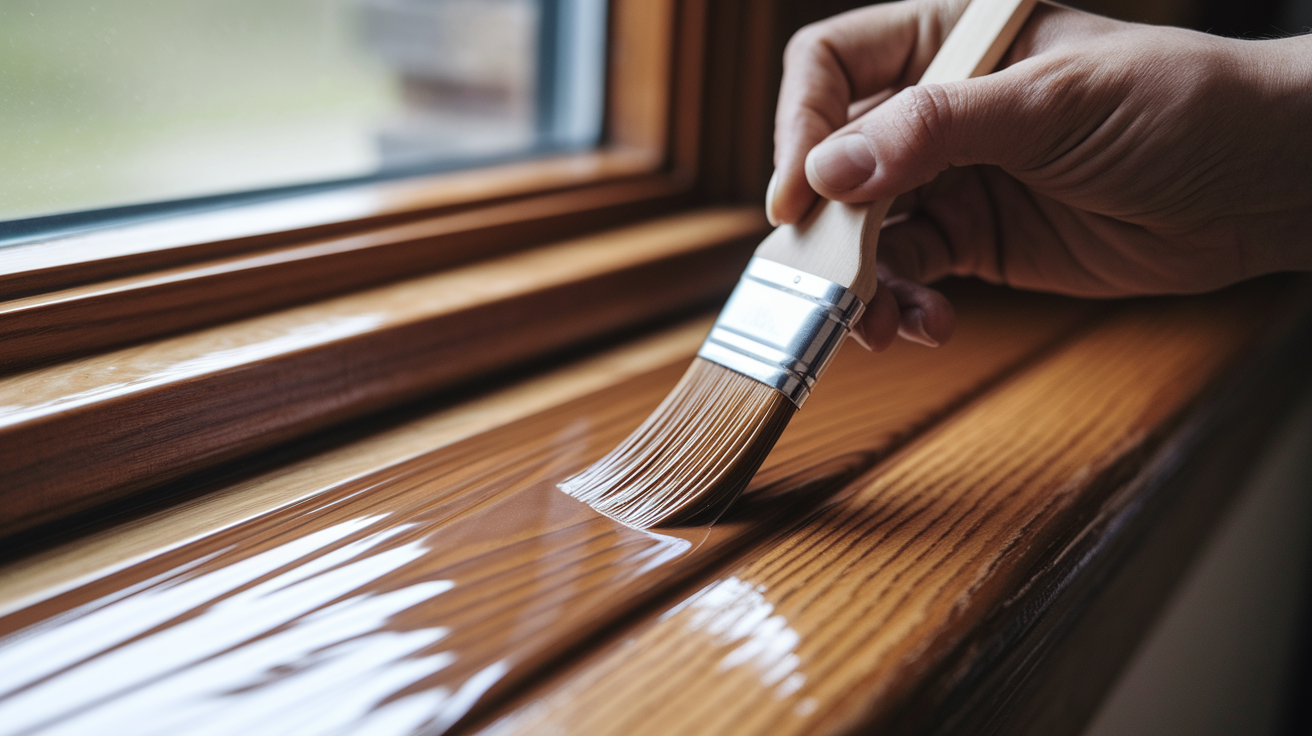
Wood hardener, also called consolidant, penetrates and reinforces soft wood before you fill it. This is the detailed version of step 4 from the repair overview, and it matters because it creates the stable base that makes your filler work structurally instead of cosmetically.
Follow these four application steps:
- Mix consolidant at 1:1 ratio (Part A to Part B)
- Let mixture set 15 minutes before applying
- Drill 1/8 inch holes spaced 1 inch apart in sound wood
- Apply liberally with brush, working into cracks
Multiple applications over several minutes may be needed to fully saturate the wood. The low viscosity liquid flows into cracks, checks, and porous areas. It acts as a primer for the paste filler you’ll apply later, creating a chemical bond between compromised wood and new epoxy. Full cure time runs several hours depending on the manufacturer’s directions, temperature, and humidity. Don’t skip ahead to filling until the hardener has cured completely, or the paste filler won’t bond properly.
Filling Cracks and Voids in Window Sills with Epoxy
Paste epoxy goes in after the hardener becomes tacky. This expands on the filling step from the overview and turns compromised wood into a solid, structural surface again.
Here’s the application sequence:
- Mix equal portions of Part A and Part B (small batches, 5 to 10 minute working time)
- Press epoxy generously into voids with plastic putty knife
- Overfill slightly for flush finish after sanding
- Mold to approximate original sill shape
- Allow full 24 hour cure before sanding
Do not skim coat the entire sill with epoxy. Only fill actual voids, cracks, and checks. If you coat the whole surface, moisture working its way through the wood from below can push the repair layer right off. You’re fixing damage, not creating a shell.
Epoxy can be thinned with liquid wood hardener or acetone if you need a different consistency for narrow cracks or to feather edges. If you need multiple layers to build up a deep void, let each one dry completely before adding the next. Larger patches cure faster than small ones, so don’t worry if a big void sets up quicker than you expect.
Sanding and Shaping Repaired Window Sills
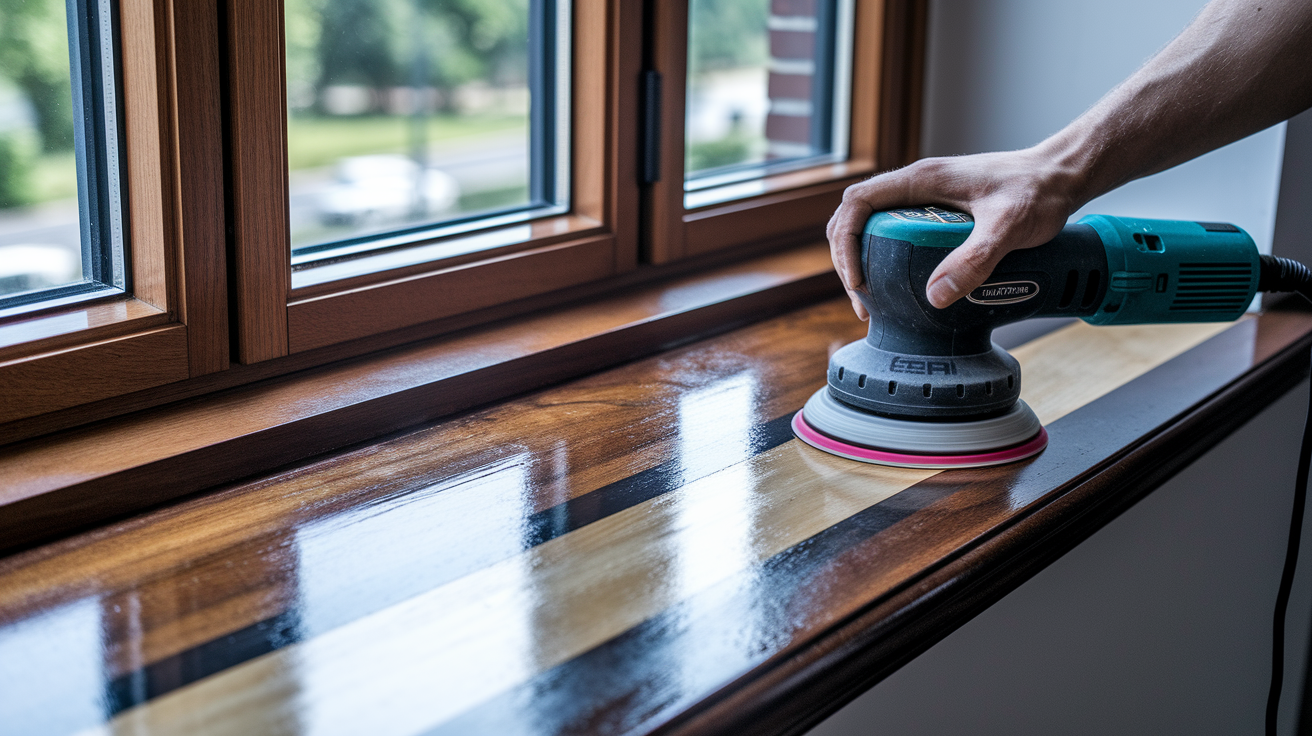
Proper sanding creates invisible repair transitions and prepares the surface for finishing. This is the detailed expansion of step 6 from the process overview.
Use this three step grit progression:
- Start with 80 grit to shape and level epoxy
- Progress to 120 grit to smooth surface
- Finish with 220 grit for flawless blend with wood
Always sand in the direction of the wood grain to prevent scratches. Cross grain scratches show through paint and stain, especially in angled light. Cured epoxy is surprisingly easy to work with. You can chisel it, plane it, or carve it if you need to refine the shape before sanding.
Wear a NIOSH approved respirator during all sanding operations, especially when you’re working with epoxy or old paint. The dust is fine and gets airborne fast. Epoxy sands easily without requiring heavy grit abrasives, so you don’t need to lean on aggressive papers that might gouge surrounding wood.
Priming and Painting Window Sills for Weather Protection
Primer seals both the epoxy and surrounding wood, creating a uniform surface for paint adhesion. This completes the repair process outlined in step 7 and turns a functional repair into a protected one.
Choose an exterior grade primer made for wood and epoxy. Apply one full coat and let it dry completely per the manufacturer’s specifications. Primer fills minor surface imperfections you might have missed during sanding and prevents the bare wood from absorbing moisture.
Paint selection matters. Use a minimum of two coats of premium acrylic latex exterior paint. Acrylic latex flexes with temperature changes instead of cracking, which matters when sills shift from freezing nights to hot afternoons. Weather resistant formulas add UV blockers and mildew resistance for longer protection between maintenance cycles.
Stain and varnish work as alternatives if you want a natural wood appearance. Both require UV resistant and waterproof formulations for exterior applications. Clear finishes show more wear than paint, so expect to refresh them more often.
Caulking and Sealing Window Sills Against Water Intrusion
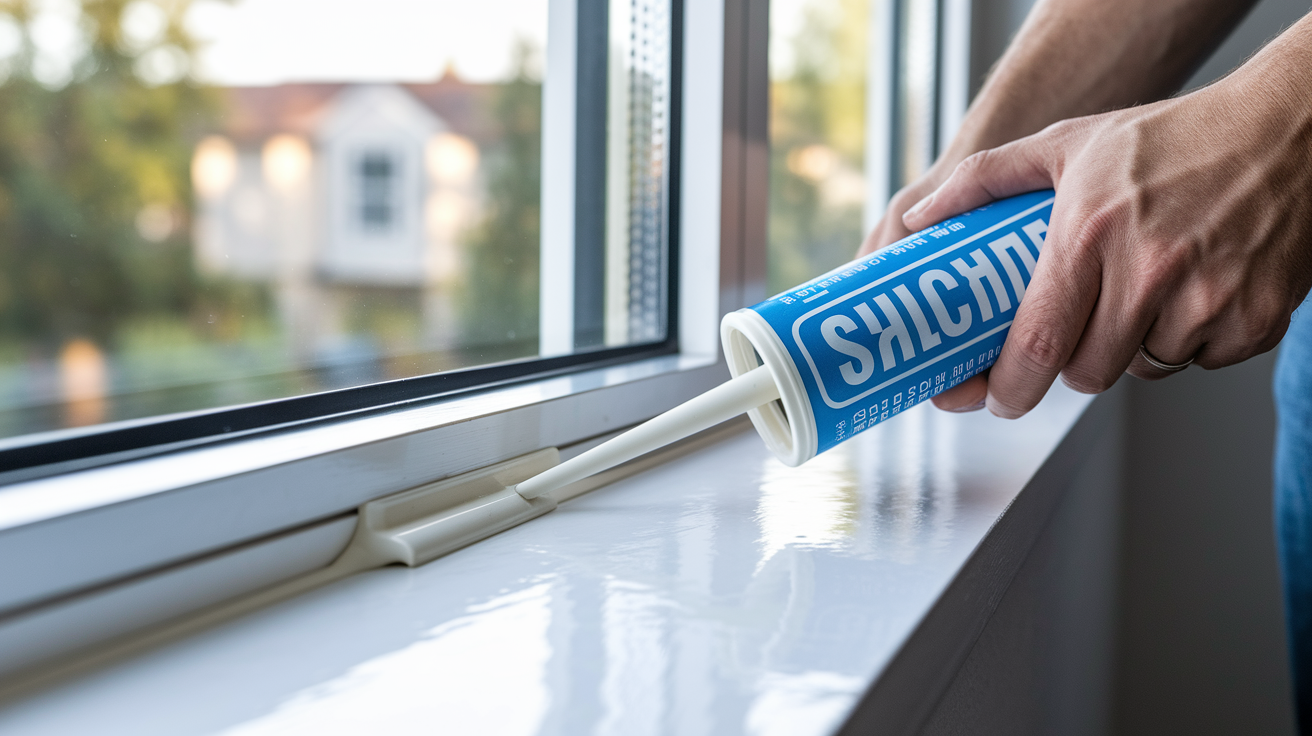
Caulking is the final defense against water damage and must be done correctly. Even a perfectly repaired sill will rot again if water gets behind it.
Seal these three critical locations:
- Bottom of window frame where it meets sill
- Sill edges meeting vertical trim or casing
- Joint where sill meets home siding
Use 100% silicone or advanced polymer caulk, not acrylic latex. Silicone and polymer formulas stay flexible through temperature swings and create complete waterproof barriers. Acrylic latex caulk cracks and pulls away from joints after a season or two of weather exposure.
Clean and dry all surfaces before you apply caulk. Dust and moisture prevent adhesion. Run a continuous bead without gaps, then tool it smooth with a wet finger or caulk tool to press the material into the joint. Proper sealing creates a moisture barrier that protects both your new repairs and the surrounding structure from future water intrusion. For more information on preventing moisture damage throughout your home, see our guide on water damage repair and remediation.
Repairing Severe Window Sill Damage with Wood Splicing
Splicing is appropriate when damage affects 25 to 50 percent of the sill structure but the window frame itself remains sound. It’s a middle ground between epoxy repair and full replacement.
Follow these five splicing steps:
- Cut away damaged section with clean straight cuts
- Measure and cut replacement piece (pressure treated, cedar, or redwood)
- Apply exterior construction adhesive to mating surfaces
- Position replacement piece and secure with galvanized screws
- Fill screw holes and sand transitions smooth
Remember the 50 percent rule. If more than half the sill is compromised, or if decay has reached the window frame, full sill replacement is necessary. You can’t splice your way out of structural failure. Spliced repairs require the same finishing process as epoxy repairs: prime, paint, and caulk for complete protection.
Window Sill Material Types and Repair Considerations

Repair approach varies by material composition. What works for wood doesn’t work for vinyl or aluminum.
| Material | Repair Method | Durability Notes |
|---|---|---|
| Wood (pine, oak, hardwood) | Epoxy and filler repairs | Most common, requires regular maintenance |
| Pressure treated wood | Same epoxy and filler repairs | Lasts longer due to chemical treatment |
| Cedar or Redwood | Epoxy repairs work well | Naturally rot resistant, slower decay |
| Vinyl | Vinyl specific adhesives for cracks | No rot issues, but can crack or warp |
| Aluminum | Dent repair, no epoxy needed | No rot, can corrode or dent |
| Composite or PVC | Specialized fillers | Rarely need structural repair |
Preventing Future Window Sill Damage Through Maintenance
Preventive maintenance is far less expensive than repair. A few minutes twice a year can add years to your sills.
Make these six maintenance practices routine:
- Annual inspection after rainy season
- Check and refresh caulk every 1 to 2 years
- Touch up paint when chips or cracks appear
- Make sure sill has proper drainage slope (slight pitch outward)
- Clean debris from sill surface seasonally
- Verify adequate ventilation prevents condensation
Annual checks catch damage early when repairs are minor. This matters most after wet winters when water exposure has been heaviest. Proper drainage slope prevents standing water that accelerates rot. Even a slight pitch outward, just enough to shed water instead of pooling it, makes a real difference in how long repairs hold up.
Common Window Sill Repair Mistakes and How to Avoid Them

Avoiding these mistakes saves time and prevents repair failure. Some errors show up right away. Others take a season or two to reveal themselves.
- Using Bondo or auto body filler on exterior wood (will fail from moisture and temperature movement)
- Skim coating entire sill with epoxy (moisture from below pushes it out)
- Repairing when rain expected or wood is wet (adhesion fails, epoxy won’t cure properly)
- Not excavating 1 inch beyond visible rot (rot returns within a year)
- Repairing wood above 12 to 15 percent moisture content (epoxy won’t cure, bond fails)
- Skipping primer before paint (poor paint adhesion, uneven finish)
- Using interior grade materials on exterior sills (weather breaks them down fast)
Cost and Time Estimates for Window Sill Repairs
DIY material costs typically run between $115 and $230. An epoxy system costs $30 to $60. Wood hardener adds $20 to $40. Primer and paint together run $25 to $50. If you don’t already own the tools, budget another $40 to $80 for brushes, putty knives, sandpaper, and safety gear.
Time investment splits between active work and waiting. Expect 1 to 2 hours of hands on effort spread across 2 to 3 days. The cure time is what stretches the project out. Epoxy needs a full 24 hours before you can sand it. Primer and paint each require drying time. Most repairs take a long weekend from start to finish.
Professional repair typically costs $200 to $500 per sill depending on damage extent, access difficulty, and regional labor rates. If you’re dealing with extensive damage across multiple windows or structural issues beyond the sill itself, contact RestoreSafeHome.com to discuss professional repair options.
| Damage Level | DIY Time | DIY Cost | Professional Cost |
|---|---|---|---|
| Minor (small cracks, surface damage) | 4 to 6 hours over 2 days | $50 to $100 | $150 to $250 |
| Moderate (rot in 25% of sill) | 6 to 10 hours over 2 to 3 days | $115 to $230 | $250 to $400 |
| Severe (rot in 25 to 50% of sill) | 10 to 15 hours over 3 to 4 days | $150 to $300 | $350 to $500 |
Final Words
A damaged window sill won’t fix itself, and waiting makes the problem worse.
Once you know how to repair damaged window sill issues—identifying rot, removing compromised wood, applying hardener and epoxy, sanding smooth, and sealing against moisture—you can stop damage before it spreads into the frame or wall.
The key is complete rot removal, proper drying, and weatherproof finishing.
If more than half the sill is gone or decay reached the frame, call a pro. Otherwise, you’ve got this.
FAQ
How do you repair a damaged window sill?
To repair a damaged window sill, remove loose and rotted wood, apply wood hardener to strengthen remaining structure, fill voids with marine-grade epoxy filler, sand smooth in three stages (80 to 220-grit), prime, and finish with weather-resistant exterior paint or stain.
Can you use wood filler on window sills?
You can use wood filler on interior window sills for minor cosmetic repairs, but exterior sills require two-part marine-grade epoxy filler for structural repairs. Standard wood filler is not waterproof and will fail when exposed to weather and moisture.
Can you replace just the sill of a window?
You can replace just the sill of a window when damage affects less than 50% of the structure and decay has not spread into the main window frame. For more extensive damage or frame decay, full window replacement becomes necessary.
How long does window sill epoxy take to cure?
Window sill epoxy takes a full 24 hours to cure before you can sand or shape it. Wood hardener applied before filling typically cures in several hours per manufacturer directions, and each repair layer must dry completely before applying the next.
What causes window sills to rot?
Window sills rot from moisture exposure, temperature fluctuations, UV sun rays, and neglect over time. Standing water from improper drainage slope, failed caulk joints, and condensation accelerate decay, especially on exterior sills facing direct weather exposure.
When should I call a professional for window sill repair?
You should call a professional for window sill repair when more than 50% of the structural wood is rotted, decay has spread into the window frame, or you lack proper safety equipment like a NIOSH-approved respirator for sanding epoxy and old paint.