

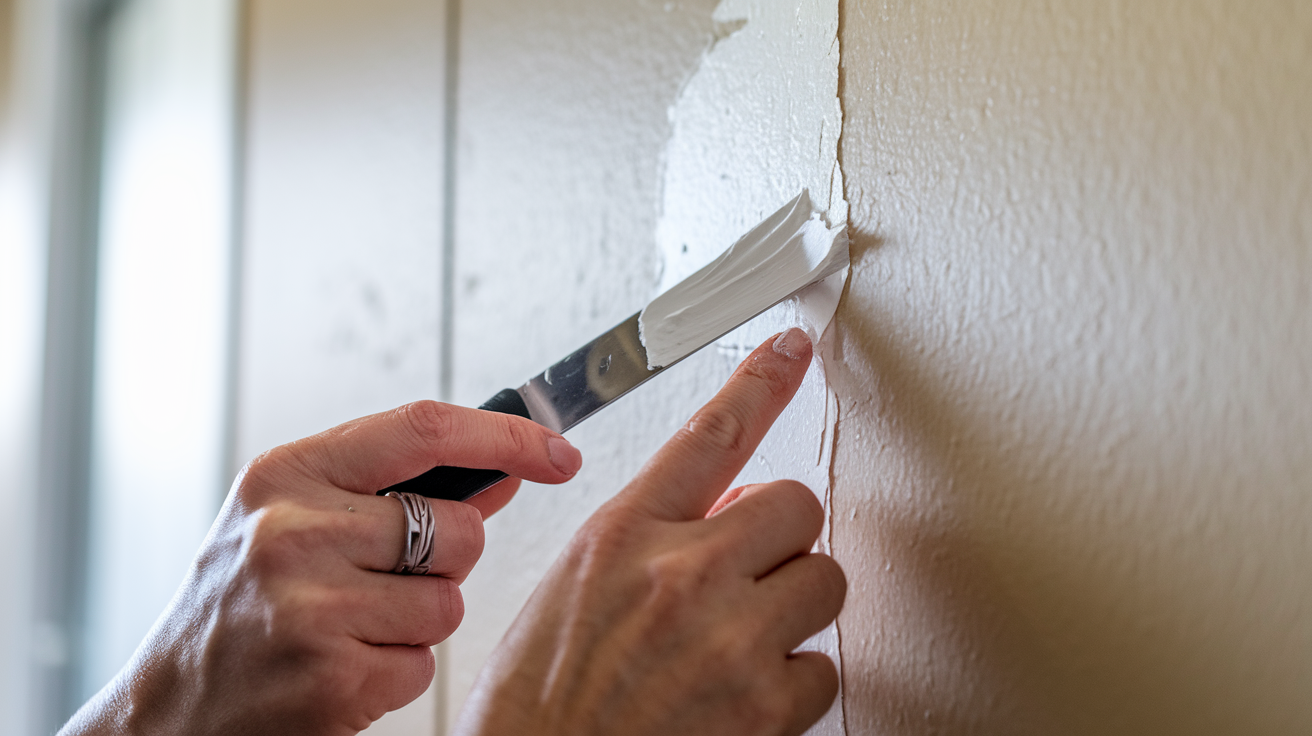

Ever notice how a small wall crack seems to double in size the moment you decide to ignore it? That thin line you spot above the doorframe or near the ceiling is trying to tell you something, and waiting just makes the repair harder. Most interior cracks fall into three simple groups: surface hairlines you can fix yourself in an afternoon, settlement cracks needing a closer look but still DIY friendly, and structural cracks that require professional eyes before you touch anything. This guide walks you through identifying which type you’re facing, gathering the right materials, and completing a repair that actually holds up.
Complete Wall Crack Repair Guide for Interior Walls
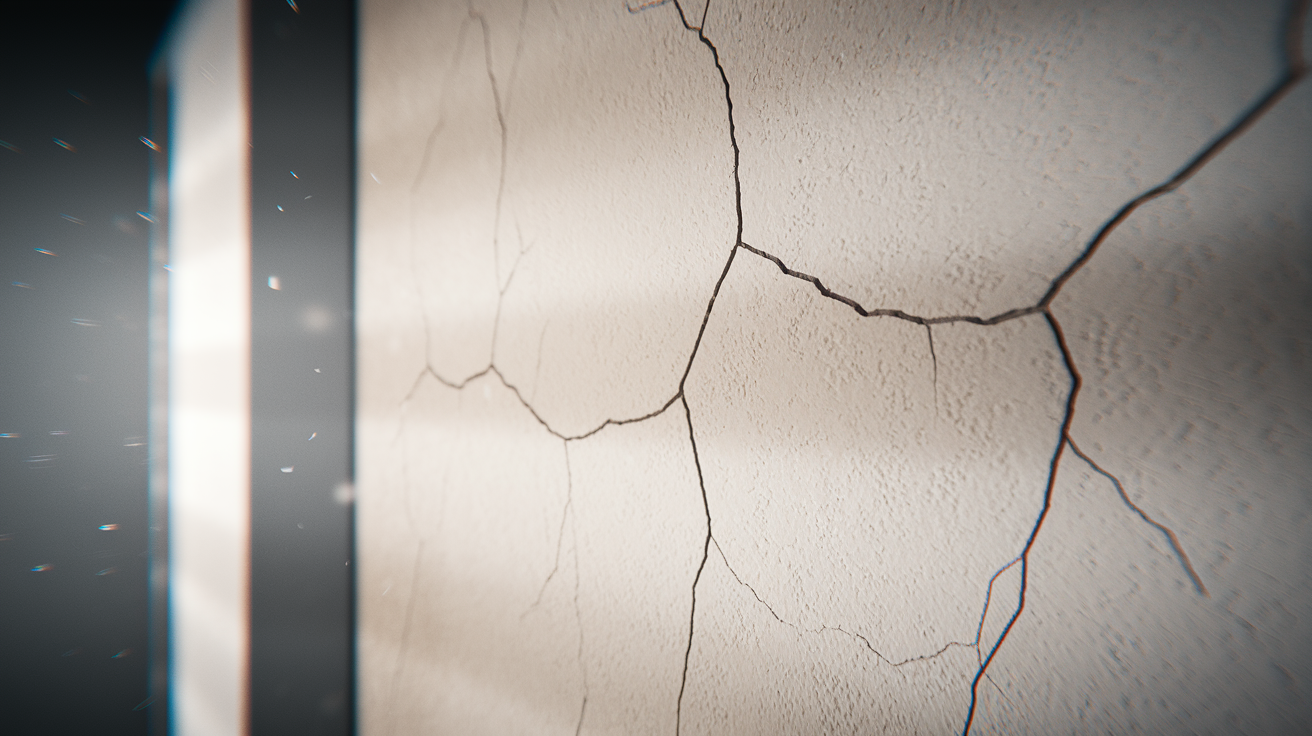
Most interior wall cracks break down into three basic types: hairline cracks (cosmetic, totally fixable on your own), settlement cracks (need a quick look but usually DIY friendly), and structural cracks (professional territory, no shortcuts). Hairline cracks measure less than 1/16 inch wide and show up as thin surface lines from minor shifting or plaster drying out. Settlement cracks run diagonal and pop up in older homes as everything adjusts to the foundation over years. These usually sit between 1/16 and 1/4 inch and you’ll want to assess them before grabbing your tools. Structural cracks are the ones that matter: wider than 1/4 inch, running horizontal along walls that carry weight, or showing up with bulging walls, foundation trouble, or doors that won’t close like they used to.
The basic repair follows a simple path. Widen the crack slightly with a utility knife so the filler has something to grab onto, apply the right filler (spackling for hairline cracks, joint compound for wider ones), reinforce longer cracks with fiberglass mesh tape when needed, give it proper drying time between coats, sand smooth and blend it into the wall around it, prime the patched spot, and finish with matched paint. Each step counts. Skip stuff like surface prep and drying time and you’re looking at failure.
You should call someone for cracks wider than 1/4 inch, horizontal cracks in load bearing walls, cracks that keep showing up after you fix them, cracks with sticking doors or windows nearby, or any crack paired with foundation issues or moisture damage. These are red flags pointing to structural problems that need real assessment before you touch anything cosmetic. Filling structural cracks without fixing what’s causing them wastes your time and cash, because the crack just comes back or gets worse.
| Crack Type | DIY Material Cost | DIY Time Required | Professional Cost |
|---|---|---|---|
| Hairline cracks | $10-20 | 24-48 hours with drying | $75-150 |
| Settlement cracks | $20-35 | 2-3 days with drying | $150-300 |
| Structural cracks | N/A – Assessment $200-500 | Not DIY-appropriate | $500-2000+ |
Identifying Wall Crack Types and Understanding Their Causes
Getting the identification right determines your repair method, what you’ll need to buy, and whether you’re calling for help.
Location, direction, and width are your three diagnostic clues.
| Crack Type | Appearance | Width | Typical Cause | Repair Difficulty |
|---|---|---|---|---|
| Hairline cracks | Thin surface lines | Less than 1/16 inch | Plaster drying/minor movement | Easy DIY |
| Shrinkage cracks | Spiderweb pattern | 1/16 inch | Rapid drying in new construction | Easy DIY |
| Settlement cracks | Diagonal lines | 1/16 to 1/4 inch | Natural building settling | Moderate DIY |
| Corner cracks | At wall/ceiling joints | Varies | Structural movement/poor taping | Moderate DIY |
| Stress cracks | Horizontal or stair-step | 1/4 inch plus | Foundation issues/structural movement | Professional required |
| Ceiling cracks | Runs across ceiling | Varies | Settling/moisture/structural | Assessment required |
Natural settling and building movement cause most interior wall cracks. Every structure settles during the first few years as it adjusts to the foundation. Every home experiences minor shifting from seasonal temperature changes. Wood framing expands in humid summer months and pulls tight during dry winter heating cycles.
Moisture creates its own crack patterns. Water leaks from plumbing or roofs weaken drywall and plaster. High humidity makes plaster expand, then crack when it dries out again. Poor ventilation leads to condensation damage that bubbles paint and weakens wall surfaces. If you’re seeing water stains near cracks, you’ve got a leak needing attention before you repair anything.
Construction issues include faulty drywall taping during installation, plaster that dried too fast during original application, and improper joint finishing that cracks as the building ages. More serious are foundation problems: soil movement beneath the home (especially clay heavy soil that expands and contracts with moisture), inadequate foundation support, and structural load issues creating stress cracks that need professional assessment before any repair work starts.
Essential Tools and Materials for Interior Wall Crack Repair
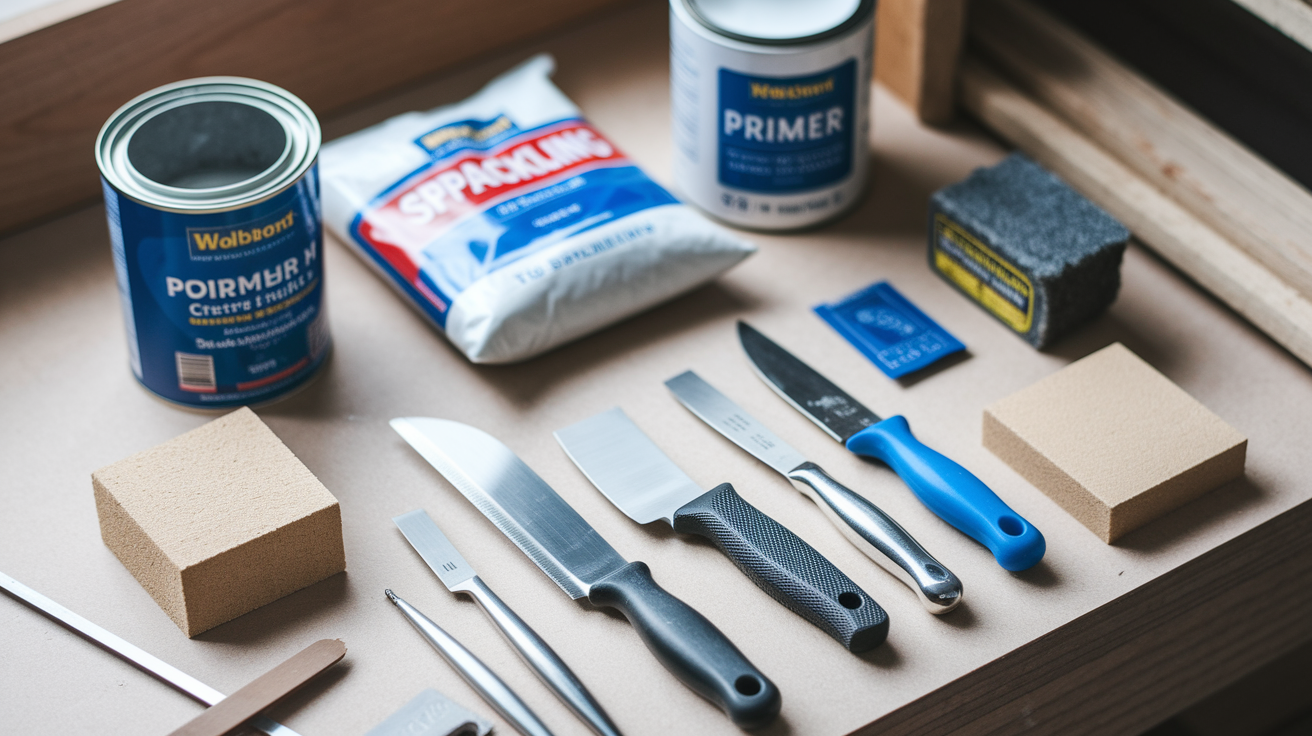
Getting the right materials before you start prevents delays and ensures results that look professional. Total material cost for basic repairs runs $15 to $50 depending on crack size and how many you’re fixing.
- Putty knife (2 to 4 inch for hairline cracks, 6 inch for wider ones)
- Spackling compound (for cracks less than 1/4 inch)
- Joint compound (for cracks wider than 1/4 inch or repairs needing multiple coats)
- Fiberglass mesh tape (for cracks longer than 6 inches or cracks that keep coming back)
- Utility knife or scraper (for crack prep and widening)
- Medium grit sandpaper (120 to 150 grit) and sanding block
- Primer (to seal the patched area before painting)
- Paint (matched to your existing wall color and finish)
- Drop cloth, dust mask, and damp cloth for cleanup
Flexible fillers or elastomeric caulk may be needed for cracks in high movement areas like around windows and doors, where standard rigid fillers crack again from seasonal expansion. Paper tape is an alternative to mesh tape for plaster walls, as it sometimes bonds better to old plaster surfaces.
Preparing Interior Walls for Crack Repair
Preparation matters most. 90% of failed repairs come from inadequate surface prep, not poor filling technique.
Start by moving furniture away from the work area and laying down a drop cloth to protect your flooring. Put on a dust mask, then use a scraper to remove any loose plaster, paint, or debris around and inside the crack. You’re looking for solid, stable edges. Anything loose or flaking needs to come off now. Wipe the area with a slightly damp cloth to remove dust, then let it dry completely before moving forward.
The widening step is what most people skip, and it’s why their cracks come right back. Use a utility knife to carefully widen hairline cracks by cutting a shallow V groove that’s wider at the surface and narrower at the depth. This creates a key for the filler to grip into and prevents the crack from immediately reappearing. For very fine hairline cracks, widen to about 1/8 inch. This step matters because flexible filler needs physical space to anchor properly and move with the wall without breaking the bond.
Inspect for underlying moisture or structural issues during prep. Look for water stains, soft drywall, or musty odors indicating a leak requiring repair before you fill any cracks. Repairing a crack over an active moisture problem guarantees the crack will reappear, often worse than before.
Step-by-Step Repair Process for Hairline Wall Cracks
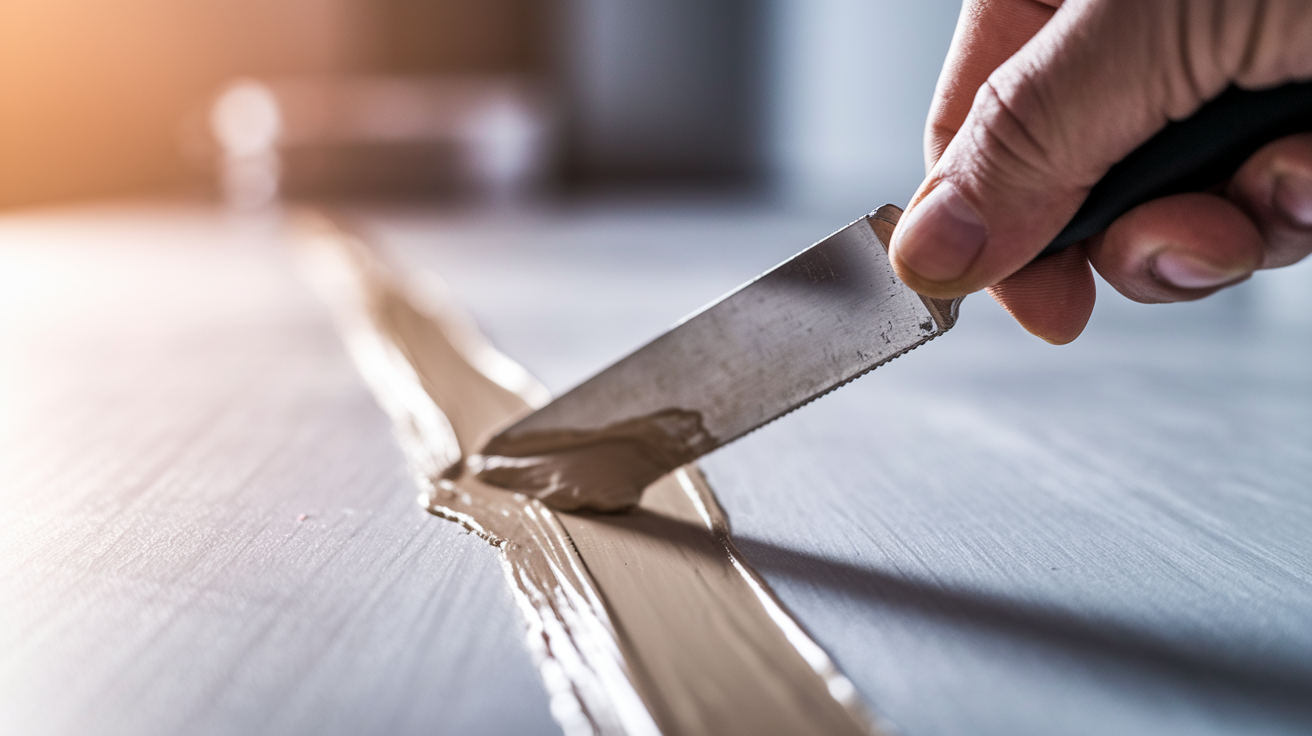
Hairline cracks (less than 1/16 inch) are the simplest repairs, typically taking 24 to 48 hours including drying time.
After widening the crack with a utility knife as described earlier, blow out dust or vacuum the crack opening to ensure clean surfaces for the filler to bond to.
Load spackling compound onto your putty knife and press firmly into the widened crack, overfilling slightly to account for shrinkage as it dries. The compound will pull down a bit as moisture evaporates.
Draw the putty knife across the crack at a slight angle to smooth the surface and feather the edges into the surrounding wall, removing excess compound as you go. The repair should be nearly flush but slightly raised.
Allow the repair to dry completely per manufacturer instructions (typically 2 to 6 hours for spackling compound). Touch the surface to test. It should feel cool and firm, not soft or warm which indicates moisture still present.
Lightly sand with medium grit sandpaper using circular motions to blend the repair with the wall surface, focusing on feathering the edges rather than sanding the center flat, then wipe away all dust with a damp cloth.
Apply one coat of primer to the entire repaired area, let dry according to product instructions, then paint with two thin coats to match your existing wall color. Thin coats prevent drips and produce a more even finish than one heavy coat.
For extra insurance against reappearing hairline cracks in plaster walls, use flexible filler (like Toupret Fill Flex) instead of standard spackling. It moves with natural wall movement from temperature changes and building settling without fracturing the repair.
Repairing Wider Cracks and Deep Damage in Drywall
Cracks wider than 1/4 inch or longer than 6 inches require reinforcement with fiberglass mesh tape and joint compound (not spackling) to prevent the crack from reopening. Joint compound is stronger, more flexible, and bonds better than spackling for larger repairs that need to withstand stress.
The layered repair process works like this. Apply a thin base coat of joint compound into the prepared crack using a 4 to 6 inch putty knife or taping knife, pressing the compound firmly into the crack. While the compound is still wet, press fiberglass mesh tape centered directly over the crack, embedding it into the wet compound so it sticks flat against the wall. Immediately apply another thin layer of joint compound over the tape, smoothing with your putty knife and feathering the edges 2 to 3 inches beyond the tape on each side. This creates a gradual transition that won’t show through paint. Let this first layer dry completely (typically 12 to 24 hours depending on humidity and temperature). Apply a second coat of joint compound, extending the feathering an additional 2 inches beyond the first coat for blending with the surrounding wall. For deep cracks, a third coat may be needed. Each layer should be thinner and cover a wider area than the previous one, building up the repair gradually rather than trying to fill everything in one thick application.
After the final coat dries fully (wait 24 hours to be safe), sand lightly with fine grit sandpaper (150 to 220 grit) using gentle circular motions, blending the repair into the surrounding wall until you can’t feel the edge with your hand. Avoid over sanding which can expose the mesh tape underneath or create depressions that show through paint. Wipe the area clean with a slightly damp cloth, apply primer to the entire repaired area, and paint to match the existing wall.
Working With Plaster Walls and Older Interior Wall Surfaces
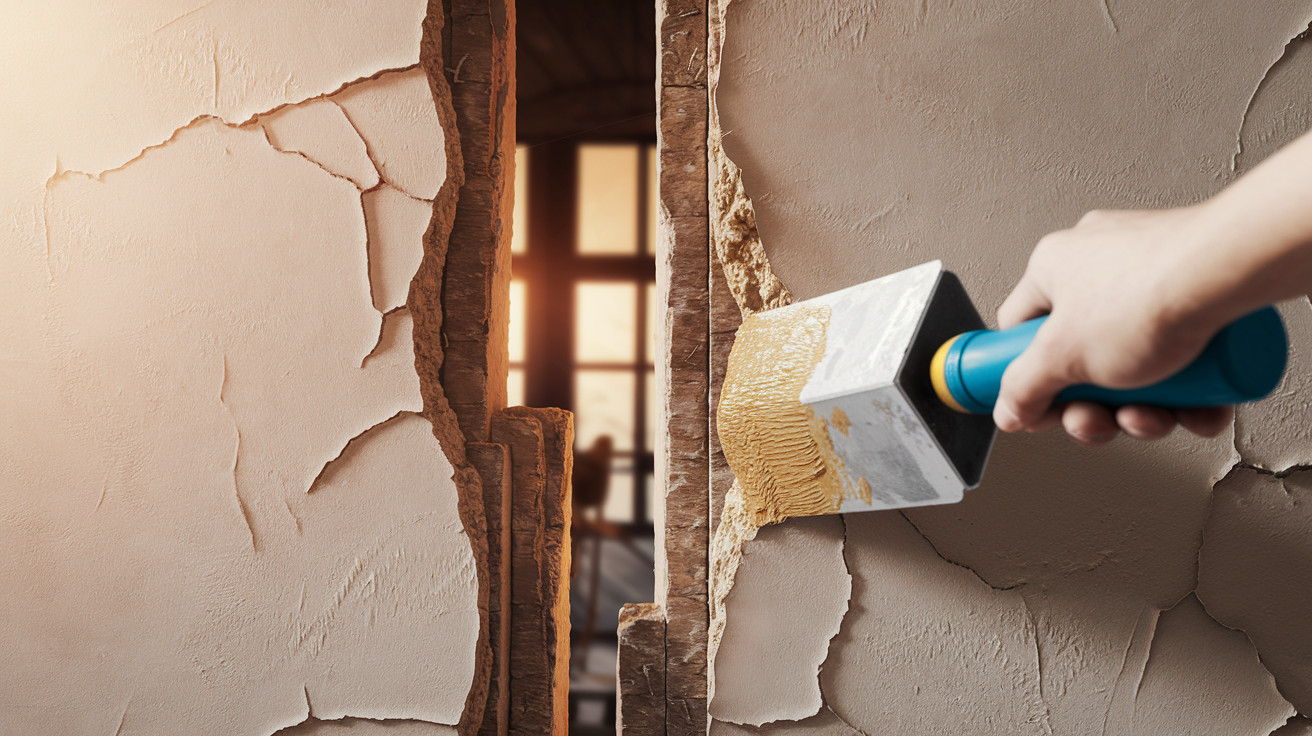
Plaster walls (common in homes built before 1950) behave differently than drywall and often need modified repair techniques.
Plaster is harder and more brittle than modern drywall, prone to cracking from building movement and temperature changes, and often shows a pattern of fine networked cracks spreading from one main crack. Plaster repairs need slightly different materials. Traditional plaster compound or setting type joint compound bonds better than standard spackling to old plaster surfaces. The material chemistry is different, and using drywall specific products on plaster often results in repairs that pop out or crack again within weeks.
The repair approach for plaster is similar to drywall but requires ensuring the existing plaster edges around the crack are solid and well adhered to the underlying lath. Loose or “floating” plaster around crack edges should be carefully removed with a scraper before filling. You’re looking for stable edges that won’t shift. Apply bonding agent or diluted PVA primer to the old plaster before adding filler to improve adhesion between old and new materials. For plaster, paper drywall tape often bonds better than fiberglass mesh because it conforms more closely to the harder plaster surface. The layering and drying process remains the same: thin coats, full drying between layers, and gradual feathering for invisible repairs.
Many older plaster walls have textured finishes needing matching for invisible repairs. After your repair dries and is sanded smooth, replicate the existing texture using a damp sponge (for stippled textures), a stippling brush (for heavier orange peel textures), or a texture roller (for consistent patterns) before priming and painting.
Sanding, Priming, and Painting Repaired Wall Cracks
Wait until the compound or filler is completely dry before sanding. Test by touching the surface. It should feel cool and firm, not soft or warm which indicates moisture still present. Use fine grit sandpaper (150 to 220 grit) on a sanding block for control and consistent results. Sand with light circular motions, concentrating on blending the feathered edges into the surrounding wall rather than sanding the center of the patch flat. You want a gradual, invisible transition. Frequently wipe the area with your dry hand to feel for smoothness and catch any ridges or bumps your eyes might miss. For larger repairs, an electric palm sander speeds things up but requires careful control to avoid over sanding and creating depressions. Always wear a dust mask during sanding to protect your lungs from fine particles.
After sanding, wipe away all dust with a slightly damp cloth and let the area dry, then apply one coat of primer to the entire repaired area. Primer matters because patched areas absorb paint differently than the surrounding wall, causing visible “flashing” or dull spots if you paint without priming first. Primer seals the porous repair surface, ensures even paint adhesion across the patch and original wall, and reduces the number of finish paint coats needed for complete coverage.
Use paint that matches your existing wall color and finish (flat, eggshell, or satin). Apply paint with a roller for larger repairs or a brush for small touch ups, feathering the paint beyond the primed area to blend the repair into the surrounding wall. Two thin coats produce better, more even results than one heavy coat that can drip or show brush marks.
If your wall has texture, the texture must be matched and applied after the repair dries but before painting for a truly invisible repair.
Understanding Drying Time and the Curing Process for Wall Crack Repairs
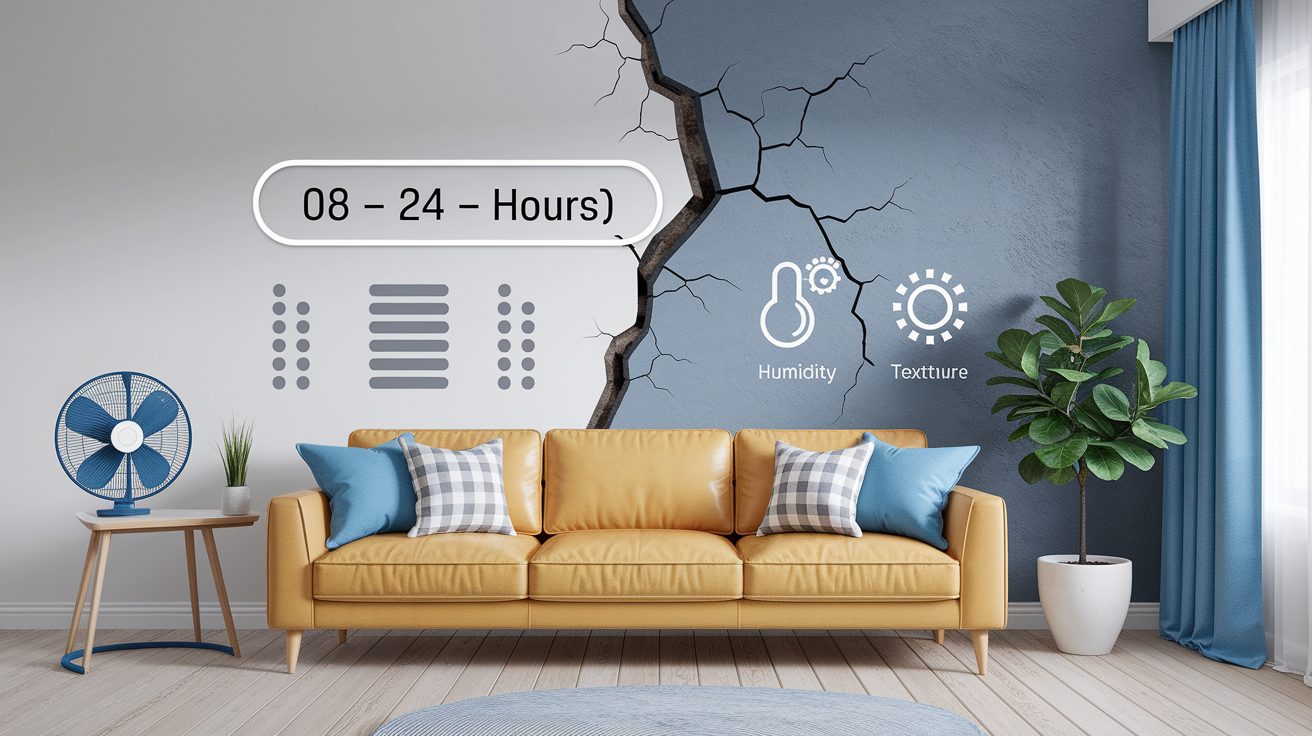
Rushing drying time is the most common DIY mistake. Wet or incompletely cured filler will crack, shrink too much, or sand poorly, completely ruining your repair. Proper drying ensures the repair bonds fully to the wall and maintains strength over time.
Spackling compound for hairline cracks: 2 to 6 hours (thin applications dry faster than thick ones). Joint compound first coat: 12 to 24 hours between coats when applying multiple layers. Deep repairs requiring multiple coats: 24 hours per layer minimum. Primer: 1 to 4 hours before painting (always check the product label for specific times). Paint: 24 hours before subjecting the wall to moisture, cleaning, or stress.
Several factors affect drying time in ways you can’t always control. Humidity is the biggest factor. High humidity dramatically slows drying, sometimes doubling cure times in damp basements or during humid summer weather. Temperature matters too. Repairs dry faster in warm rooms (70 to 80°F) and much slower in cold spaces below 60°F. Air circulation speeds drying by moving moisture away from the surface. Opening a window or running a fan helps. Application thickness is critical. Thick applications can take 48+ hours to dry fully even when the surface feels dry to the touch, because moisture remains trapped underneath.
Test dryness by gently touching the repair. Completely dry filler feels cool and firm with no give when pressed. Damp filler feels slightly warm from trapped moisture and may feel soft or spongy under pressure. When you’re uncertain whether it’s fully dry, wait an additional 12 hours rather than risk sanding too early and tearing the repair.
Preventing Reappearing Cracks and Long-Term Wall Crack Solutions
Cracks reappearing in the same location indicate an underlying issue that standard filler alone won’t solve. Either ongoing structural movement, moisture cycling that expands and contracts the wall material, or continued building settling. The repair technique must match the cause, or you’ll be repairing the same crack every year.
Prevention strategies address the environmental causes of new cracks. Maintain consistent indoor humidity levels between 30 to 50% using humidifiers during dry winter months and dehumidifiers in humid summer weather. Ensure proper ventilation in bathrooms and kitchens to prevent moisture buildup that weakens drywall and plaster. Address water leaks from plumbing or roofing immediately rather than letting them cause ongoing damage. Improve attic and wall insulation to reduce temperature related expansion and contraction that stresses wall surfaces. Ensure gutters and downspouts direct water away from your foundation to prevent soil movement that cracks walls from the foundation up.
For cracks that repeatedly reappear despite proper repair technique, switch to flexible or elastomeric fillers that accommodate building movement rather than rigid compounds that crack again under stress. Acrylic latex caulk works well for corner cracks where walls meet ceilings and for areas around windows and doors that experience more movement from opening, closing, and temperature differences. These flexible materials bend with seasonal expansion and contraction rather than fracturing like traditional plaster or joint compound.
Regular maintenance catches small problems before they become expensive repairs. Inspect walls annually for new hairline cracks and repair them immediately before they widen from moisture infiltration or continued movement. Repaint walls every 3 to 5 years with quality paint that seals minor surface imperfections before they develop into cracks. Monitor for patterns of new cracks (multiple cracks appearing in the same area, cracks that form quickly, or cracks accompanied by other symptoms like sticking doors) that might indicate foundation or structural issues requiring professional evaluation.
Common Mistakes to Avoid When Repairing Interior Wall Cracks
Most DIY crack repairs fail due to a handful of preventable mistakes rather than lack of skill or experience.
Skipping crack preparation. Always widen and clean hairline cracks with a utility knife. Filler needs physical space and clean surfaces to bond properly, not just surface contact.
Using the wrong filler. Spackling for small cracks only, joint compound for cracks over 1/4 inch, and flexible filler for cracks that keep coming back from movement.
Applying filler too thick. Multiple thin coats are stronger and dry more evenly than one thick coat that cracks from trapped moisture and uneven curing.
Sanding before completely dry. Wet filler will tear and create divots that show through paint. Always wait the full recommended drying time even if the surface feels dry.
Skipping primer. Unprimed patches absorb paint unevenly and show as dull spots, shiny spots, or subtle color variations that stand out in certain lighting.
Over sanding the repair. Sand only enough to blend the edges into the surrounding wall. Aggressive over sanding creates depressions that shadow and show through every paint coat.
Ignoring underlying causes. Repair moisture issues, ventilation problems, or structural movement before filling cracks, or the cracks will reappear within weeks or months.
Painting too soon. Allow primer to cure fully before applying finish paint, and allow paint to cure before cleaning or stressing the repaired area.
If a repair fails within weeks of completion, the likely causes are inadequate surface preparation (loose edges, dirty crack, insufficient widening), wrong material selection for the crack type or location, or an unaddressed moisture problem or structural issue that continues stressing the wall.
When to Call a Professional for Structural Wall Crack Concerns
While most interior wall cracks are cosmetic and easily repaired by homeowners, certain crack patterns indicate potential structural problems that require professional assessment before any repair work begins. Attempting to repair structural cracks without addressing the underlying foundation or framing issues wastes time and money, as the cracks will reappear quickly or worsen over time, sometimes accompanied by more serious damage to doors, windows, or load bearing walls.
Cracks wider than 1/4 inch, especially if you notice the crack widening over weeks or months. Horizontal cracks in foundation walls or load bearing walls that support the structure above. Stair step cracks in brick or masonry walls that follow the mortar joints in a diagonal pattern. Cracks accompanied by bulging, bowing, or visibly misaligned walls that don’t sit plumb. Doors or windows that suddenly stick, won’t close properly, or show gaps where they used to fit tightly. Cracks appearing with sloping or visibly uneven floors, especially floors that have changed recently. Multiple new cracks appearing suddenly throughout the house rather than one isolated crack. Cracks with visible daylight showing through from outside, water seepage during rain, or persistent moisture staining around the crack. Cracks that reappear in the same location despite proper repair technique using appropriate materials and full drying time.
The professional assessment process typically starts with a structural engineer who can determine whether foundation settling, soil movement beneath the home, or load bearing capacity issues are causing the visible cracks. Professional repair may involve foundation stabilization using piers or underpinning, installation of structural supports like steel beams to redistribute loads, or more extensive remediation including drainage improvements to address soil moisture problems. Early professional intervention prevents minor foundation issues from becoming catastrophic structural failures that cost tens of thousands to repair. For cosmetic cracks in load bearing walls where you’re unsure of the cause, professionals can verify the crack doesn’t indicate structural compromise before you proceed with standard DIY repair techniques, giving you confidence the repair will hold and the wall is safe.
Final Words
Most interior wall cracks are straightforward cosmetic issues you can handle yourself once you know how to repair interior wall cracks properly.
The key is accurate diagnosis, proper surface prep, using the right filler for the crack type, and allowing full drying time between steps.
For hairline and settlement cracks, plan on 24 to 48 hours from start to finish. Wider cracks needing reinforcement take two to three days with drying time factored in.
If you see warning signs like horizontal cracks, bulging walls, or cracks that keep coming back, call a professional for assessment before you start any repair work.
FAQ
How do you repair cracks in internal walls?
You repair cracks in internal walls by first widening the crack slightly with a utility knife to create a V-shaped groove, then filling it with spackling compound for hairline cracks or joint compound for wider cracks. After the filler dries completely (typically 24-48 hours), sand the area smooth, apply primer, and paint to match the existing wall color.
How to fix indoor wall cracks?
You fix indoor wall cracks by preparing the surface (removing loose debris and widening the crack), applying appropriate filler based on crack width, allowing proper drying time between coats, sanding smooth, priming the repaired area, and painting. For cracks wider than 1/4 inch, reinforce with fiberglass mesh tape before applying joint compound in multiple thin layers.
Can I fix drywall cracks myself?
You can fix drywall cracks yourself if they are hairline to moderate width (less than 1/4 inch) and show no signs of structural issues. Most cosmetic cracks require only basic tools like putty knife, spackling compound, sandpaper, and primer. However, cracks wider than 1/4 inch, horizontal cracks, or cracks accompanied by sticking doors or foundation issues require professional evaluation.
What is the best filler for cracks in walls?
The best filler for cracks in walls depends on crack width and location: spackling compound works best for hairline cracks less than 1/4 inch, joint compound handles wider cracks and provides stronger bonds for larger repairs, and flexible or elastomeric fillers prevent reappearing cracks in high-movement areas like corners and around windows and doors.
Do hairline cracks in walls need mesh tape?
Hairline cracks in walls do not need mesh tape if they are shorter than 6 inches and less than 1/16 inch wide. However, for hairline cracks longer than 6 inches or cracks that have reappeared after previous repairs, reinforcing with fiberglass mesh tape prevents the crack from reopening due to wall movement.
How long does wall crack filler take to dry?
Wall crack filler takes 2-6 hours for spackling compound in thin applications, 12-24 hours for joint compound between coats, and 24-48 hours for deep repairs requiring multiple layers. Drying time varies based on humidity, temperature, ventilation, and application thickness. Always test dryness by touching the repair before sanding—completely dry filler feels cool and firm.
Should I use spackling or joint compound for wall cracks?
You should use spackling for small hairline cracks less than 1/4 inch wide due to its quick drying time and easy application. Use joint compound for cracks wider than 1/4 inch, deeper damage, or repairs requiring multiple coats, as it provides stronger bonds and better adhesion for larger repairs and reinforcement with mesh tape.
Why do wall cracks keep coming back after repair?
Wall cracks keep coming back after repair when the underlying cause hasn’t been addressed, such as ongoing foundation settling, moisture cycling, temperature-related expansion and contraction, or building movement. Using rigid filler in high-movement areas instead of flexible filler also causes cracks to reappear. Address moisture issues, maintain stable humidity levels, and use flexible fillers for recurring cracks.
How do you prepare a wall crack before filling?
You prepare a wall crack before filling by removing furniture and laying drop cloths, scraping away loose plaster or paint around the crack, widening hairline cracks with a utility knife to create a shallow V-groove, vacuuming or blowing out dust, and wiping the area with a damp cloth. Let the surface dry completely before applying filler, as proper preparation prevents repair failure.
What causes cracks in interior walls?
Interior wall cracks are caused by natural building settling as structures settle into foundations over time, seasonal temperature and humidity changes causing expansion and contraction, moisture damage from plumbing leaks or roof leaks, rapid plaster drying during construction, faulty drywall taping during installation, and foundation movement from soil shifting. Most hairline and diagonal settlement cracks are cosmetic, while horizontal or widening cracks may indicate structural issues.
Do I need to prime patched wall cracks before painting?
You need to prime patched wall cracks before painting because unprimed patches absorb paint differently than surrounding wall surfaces, causing visible dull spots or color variations called flashing. Primer seals the repair, ensures even paint adhesion, and reduces the number of finish coats needed for invisible repairs.
How do you match wall texture after crack repair?
You match wall texture after crack repair by allowing the filler to dry and sanding smooth, then replicating the existing texture using a damp sponge for light textures, stippling brush for heavier patterns, or texture roller for consistent finishes. Apply texture before priming and painting to make the repair blend invisibly with the surrounding wall.
What’s the difference between repairing plaster walls and drywall cracks?
Repairing plaster walls differs from drywall because plaster is harder and more brittle, often requiring traditional plaster compound or setting-type joint compound for better bonding to old surfaces. Plaster repairs benefit from paper tape instead of fiberglass mesh, and loose plaster around crack edges must be removed before filling. Apply bonding agent or diluted PVA primer to old plaster before adding filler for improved adhesion.