

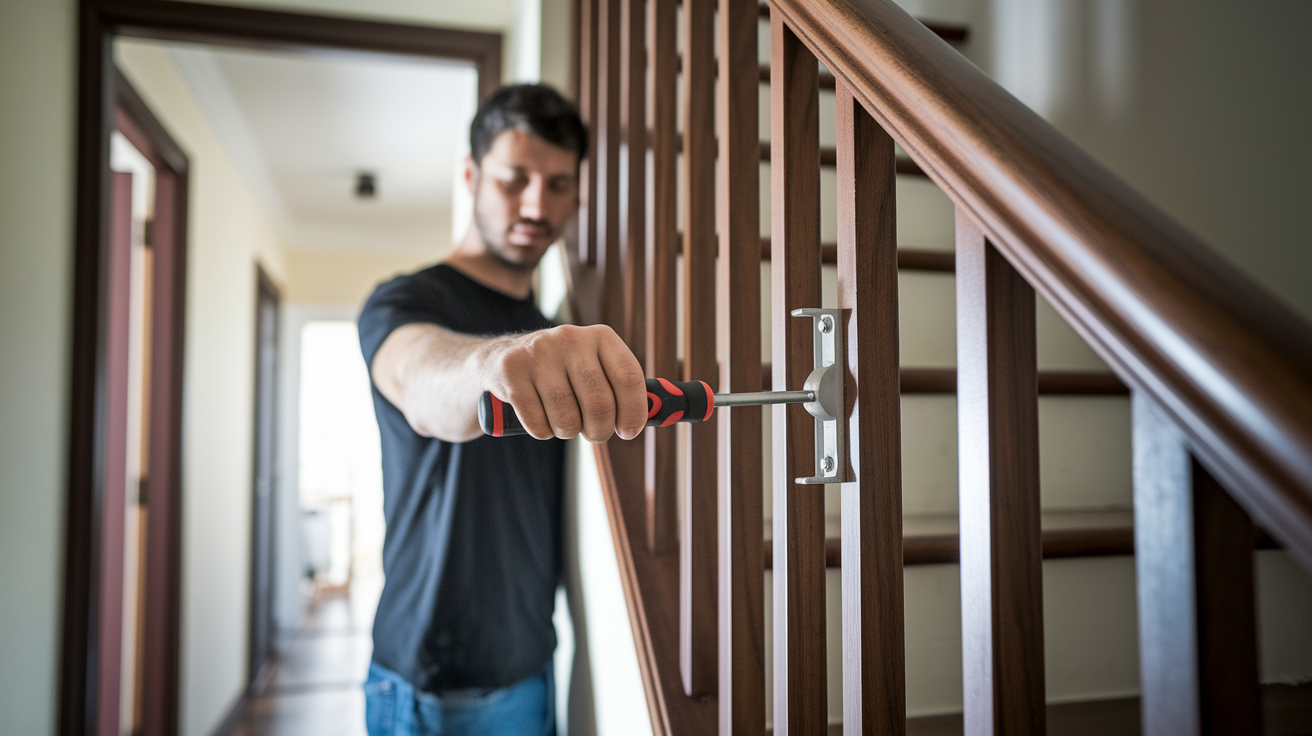

Ever grabbed a handrail for balance and felt it shift under your hand? That wobble isn’t just annoying. It’s a safety risk every time someone uses the stairs. The good news is most wobbly handrails come down to loose screws or weak wall connections, and you can fix both in under an hour with basic tools. We’ll walk you through quick tightening methods first, then show you how to reinforce stripped holes, upgrade wall anchors, and diagnose problems that need more than a screwdriver to solve.
Quick Fix: Tightening Loose Screws in Your Handrail
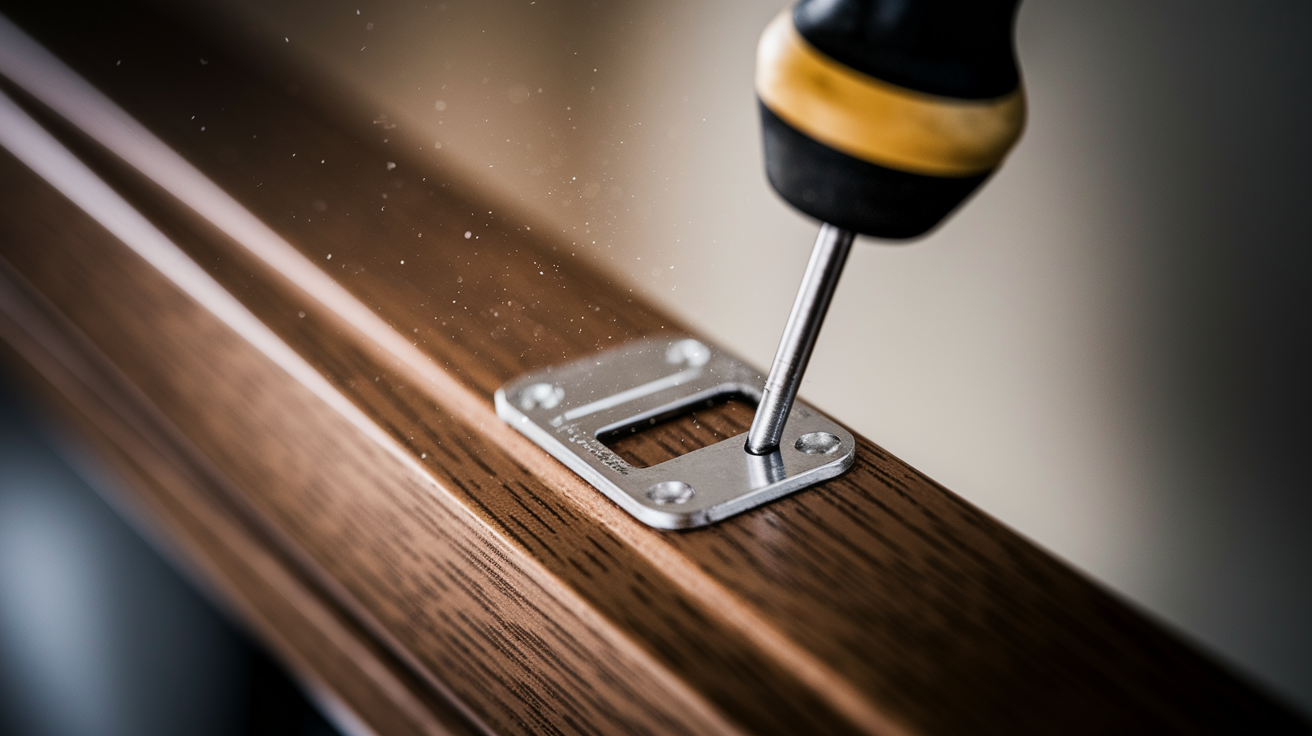
Loose screws cause about 60% of wobbly handrail problems. Most homeowners fix this in 10 to 15 minutes with just a screwdriver or drill.
Here’s how you do it:
- Find all visible screws in mounting brackets and connections along the handrail
- Try tightening each screw with the right screwdriver
- If a screw spins freely without tightening, it’s stripped and you’ll need to replace it
- Pull out stripped screws and swap them for screws 1/4 inch longer or one gauge thicker
- Tighten everything firmly, but don’t overdo it or you’ll strip the wood
Check for hidden fasteners beneath decorative caps or trim pieces too. Gently pry off covers with a flathead screwdriver, being careful not to mess up the finish. After tightening each connection, test the handrail by applying firm pressure. You should feel an immediate improvement if screws were your problem.
This works when the wood around the screws is solid and holds firmly after tightening. If screws keep loosening within days, the wood feels soft or crumbly, or the handrail still wobbles after you’ve tightened everything, you’ll need the reinforcement methods below. Simple tightening only fixes surface problems, not what’s happening underneath.
Comprehensive Solutions for Screw and Wood Connection Problems
If the quick fix didn’t work, you’re dealing with damaged wood or stripped holes that need more serious repair techniques.
When Screws Keep Loosening: The Larger Fastener Method
Sometimes screws tighten correctly but loosen again within a few weeks. The wood around the screw has worn from repeated gripping and releasing, though the surrounding material is still solid. Pull the failed screw completely. Install a wood screw that’s 1/4 inch longer and one gauge thicker to bite into fresh wood beyond the damaged area. The longer screw reaches past the worn zone, and the thicker diameter creates new threads in undamaged wood fibers. This works reliably when only the immediate screw area is compromised.
Repairing Stripped Screw Holes: Wood Filler and Dowel Methods
Repeated screw tightening enlarges holes and destroys wood fibers, causing screws to spin without gripping. You’ve got two solutions depending on how bad the damage is.
For minor damage, use wood filler. Remove the screw and clean out the hole. Fill it completely with wood filler or epoxy, making sure to pack material into all the damaged areas. Let it cure per manufacturer directions, usually 24 hours. Once it’s fully hardened, drill a new pilot hole slightly offset from the original spot. Install the screw into the restored wood. This creates a fresh anchoring surface.
For serious stripping, use a wooden dowel. Cut a wooden dowel to match the depth of the stripped hole. Apply wood glue to the dowel and tap it firmly into the hole until it’s flush with the surface. Let the glue cure completely. Then drill through the center of the dowel for new fastener placement, creating a solid anchor point in otherwise compromised wood.
Use larger screws when wood is solid but worn. Use wood filler for connections with minor damage. Use the dowel method for load bearing connections with severe stripping. If wood feels soft, crumbly, or shows dark staining or a musty smell, these repairs won’t hold and you’ll need wood replacement.
Solving Wall Mounting and Bracket Issues
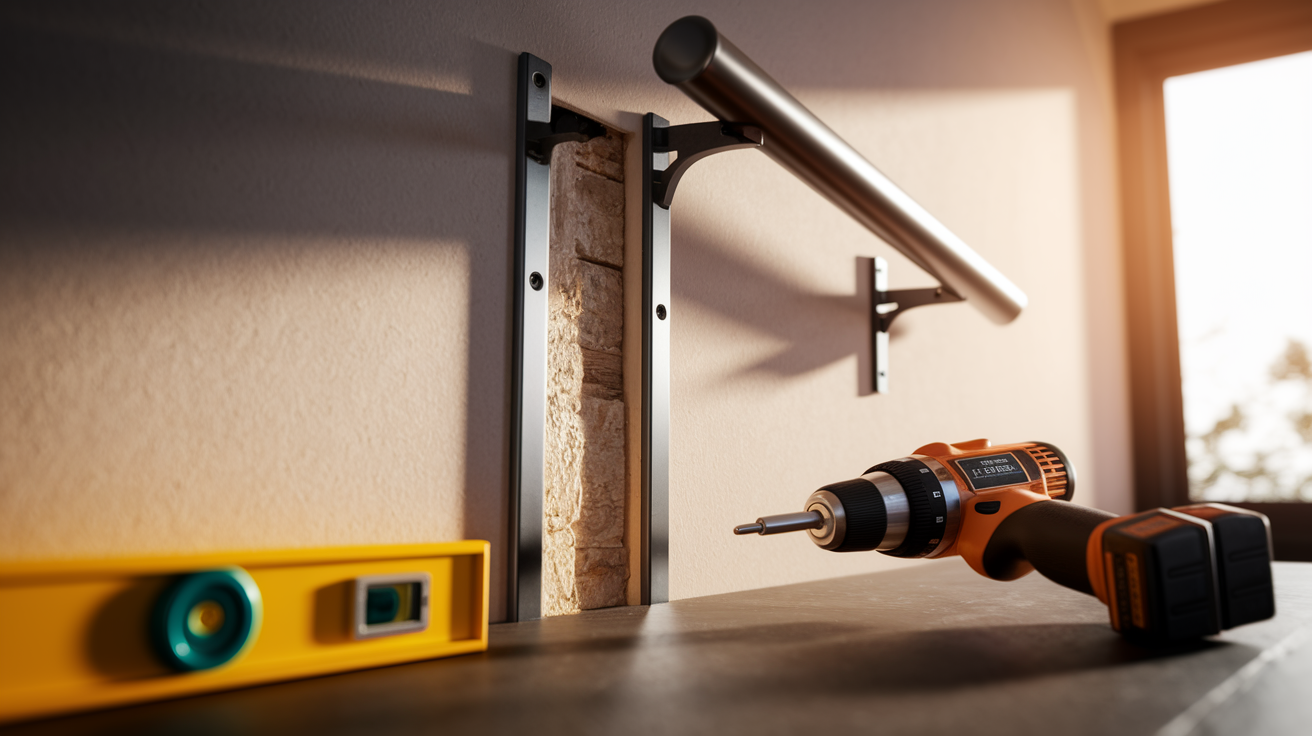
Wall mounted handrails fail when either the anchoring system pulls away from the wall or the bracket hardware itself becomes damaged.
Run this test: push the handrail firmly toward and away from the wall. If the bracket moves against the wall surface, it’s an anchor problem. If the bracket is cracked, bent, or deformed, it’s a hardware problem and you’ll need replacement.
Reinforcing Failed Wall Anchors
Wall studs provide the strongest support, far better than drywall alone. Use a stud finder to locate framing behind the wall and mark stud locations with pencil. This tells you exactly where solid wood backing exists.
When studs don’t line up with bracket holes, you need toggle bolts or heavy duty drywall anchors rated for 50+ pounds. These specialized fasteners distribute weight across a larger wall area and resist pullout forces. Drill an appropriately sized pilot hole based on the anchor manufacturer’s specs. Insert the anchor until it’s flush with the wall surface. Tighten according to the instructions, being careful not to over tighten which can crush drywall.
For situations where brackets fall between studs with no solid backing, add a backing board. Cut a 1×6 wood board long enough to span from one stud to the next. Secure it horizontally to multiple studs using 3 inch wood screws, creating a solid mounting surface for the entire handrail span. Then mount brackets to this backing board.
| Wall Type | Recommended Fastener | Weight Capacity |
|---|---|---|
| Wood stud | 3 inch lag bolt | 200+ lbs |
| Drywall only | Toggle bolt | 50 to 100 lbs |
| Plaster walls | Molly bolt | 40 to 60 lbs |
| Concrete walls | Concrete anchors | 150+ lbs |
Identifying and Replacing Damaged Brackets
Watch for these signs that brackets need replacement:
Visible cracks in metal or plastic. Bent mounting plates that don’t sit flush against the wall. Rust or corrosion weakening structure. Screw holes enlarged or deformed from repeated stress. Bracket pulling away from wall or handrail despite tight screws.
Before removing anything, support the handrail weight so it doesn’t drop or shift. Remove all fasteners carefully. Detach the old bracket without damaging the wall or handrail finish. Take photos before removal to ensure correct reinstallation orientation, especially if the bracket has a specific up down or front back position.
Select replacement brackets that match the original style and dimensions. The screw hole patterns must align with existing holes in the handrail. Position the new bracket and mark screw locations on the wall. Drill pilot holes into a stud or install the appropriate anchor type for your wall. Secure the bracket to the wall first. Attach the handrail portion second. Verify the installation is level and stable by applying firm pressure in multiple directions.
Combining new brackets with proper wall anchoring provides the most durable repair. If you discover damaged wall conditions like water stained drywall, crumbling plaster, or soft spots that prevent proper anchor installation, you may need professional assessment. Water damage often compromises mounting surfaces in ways that aren’t visible until you remove the old hardware.
Diagnosing and Troubleshooting Complex Handrail Problems
If tightening screws and reinforcing brackets didn’t solve the wobble, the problem involves structural issues that need systematic diagnosis.
To isolate the exact source of movement, perform a hands on stability test. Gently push and pull the handrail at multiple points along its length. Start at one end and work toward the other. Pay attention to where movement originates. Does the wobble come from the brackets, the newel post at the top or bottom, joints where rail sections meet, or the wall connection itself? This tells you exactly which component is failing.
Problems beyond simple fixes include:
Wobbly newel post shifting at the base. Deteriorated wood connections or rot damage. Settlement or structural movement creating gaps between components. Failed adhesive in glued rail joints. Inadequate wall support or missing blocking between studs. Moisture damage compromising mounting surfaces.
Each problem type has specific diagnostic signs. Newel post movement indicates the foundation connection has failed or loosened. Soft or discolored wood suggests rot, usually from water exposure or high humidity. Gaps between components indicate structural settling, common in homes more than 10 years old. Persistent wobble after all fasteners are tight suggests inadequate wall backing or missing structural support inside the wall cavity.
Identifying the exact cause determines whether this remains a DIY project with the right techniques and materials, or requires professional structural expertise. Most of these problems have solutions covered in the sections that follow, but recognizing the specific issue is critical to selecting the correct repair approach. Attempting the wrong fix wastes time and can make the problem worse.
Fixing a Wobbly Newel Post at the Base
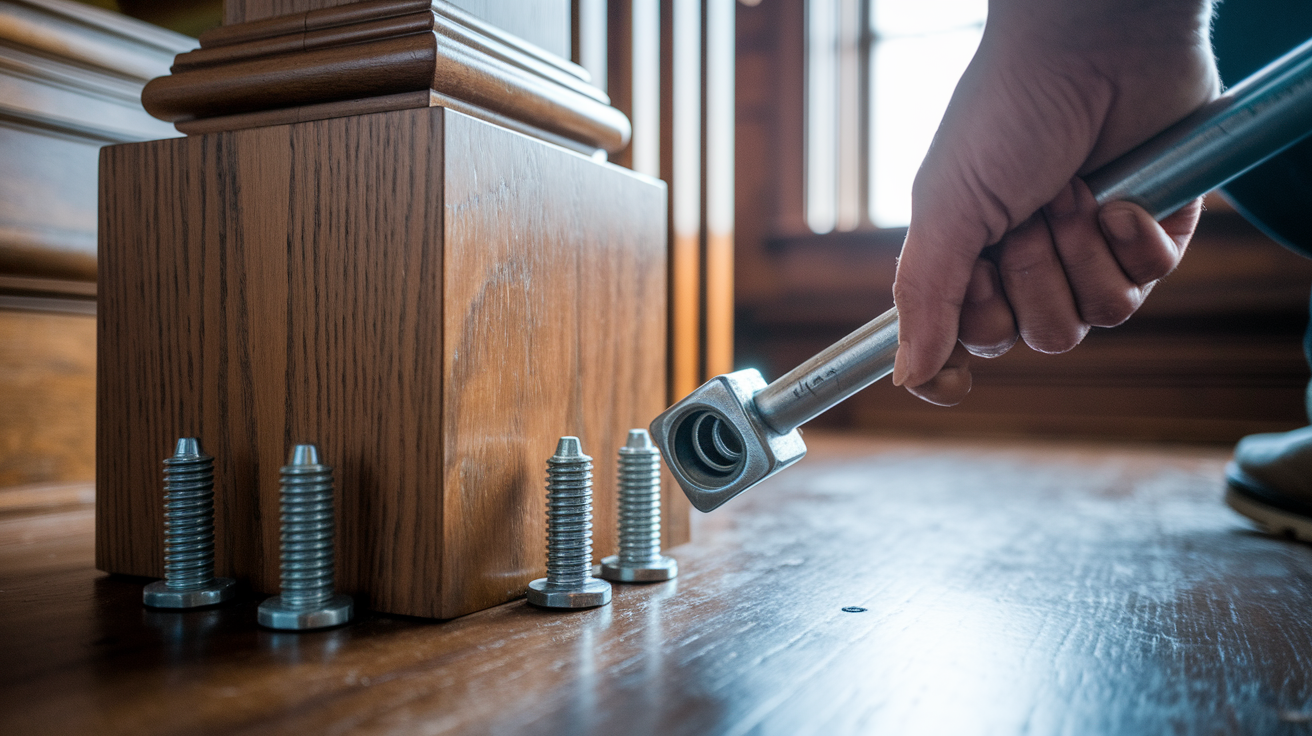
The newel post is the vertical support post at the top or bottom of stairs, and it serves as the primary anchor for the entire railing system. Test for movement by grasping the post firmly near the top and attempting to rock it forward, backward, and side to side. Any movement means the base connection has loosened.
The common mounting method connects newel posts to stair framing or flooring using lag bolts or carriage bolts driven up through the floor or horizontally through the post into structural framing. Accessing the connection point may require removing trim, baseboards, or decorative caps covering the fasteners. Look for access points at the very base of the post or underneath the stair tread. Use a socket wrench to tighten existing lag bolts or carriage bolts, applying firm pressure until snug.
If bolts are already tight but the post still moves, the connection point itself has deteriorated. Wood surrounding the bolt may have compressed or split from years of stress. Add supplemental lag bolts at different angles through the post into solid framing. Drill pilot holes first to prevent splitting. Drive bolts at a slight angle to bite into fresh wood and create new load paths. For added strength, apply construction adhesive between the post base and the mounting surface before installing supplemental fasteners. The adhesive plus mechanical fasteners provides maximum stability.
You need professional help when the post shows significant wood rot indicated by soft, spongy texture or dark staining. Also call a professional if the mounting surface is compromised with cracks or movement in the floor itself, the post wobbles despite tight fasteners indicating hidden structural damage, or repairs involve cutting into finished flooring to access hidden connections. These situations require carpentry expertise and tools beyond typical homeowner capabilities.
Special Considerations for Metal Handrails and Outdoor Installations
Metal handrails and outdoor installations require different approaches than interior wooden systems due to corrosion, thermal expansion, and weather exposure.
Common metal handrail issues include corroded mounting hardware where rust has weakened bolts or screws, paint failure allowing rust to spread across rail surfaces, and loose set screws in modular railing systems. Inspection points specific to metal systems include checking welded joints for hairline cracks, examining hollow rail ends for water intrusion and internal corrosion, and inspecting mounting flanges for rust that compromises structural integrity. Outdoor systems face additional stress from freeze thaw cycles, salt exposure near coastal areas, and ultraviolet degradation of finishes.
Metal and outdoor repairs require specialized materials:
Stainless steel or galvanized screws and lag bolts that resist corrosion. Rust converter and metal primer to stop existing corrosion. Stainless steel brackets rated for outdoor use. Marine grade construction adhesive or epoxy formulated for metal bonding. Stainless steel toggle bolts for hollow wall installations. Weatherproof silicone sealant for all penetrations.
Replace all corroded fasteners with stainless steel or galvanized hardware, even if they still appear functional. Rust progresses beneath paint and weakens metal invisibly. Apply rust converter to affected areas, let it cure per product directions, then apply metal primer before repainting. Use outdoor rated brackets and mounting plates designed for weather exposure. Some repairs may require drilling new mounting holes to reach solid metal beyond corroded areas.
Outdoor specific concerns require extra attention. Ensure proper drainage so water doesn’t collect in rail channels or hollow sections. Drill small weep holes at low points if needed. Apply weatherproof sealant around all wall penetrations to prevent water from entering the building envelope. Use pressure treated backing boards for any wood components in the mounting system. Schedule regular inspection and maintenance every six months to catch corrosion early before structural integrity is compromised. Catching surface rust early prevents expensive rail replacement later.
Building Code Requirements and Safety Standards for Handrails
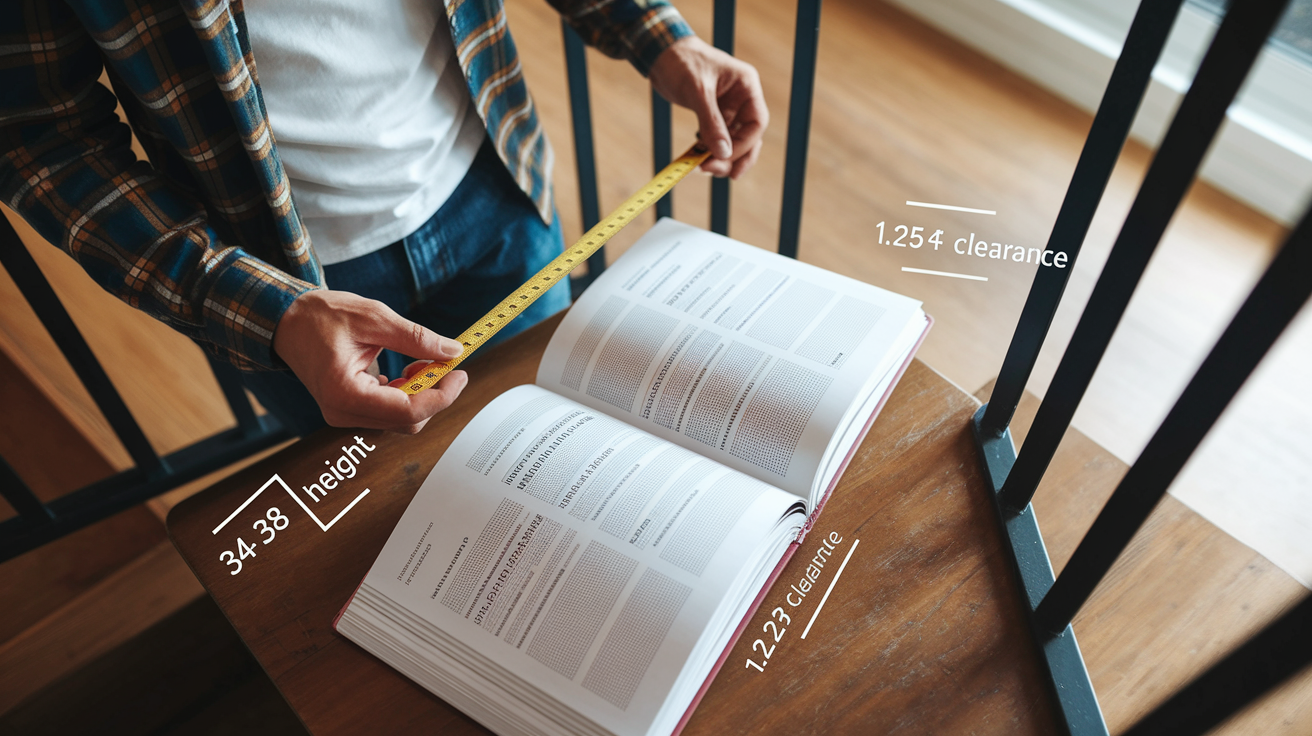
The International Residential Code (IRC) mandates handrails must withstand a 200 pound concentrated load applied in any direction without failure or significant deflection. Any repair work should restore the handrail to code compliant strength even if the original installation was substandard or grandfathered under old standards.
Key IRC handrail requirements include height between 34 and 38 inches measured vertically from the stair nosing, a continuous graspable surface along the entire run without interruptions, and clearance of 1.25 to 2 inches between the handrail and the wall so hands can grip completely around the rail. Returns or terminations must not create snagging hazards where clothing or bags could catch. Stairs with four or more risers require a handrail on at least one side.
Situations common in older homes include handrails mounted too high or too low, inadequate wall clearance preventing proper grip, and insufficient structural strength to meet the 200 pound load requirement. Repairs offer an opportunity to bring systems into compliance, which protects homeowners from liability if someone falls and prevents inspection issues during property sales. Code compliance also ensures the handrail provides real safety value rather than just visual appeal.
ADA requirements apply to public or commercial applications where grab bars and handrails must meet stricter standards for diameter (1.25 to 2 inches), mounting height (34 to 38 inches), and extension beyond the top and bottom of stair runs (12 inches minimum). Though these typically don’t apply to single family residential repairs, they represent best practices for homes where residents have mobility challenges or balance issues.
When to Call a Professional Instead of DIY Repair
While many handrail repairs are DIY friendly, certain situations require professional structural expertise, specialized tools, or code knowledge beyond typical homeowner capabilities.
Signs you need professional help:
Newel post continues wobbling despite tightened fasteners. Visible structural damage to stair framing or wall studs. Wood rot or moisture damage affecting support structures. Repairs require modifications beneath finished flooring. Multiple previous repair attempts have failed. Railing system needs complete replacement or reconfiguration. Uncertainty about building code compliance.
Professionals can diagnose hidden problems like compromised floor joists beneath the stairs, inadequate blocking between wall studs, or foundation settlement issues affecting the entire staircase structure. They have specialized tools including inspection cameras to see inside walls, moisture meters to detect hidden water damage, and structural fasteners not available at retail stores. Attempting complex structural repairs without expertise can create safety hazards or reduce home value if done incorrectly.
Typical professional repair costs range from $150 to $500 depending on scope and complexity. Simple bracket replacement and proper anchoring fall at the low end. Newel post replacement or structural framing repairs fall at the high end. Most repairs take half a day to a full day. Homes with young children, elderly residents, or anyone with mobility challenges should prioritize professional assessment to ensure railings meet safety standards and provide reliable support. The cost of proper repair is minimal compared to medical expenses and liability from a stairway fall. For general house repair services that include complex handrail issues, professional contractors provide lasting solutions rather than temporary fixes.
Preventive Maintenance to Keep Handrails Stable Long Term

Regular inspection and minor maintenance prevent small issues from becoming major safety hazards or expensive repairs.
Quarterly maintenance checklist:
Test handrail stability by applying firm pressure in multiple directions. Visually inspect all brackets and mounting points for gaps or movement. Tighten any screws that have become slightly loose. Check for new cracks, splits, or deterioration in wood components. Verify outdoor handrails show no rust, corrosion, or paint failure. Clean debris from bracket connections and rail channels.
Document the condition with photos during each inspection to track gradual changes over time. What looks minor today becomes obvious when compared to photos from six months ago. Address minor looseness immediately with simple tightening rather than waiting until problems worsen. A screw that’s slightly loose today becomes a stripped hole next month if ignored.
For outdoor handrails, seasonal maintenance extends system life significantly. Reseal wood annually with exterior grade sealer or paint. Touch up paint on metal systems as soon as bare metal appears, before rust starts. Verify that drainage features prevent water accumulation in rail channels or post bases. Check that ground contact points haven’t developed rot from soil moisture. Preventive care extends handrail lifespan by decades and maintains consistent safety performance year after year.
Final Words
A wobbly handrail usually starts with loose screws you can tighten in fifteen minutes. If that doesn’t hold, you’re looking at stripped holes, failed wall anchors, or a shifting newel post.
Work through the fixes systematically. Tighten first, then reinforce, then replace hardware if needed.
If the problem keeps coming back or involves rot and structural damage, bring in a pro. The goal is a handrail that holds firm when you grip it—no movement, no second-guessing.
That’s how to fix a wobbly handrail and keep stairs safe for everyone in your home.
FAQ
How do you strengthen a wobbly handrail?
You strengthen a wobbly handrail by first tightening all mounting screws and brackets, then replacing stripped fasteners with longer or thicker screws. If screws won’t hold, fill stripped holes with wood filler or dowels before reinstalling hardware into solid wood.
What does the 4 ball rule mean for stair railings?
The 4 ball rule for stair railings means balusters must be spaced so a 4-inch sphere cannot pass between them. This building code requirement prevents small children from slipping through gaps and applies to both interior and exterior stair railing systems.
How do you make a railing more sturdy?
You make a railing more sturdy by mounting brackets directly into wall studs rather than drywall, using heavy-duty toggle bolts or lag screws, and adding backing boards between studs where brackets fall. Reinforcing the newel post connection also improves overall stability.
What does it typically cost to repair a loose stair railing?
Repairing a loose stair railing typically costs between $150 and $500 depending on the problem’s complexity. Simple screw tightening and bracket replacement costs less, while newel post stabilization, structural repairs, or complete system replacement costs more.
Can you repair stripped screw holes in a handrail yourself?
You can repair stripped screw holes in a handrail yourself using wood filler for minor damage or gluing wooden dowels into severely stripped holes. After the filler or glue cures completely, drill new pilot holes and install fresh screws into the restored wood.
When should you call a professional for handrail repairs?
You should call a professional for handrail repairs when the newel post wobbles despite tight fasteners, wood shows rot or structural damage, multiple repair attempts have failed, or repairs require modifications beneath finished flooring. Professional expertise ensures code compliance and lasting safety.
How often should you inspect your handrail for stability?
You should inspect your handrail for stability every three months by applying firm pressure in multiple directions and checking all mounting points. Quarterly inspection catches minor looseness early, preventing small issues from becoming major safety hazards or expensive repairs.
What type of anchors work best for wall-mounted handrails?
The best anchors for wall-mounted handrails are 3-inch lag bolts installed directly into wall studs, which support 200+ pounds. When studs aren’t available, heavy-duty toggle bolts rated for 50-100 pounds provide adequate drywall support for most residential handrail applications.