

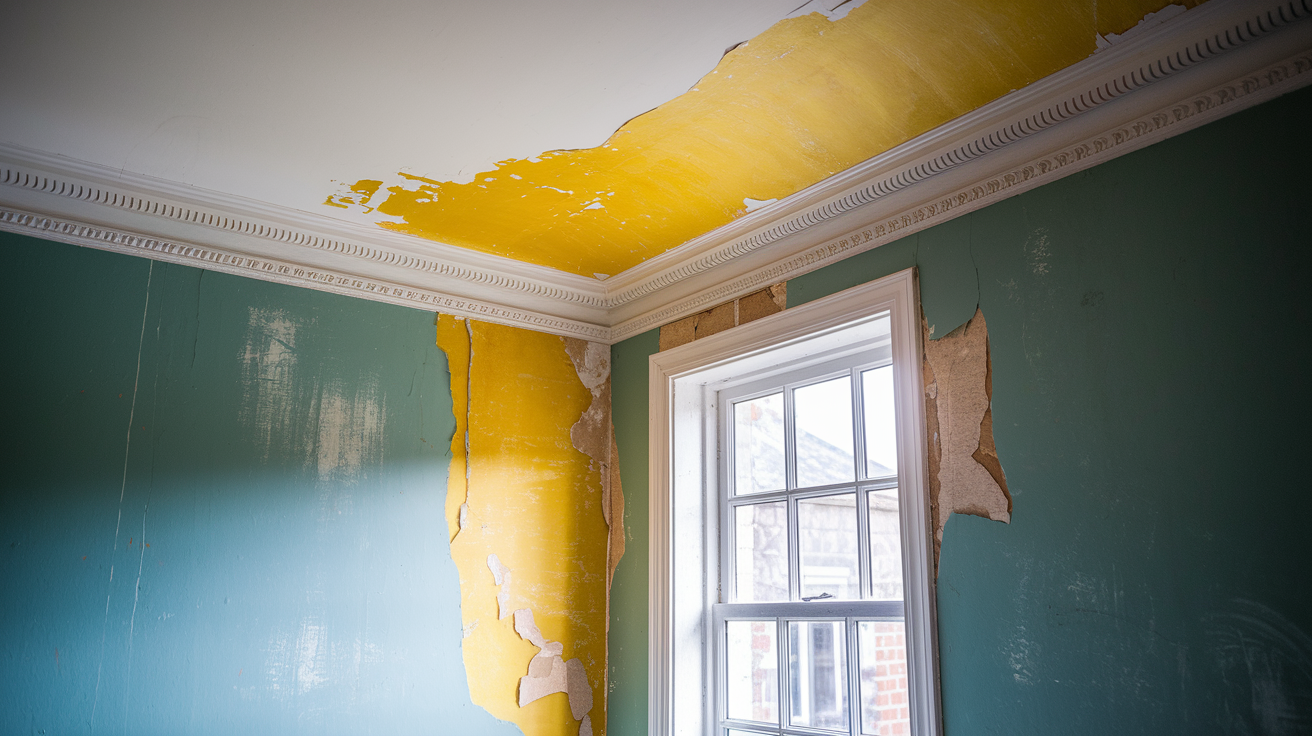

Ever notice a weird smell in your spare room or a slightly darker patch on the bathroom wall and just shrug it off? That’s exactly how small water problems turn into structural nightmares. Water damage hides inside walls for weeks before you spot the obvious signs, quietly rotting studs and feeding mold growth while you go about your day. This guide walks you through the visual clues, tactile warnings, and structural red flags that tell you moisture has worked its way into your walls so you can catch it early and avoid expensive repairs down the road.
How to Identify Water Damage in Walls: Visual, Tactile, and Structural Signs
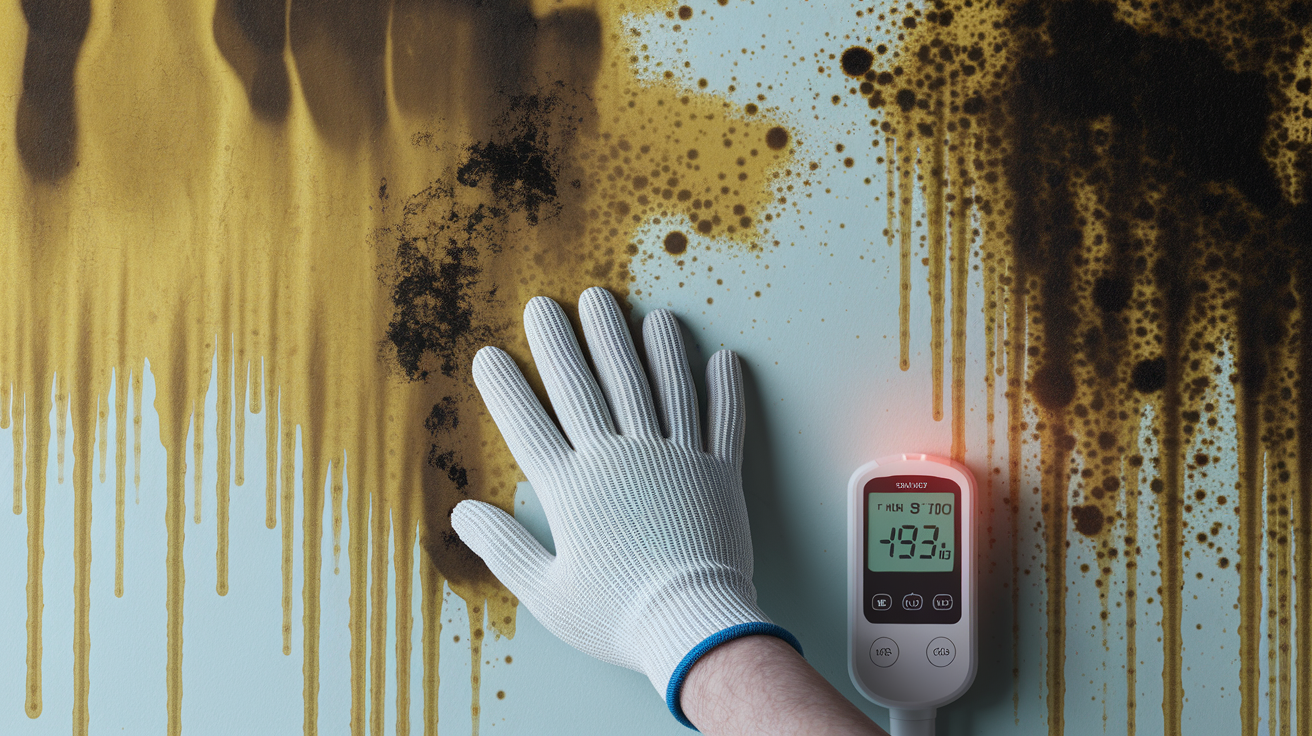
Catching water damage early saves you from expensive repairs and keeps your home structurally sound. A small leak you ignore today turns into soggy drywall, mold problems, and weakened framing by next month.
You’re looking for three main types of signs: what you can see, what you can feel, and structural warnings that show up when moisture has really compromised your walls.
Visual warnings to watch for:
- Yellow, brown, or dark spots showing moisture has been there a while
- Yellowish-brown streaks near ceilings, windows, and anywhere plumbing runs
- Paint that’s peeling or bubbling because moisture is trapped underneath
- Small paint bubbles that get bigger as water builds up behind them
- Wallpaper pulling away from the wall and rippling
- Black, green, or white mold patches on the surface
- That musty smell signaling mold growth even when you can’t see it yet
- Wet patches you can feel, especially after it rains or when humidity spikes
- Paint or plaster that flakes off or crumbles when you touch it
- Walls that sag or bulge instead of sitting flat
- White, chalky deposits on brick or concrete (that’s efflorescence)
- Waves or dips where the wall should be smooth
For tactile checks, press gently against suspicious spots. Healthy drywall stays firm. Water damaged walls feel soft or spongy, like pressing on a wet sponge. You might notice dampness or coolness in certain areas. Baseboards can swell and pull away. Material might crumble under light pressure. Temperature differences compared to the rest of the wall can tip you off too. Any soft spots need investigation right away because they mean the structural material is breaking down from water exposure.
When moisture gets trapped, paint and wallpaper lose their grip. You’ll see bubbles and blisters forming first, then they expand as more moisture accumulates. Eventually large sections peel right off. Paint problems usually show up after rainfall or near moisture sources like bathrooms, exterior walls, and windows. If you notice water bubbles in paint or wallpaper after rain, moisture has worked its way under the surface and the coating can’t hold on anymore.
Structural warnings mean the damage has progressed and you need to act fast. Visible warping shows walls swelling, bending, or developing bulges. This compromises structural integrity and means moisture is affecting the studs and framing behind what you can see. Ceiling damage like sagging or drooping sections with water stains suggests leaks from above or roof problems letting water travel down through wall cavities. Buckled flooring near affected walls, baseboards falling apart, and gaps appearing between walls and floors all point to serious moisture infiltration requiring professional attention. These signs mean water has moved past surface materials into the structural components holding your home together.
You’ll often see multiple signs in the same area, which makes patterns easier to spot once you know what to look for. Catching it early prevents structural damage and health hazards from mold. Check high risk areas regularly: bathrooms, kitchens, basements, and exterior walls after heavy rain. A quick monthly walk through these spots catches problems while they’re still manageable.
Common Sources Behind Water Damage in Interior Walls
Finding the source matters as much as fixing the damage. Repairing the symptom without stopping the cause just means you’re fixing the same wall again in a few months.
Plumbing problems cause most wall water damage. Leaking pipes hidden inside walls drip for months before you see anything on the surface. Corroded pipes, especially older galvanized steel supply lines, develop pinhole leaks that spray water into wall cavities. Burst pipes from freezing or age related failures flood walls fast. Supply line failures, particularly those braided stainless steel hoses connecting toilets and washing machines, can fail suddenly and dump gallons into your walls. Faulty bathroom and kitchen fixtures, washing machine hose failures, and water heater leaks all send water where it doesn’t belong.
Roof and exterior issues let water in from outside. Damaged or missing shingles create entry points during rain. Clogged gutters and downspouts direct water toward walls instead of away from your foundation. Ice dams in cold climates force water under roofing materials, where it travels down and soaks into the tops of walls. Improper flashing around chimneys and vents lets water seep in during storms. Windows or doors installed wrong allow water penetration around frames, especially during wind driven rain. Water bubbles in paint or wallpaper after rain clearly signal exterior moisture getting inside.
Foundation and structural problems create pathways for groundwater. Cracks in foundation walls allow groundwater seepage, particularly during wet seasons or after heavy rainfall. Poor exterior sealing where walls meet foundations lets moisture wick upward into wall materials. Improper grading directing water toward the home instead of away creates constant pressure against foundation walls. Hydrostatic pressure from saturated soil pushes water through any available crack or gap, turning minor foundation imperfections into active leaks.
Condensation and HVAC issues create moisture from inside your home. High humidity creates moisture buildup on cool wall surfaces, particularly exterior walls in winter. Inadequate ventilation traps moisture indoors, letting it condense on walls in bathrooms, kitchens, and basements. HVAC system malfunctions and drainage problems can drip condensate into walls or create humidity imbalances. Poorly insulated windows and doors cause condensation that runs down walls. Bathroom and kitchen exhaust systems venting wrong can pump humid air into wall cavities instead of outside.
Mold, Mildew, and Odor Signs in Damaged Walls
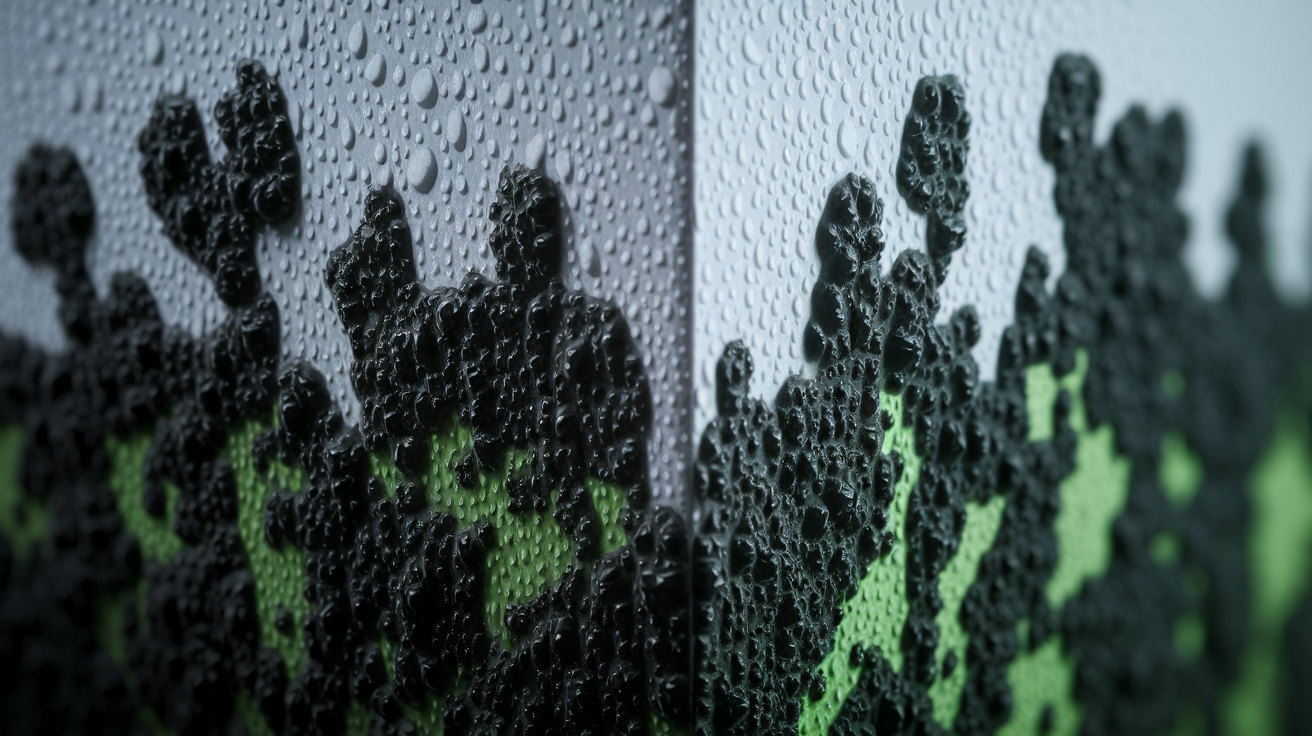
Mold and mildew thrive in damp wall cavities and signal ongoing water damage needing immediate attention.
Visual mold signs include black, green, or white patches on wall surfaces, especially in corners, near baseboards, and around plumbing fixtures. Mold doesn’t grow on dry walls. When you see it, moisture has been present long enough for spores to colonize and spread. Black mold typically appears where moisture persists, while green or white mold might show up where dampness comes and goes. The patches start small but expand rapidly once established.
Musty odors act as indicators even before visible mold appears. You’ll often smell it before you see it, particularly in basements, bathrooms, and poorly ventilated areas. The odor comes from microbial volatile organic compounds released as mold and mildew grow. If you smell that distinctive musty, earthy scent when you open a closet or walk into a room, moisture is feeding biological growth somewhere nearby, even if you can’t see it yet.
Health risks make mold more than just a cosmetic problem. Respiratory issues, allergic reactions, and particular dangers for children, elderly, and immunocompromised individuals mean you can’t ignore it. Mold can develop within 72 hours of moisture exposure, so the clock starts ticking the moment water damage occurs. Some people experience immediate reactions like sneezing, coughing, and eye irritation. Others develop problems over time with repeated exposure. Either way, mold in your walls means both the structure and the people inside need protection.
Mineral Deposits and Efflorescence on Wall Surfaces
Efflorescence appears as white, chalky, or crystalline deposits on wall surfaces when water carries salts through masonry or concrete and evaporates, leaving minerals behind.
You’ll commonly see it on basement walls, foundation walls, brick or concrete block walls, and areas where groundwater seeps through exterior walls. It looks like a white, powdery coating that brushes off easily but returns after you wipe it away. The deposits often appear in the same spots repeatedly because water follows the same pathways through the wall material. Interior basement walls frequently show it near the floor where foundation moisture wicks upward, and exterior brick walls develop it where rain drives through mortar joints.
While efflorescence itself isn’t harmful and won’t hurt the wall material, it indicates active or recent moisture intrusion requiring investigation and correction to prevent ongoing water damage and structural issues. The white deposits are just a visible reminder that water is moving through your walls. That water movement can carry more than salts. It can also weaken mortar, saturate insulation, and create perfect conditions for mold growth in wall cavities you can’t see.
DIY Water Damage Detection Methods and Tools

Simple DIY methods help identify water damage before calling professionals, giving you the information needed to decide on next steps.
| Detection Method | What It Reveals | Best Used For |
|---|---|---|
| Visual inspection | Surface discoloration, stains, peeling paint, visible mold, warping | Initial assessment and ongoing monitoring of accessible wall surfaces |
| Touch testing | Dampness, soft spots, temperature differences, texture changes | Confirming suspected problem areas and checking walls after leaks |
| Pin type moisture meter | Moisture content percentage at specific depths by inserting pins into material | Measuring exact moisture levels in drywall, wood, and other materials |
| Pinless moisture meter | Moisture presence without penetrating surface by using sensor pad | Scanning large wall areas quickly without leaving pin holes |
| Smell detection | Musty odors indicating mold or mildew growth not yet visible | Finding hidden moisture in enclosed spaces and wall cavities |
Priority inspection areas include bathrooms where shower and tub moisture can penetrate walls, kitchens where sink and dishwasher leaks hide under cabinets, and laundry rooms where washing machine hoses fail. Check areas near plumbing fixtures, especially under sinks and around toilets where slow leaks can go unnoticed for months. Window frames are common trouble spots for dampness or swelling, particularly on exterior walls. Basement walls need regular checks for new dampness or staining, and areas below known roof issues should be inspected after every significant rain.
Time your inspections strategically to catch problems early. Inspect after heavy rainfall to spot leaks while walls are actively wet. Following natural disasters, look for bubbling paint or dark patches indicating water intrusion. Seasonal inspections before winter and after spring thaw reveal damage from temperature changes and ice formation. When buying or selling a home, thorough inspection protects both parties from hidden problems affecting value and safety.
Professional Moisture Detection: Thermal Imaging and Advanced Methods
Professionals use advanced tools to detect moisture hidden behind walls without invasive demolition, saving you from unnecessary holes in your drywall.
Thermal imaging uses infrared cameras to detect temperature differences caused by moisture, revealing wet areas invisible to the naked eye. Water damaged areas appear as cooler spots on the thermal image because evaporating moisture pulls heat from surrounding materials. The cameras map moisture spread patterns, showing not just where the wall is wet now but how far the water has traveled from the source. This technology lets restoration professionals see the full extent of damage before cutting into walls, ensuring they open only what needs opening.
Other professional methods include hygrometers measuring humidity levels inside wall cavities, moisture mapping creating detailed damage documentation showing moisture percentages across entire walls, and borescope cameras for viewing inside wall cavities through small inspection holes. These tools work together to build a complete picture of what’s happening inside your walls without tearing them apart to find out.
Professional detection becomes worth the cost in several situations. Use thermal imaging cameras post restoration to detect trapped moisture or thermal anomalies behind walls and verify the space is truly dry. When you suspect hidden leaks but can’t locate the source, professionals can find it fast. Pre purchase home inspections benefit from advanced detection revealing problems sellers might not know about. After remediation, verification ensures complete drying before reconstruction begins. When DIY methods detect surface problems but can’t locate the source, professional tools pinpoint it. Not all water damage shows up immediately on the surface, requiring professional assessment for hidden issues.
Assessing Water Damage Severity and Repair Urgency
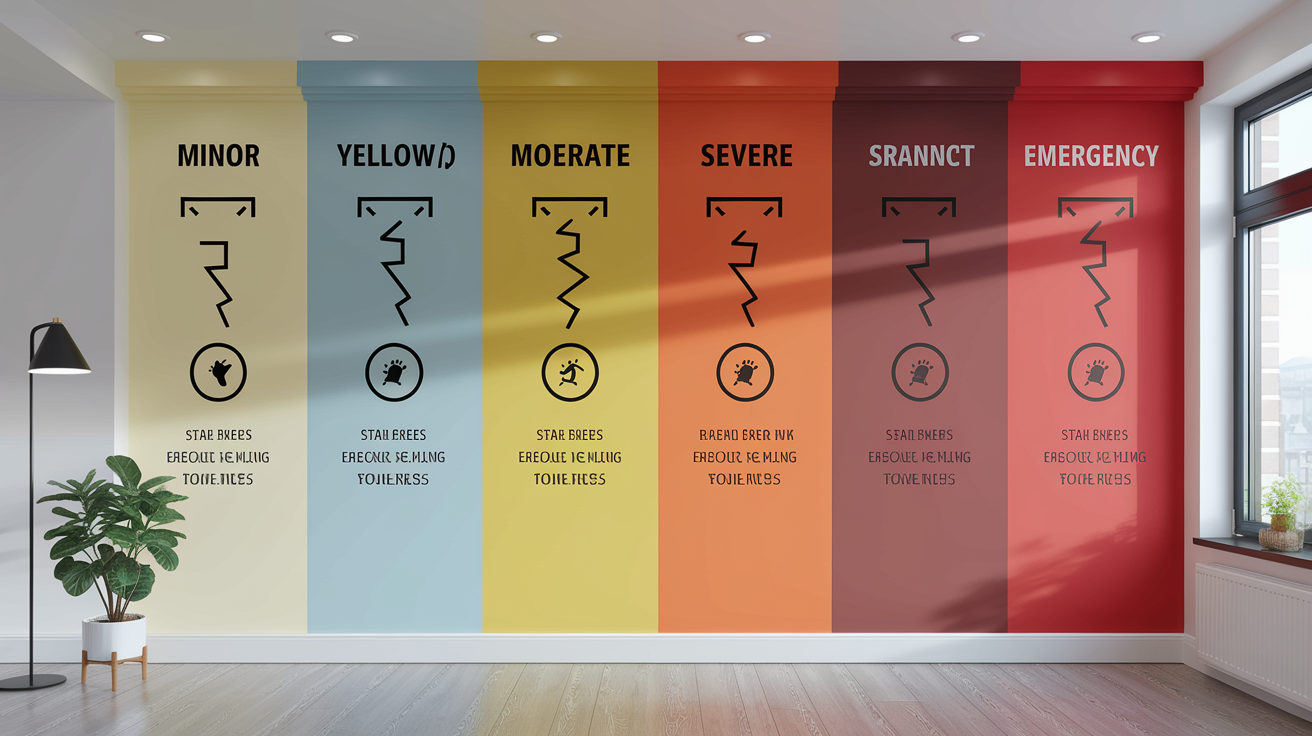
Water damage severity ranges from cosmetic surface issues to emergency structural threats needing immediate professional response.
| Severity Level | Signs | Action Timeline | Consequences if Ignored |
|---|---|---|---|
| Minor | Surface staining, isolated damp spots, slight discoloration | 1 to 2 weeks | Mold growth, stain expansion, paint deterioration |
| Moderate | Peeling paint, soft spots, multiple affected areas, musty odors | 24 to 48 hours | Structural material breakdown, widespread mold, drywall replacement needed |
| Severe | Sagging walls or ceilings, widespread mold, crumbling materials, visible warping | Immediate | Structural failure risk, health hazards, major reconstruction required |
| Emergency | Active flooding, major structural deformation, ceiling collapse risk, extensive water intrusion | Immediate professional response | Collapse hazard, total loss of affected areas, safety threat to occupants |
The 72 hour mold development window explains why rapid response prevents biological growth and health hazards. Mold can develop within 72 hours when moisture becomes trapped behind walls. That three day window is your chance to dry materials before mold takes hold. Once mold starts growing, you’re dealing with both water damage and contamination, which means more extensive and expensive remediation. Quick action keeps a water problem from becoming a mold problem too.
Long term consequences of delayed repairs include property devaluation when inspections reveal past water damage, increased repair costs as minor issues compound into major failures, structural integrity compromise when wood framing rots or steel corrodes, and potential safety hazards from weakened floors and ceilings. Unchecked moisture damage leads to sagging ceilings, warped floors, and costly foundation issues over time. Early detection prevents costly repairs and maintains safe, healthy living environments.
Immediate Actions When You Discover Wall Water Damage
Quick action in the first 24 to 48 hours minimizes damage and prevents mold growth from turning a repair job into a remediation project.
Follow these steps immediately:
- Stop the water source if possible by shutting off water valves or placing containers under active leaks
- Check for electrical hazards and shut off power to affected areas if necessary
- Document damage with photographs and detailed notes for insurance purposes
- Remove wet materials and belongings from the affected area
- Improve ventilation by opening windows and doors when weather permits
- Use fans to promote air circulation across wet surfaces
- Deploy dehumidifiers to remove moisture from the air
- Use absorbent materials like towels to soak up standing water
Safety precautions matter when dealing with water damage. Avoid contact with electrical outlets near water, even if they don’t appear wet. Wear protective gloves when handling wet materials, particularly if the water came from questionable sources. Be cautious of slippery floors, especially on tile or hardwood. If you smell gas or see sparking from electrical components, leave the area and call professionals immediately.
What not to do is just as important as what to do. Avoid using regular vacuum cleaners on wet surfaces because they’re not designed for water and create electrocution risk. Don’t ignore small leaks hoping they’ll resolve themselves. They won’t. Don’t delay calling professionals when damage appears extensive or when you can’t locate the source. The money you save by waiting usually gets spent several times over on the bigger repairs that result.
Professional Water Damage Remediation and Restoration Process

The professional restoration process follows a systematic approach to complete water damage resolution, getting your home back to normal.
Phase 1 involves assessment and inspection with detailed damage evaluation, moisture mapping to find all affected areas, source identification to prevent recurrence, scope development outlining the full repair plan, and documentation for insurance supporting your claim with facts and measurements. Professionals measure moisture levels throughout the affected area, not just at obvious wet spots, because water travels through walls in ways you don’t expect.
Phase 2 covers water extraction and drying using industrial grade equipment deployment pulling moisture out faster than household fans, dehumidification removing humidity from the air so materials can dry, moisture monitoring tracking progress daily, and verification of complete drying using professional meters before reconstruction begins. This phase can take several days depending on how saturated the materials are. Rushing it just traps moisture that’ll cause problems later.
Phase 3 handles removal and treatment by removing damaged materials including drywall, insulation, and flooring that can’t be saved, performing mold remediation in affected areas, applying antimicrobial treatments to prevent future growth, and using HEPA filtration of work areas to keep contamination from spreading through your home. Not all materials can be saved once water saturated, and trying to save them usually means you’ll be dealing with mold and odors down the road.
Phase 4 completes restoration and reconstruction by replacing removed materials with new drywall, insulation, and flooring, making structural repairs to framing and supports, completing paint and finish work so you can’t tell where the damage was, and conducting final inspection to ensure the home is returned to pre damage condition. Good restoration work should be invisible once complete.
When to Call a Professional for Wall Water Damage
While minor water stains might be manageable for experienced DIYers, many situations require professional expertise and equipment you don’t have in your garage.
Professional help is essential when:
- Water damage affects areas larger than 10 square feet
- Water exposure lasted more than 24 to 48 hours
- Visible mold growth appears or strong musty odors indicate hidden growth
- Structural signs like sagging, warping, or soft walls appear
- Water damage came from contaminated sources like sewage or flooding
- Hidden moisture is suspected behind walls or under floors
- Electrical systems are potentially affected by water
- You can’t identify or stop the water source
- Previous water damage issues keep recurring in the same location
- Ceiling water damage indicates problems from above floors or roof
Professional assessment often reveals hidden damage invisible to homeowners, making early professional involvement cost effective compared to addressing compounded damage later. What looks like a small stain on your side of the wall might be extensive saturation on the other side or in the cavity. Professionals have the tools to see the full picture before you commit to repairs that might not address the real problem.
Cost Considerations for Water Damage Repairs in Walls
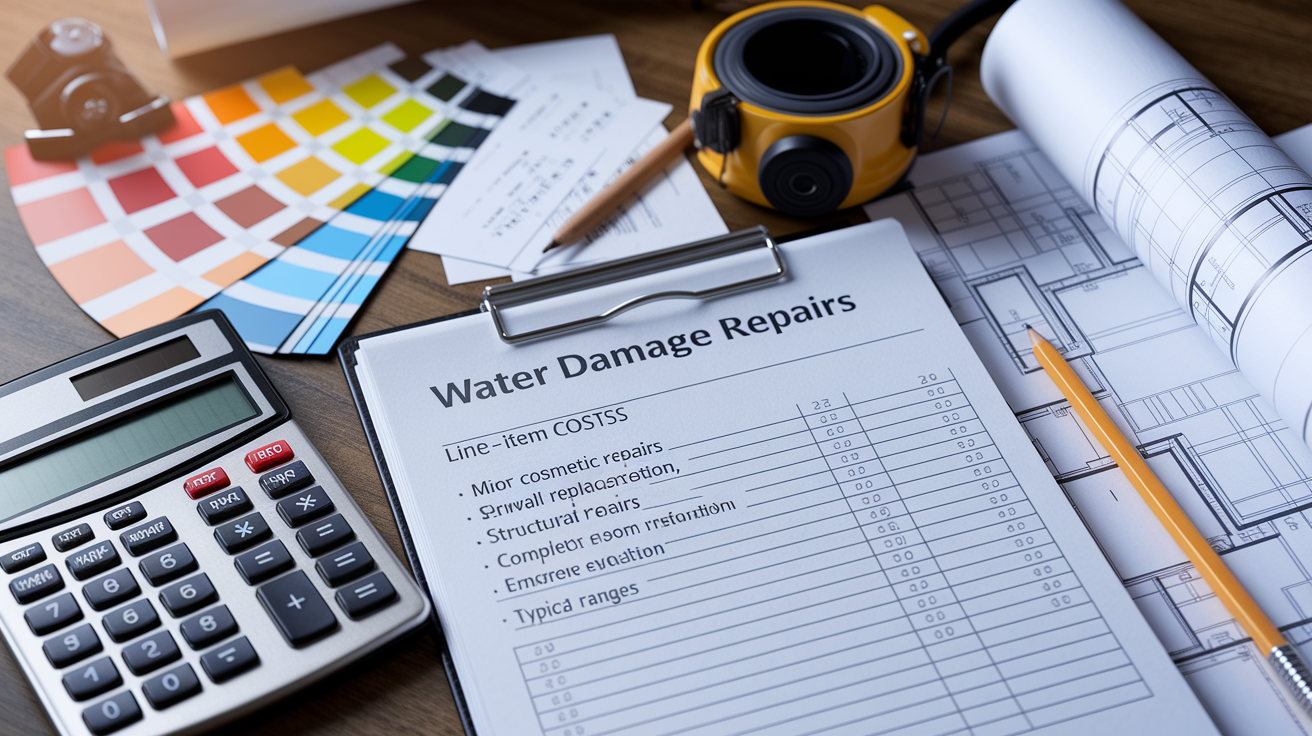
Water damage repair costs vary significantly based on extent, location, and whether structural repairs are needed beyond just replacing drywall.
| Repair Type | Typical Cost Range | Factors Affecting Cost |
|---|---|---|
| Minor cosmetic repairs | $200 to $500 | Size of affected area, number of coats needed, paint matching requirements |
| Drywall replacement single wall | $500 to $1,500 | Wall height, texture matching, whether framing is damaged |
| Mold remediation | $500 to $3,000 | Extent of growth, location accessibility, contamination level |
| Structural repairs | $2,000 to $10,000+ | Framing damage extent, load bearing wall involvement, code compliance requirements |
| Complete room restoration | $3,000 to $15,000+ | Room size, finish level, flooring type, extent of systems affected |
| Emergency water extraction | $1,000 to $4,000 | Water volume, contamination category, after hours service needs |
Insurance coverage typically handles sudden water damage from burst pipes and appliance failures, but excludes gradual damage from neglected maintenance. Most homeowners policies draw a clear line between sudden accidents and long term neglect. A pipe that bursts overnight gets covered. A pipe that’s been dripping for six months and finally causes visible damage usually doesn’t. Document damage immediately with photos and detailed notes showing what you found and when. Contact insurance providers within claim timeframes, which are often shorter than you’d expect.
Cost savings through early detection make regular inspections worth the effort. Addressing small leaks before they cause extensive damage means you’re patching a pipe instead of replacing walls. Regular maintenance preventing expensive emergency repairs costs a fraction of what emergency restoration runs. Ignoring warning signs leads to exponentially higher costs when structural components fail. A $200 plumbing repair today beats a $10,000 wall reconstruction next year.
Preventing Future Water Damage in Interior Walls
Preventing water damage is significantly less expensive and disruptive than repairing it, and most prevention doesn’t require special skills.
Exterior protection starts with maintaining gutters and downspouts by cleaning them twice yearly minimum, more often if you have trees overhead. Ensure proper grading directs water away from foundation, with soil sloping at least six inches over ten feet of distance. Inspect and seal exterior wall cracks annually, particularly where different materials meet. Check roof condition annually for missing or damaged shingles creating entry points for water. These basic maintenance tasks stop water before it reaches your walls.
Interior moisture control involves installing and maintaining dehumidifiers in basements and moisture prone areas, keeping humidity between 30 and 50 percent. Ensure proper ventilation in bathrooms and kitchens by running exhaust fans during showers and cooking, and for 20 minutes after to clear moisture. Address condensation on windows promptly because that water runs down and soaks into wall materials at the sill. Monitor indoor humidity levels year round, adjusting based on season and weather.
Plumbing maintenance prevents the most common source of wall water damage. Schedule annual professional plumbing inspections to catch problems before they leak. Replace aging supply lines before they fail, particularly braided stainless steel hoses older than five years. Monitor water pressure to prevent pipe stress, keeping it between 40 and 70 psi. Insulate pipes in unheated areas to prevent freeze damage. Know the location of your main water shutoff valve and make sure everyone in the house knows where it is and how to use it.
Ongoing monitoring habits include:
- Check under sinks and around toilets monthly for moisture, catching leaks early
- Inspect basement walls seasonally for new dampness or staining
- Monitor water bills for unexplained increases indicating hidden leaks
- Test sump pumps before rainy seasons to ensure they work when needed
- Inspect caulking around tubs, showers, and windows annually and recaulk as needed
- Walk property perimeter after heavy rains checking for pooling water near foundation
Final Words
Catching signs of water damage in walls early protects your home from serious structural problems and keeps repair costs manageable.
Discoloration, soft spots, peeling paint, musty odors, and visible mold all point to moisture that needs attention now, not later.
The sooner you investigate and address the source, whether it’s a hidden leak or poor drainage, the better your outcome.
If you’re seeing multiple warning signs or damage that feels beyond surface level, call a professional for a thorough assessment.
Your walls will tell you when something’s wrong. Listen to them.
FAQ
How do you tell if a wall has water damage?
You can tell if a wall has water damage by looking for discoloration (yellow, brown, or dark spots), peeling or bubbling paint, musty odors, visible mold patches, and soft or spongy texture when you press the wall gently.
Is water damage in walls covered by insurance?
Water damage in walls is covered by insurance when it results from sudden events like burst pipes or appliance failures, but most policies exclude gradual damage from neglected maintenance or slow leaks you should have fixed.
How long can drywall be wet before mold grows?
Drywall can be wet for only 24 to 72 hours before mold starts growing in the moist environment, which is why quick action matters when you discover water damage in your walls.
Can water damage in walls make you sick?
Water damage in walls can make you sick because it creates conditions for mold growth, which causes respiratory issues, allergic reactions, and other health problems, especially in children, elderly individuals, and people with weakened immune systems.
What are the first signs of hidden water damage behind walls?
The first signs of hidden water damage behind walls include musty odors (often detected before visible problems), unexplained increases in humidity, peeling paint or wallpaper, and temperature differences when you touch the wall compared to surrounding areas.
How do moisture meters detect water in walls?
Moisture meters detect water in walls by measuring moisture content in building materials using either pins that penetrate the surface or sensors that scan without puncturing, helping locate wet areas professionals need to address.
What does efflorescence on basement walls indicate?
Efflorescence on basement walls indicates active or recent moisture intrusion, appearing as white, chalky deposits when water carries salts through concrete or masonry and evaporates on the surface, requiring investigation to prevent ongoing damage.
When should you call a professional for wall water damage?
You should call a professional for wall water damage when the affected area exceeds 10 square feet, mold is visible, structural signs like sagging appear, the water source is unknown, or moisture has been present longer than 48 hours.
What happens if you ignore water damage in walls?
If you ignore water damage in walls, moisture weakens structural materials, mold spreads within 72 hours, repair costs multiply significantly, property value drops, and eventually serious problems like sagging ceilings or foundation issues develop.
How much does it cost to repair water damaged walls?
It costs between $200 and $500 for minor cosmetic repairs, $500 to $1,500 for single wall drywall replacement, and $2,000 to $10,000 or more for structural repairs, depending on damage extent and materials affected.
What causes water damage in interior walls?
Water damage in interior walls is caused by leaking or burst pipes, roof leaks from damaged shingles or clogged gutters, foundation cracks allowing groundwater seepage, improperly installed windows or doors, and HVAC condensation problems.
How can you prevent water damage in walls?
You can prevent water damage in walls by maintaining gutters and downspouts, ensuring proper grading directs water away from your foundation, scheduling annual plumbing inspections, controlling indoor humidity, and inspecting high-risk areas monthly for early signs.